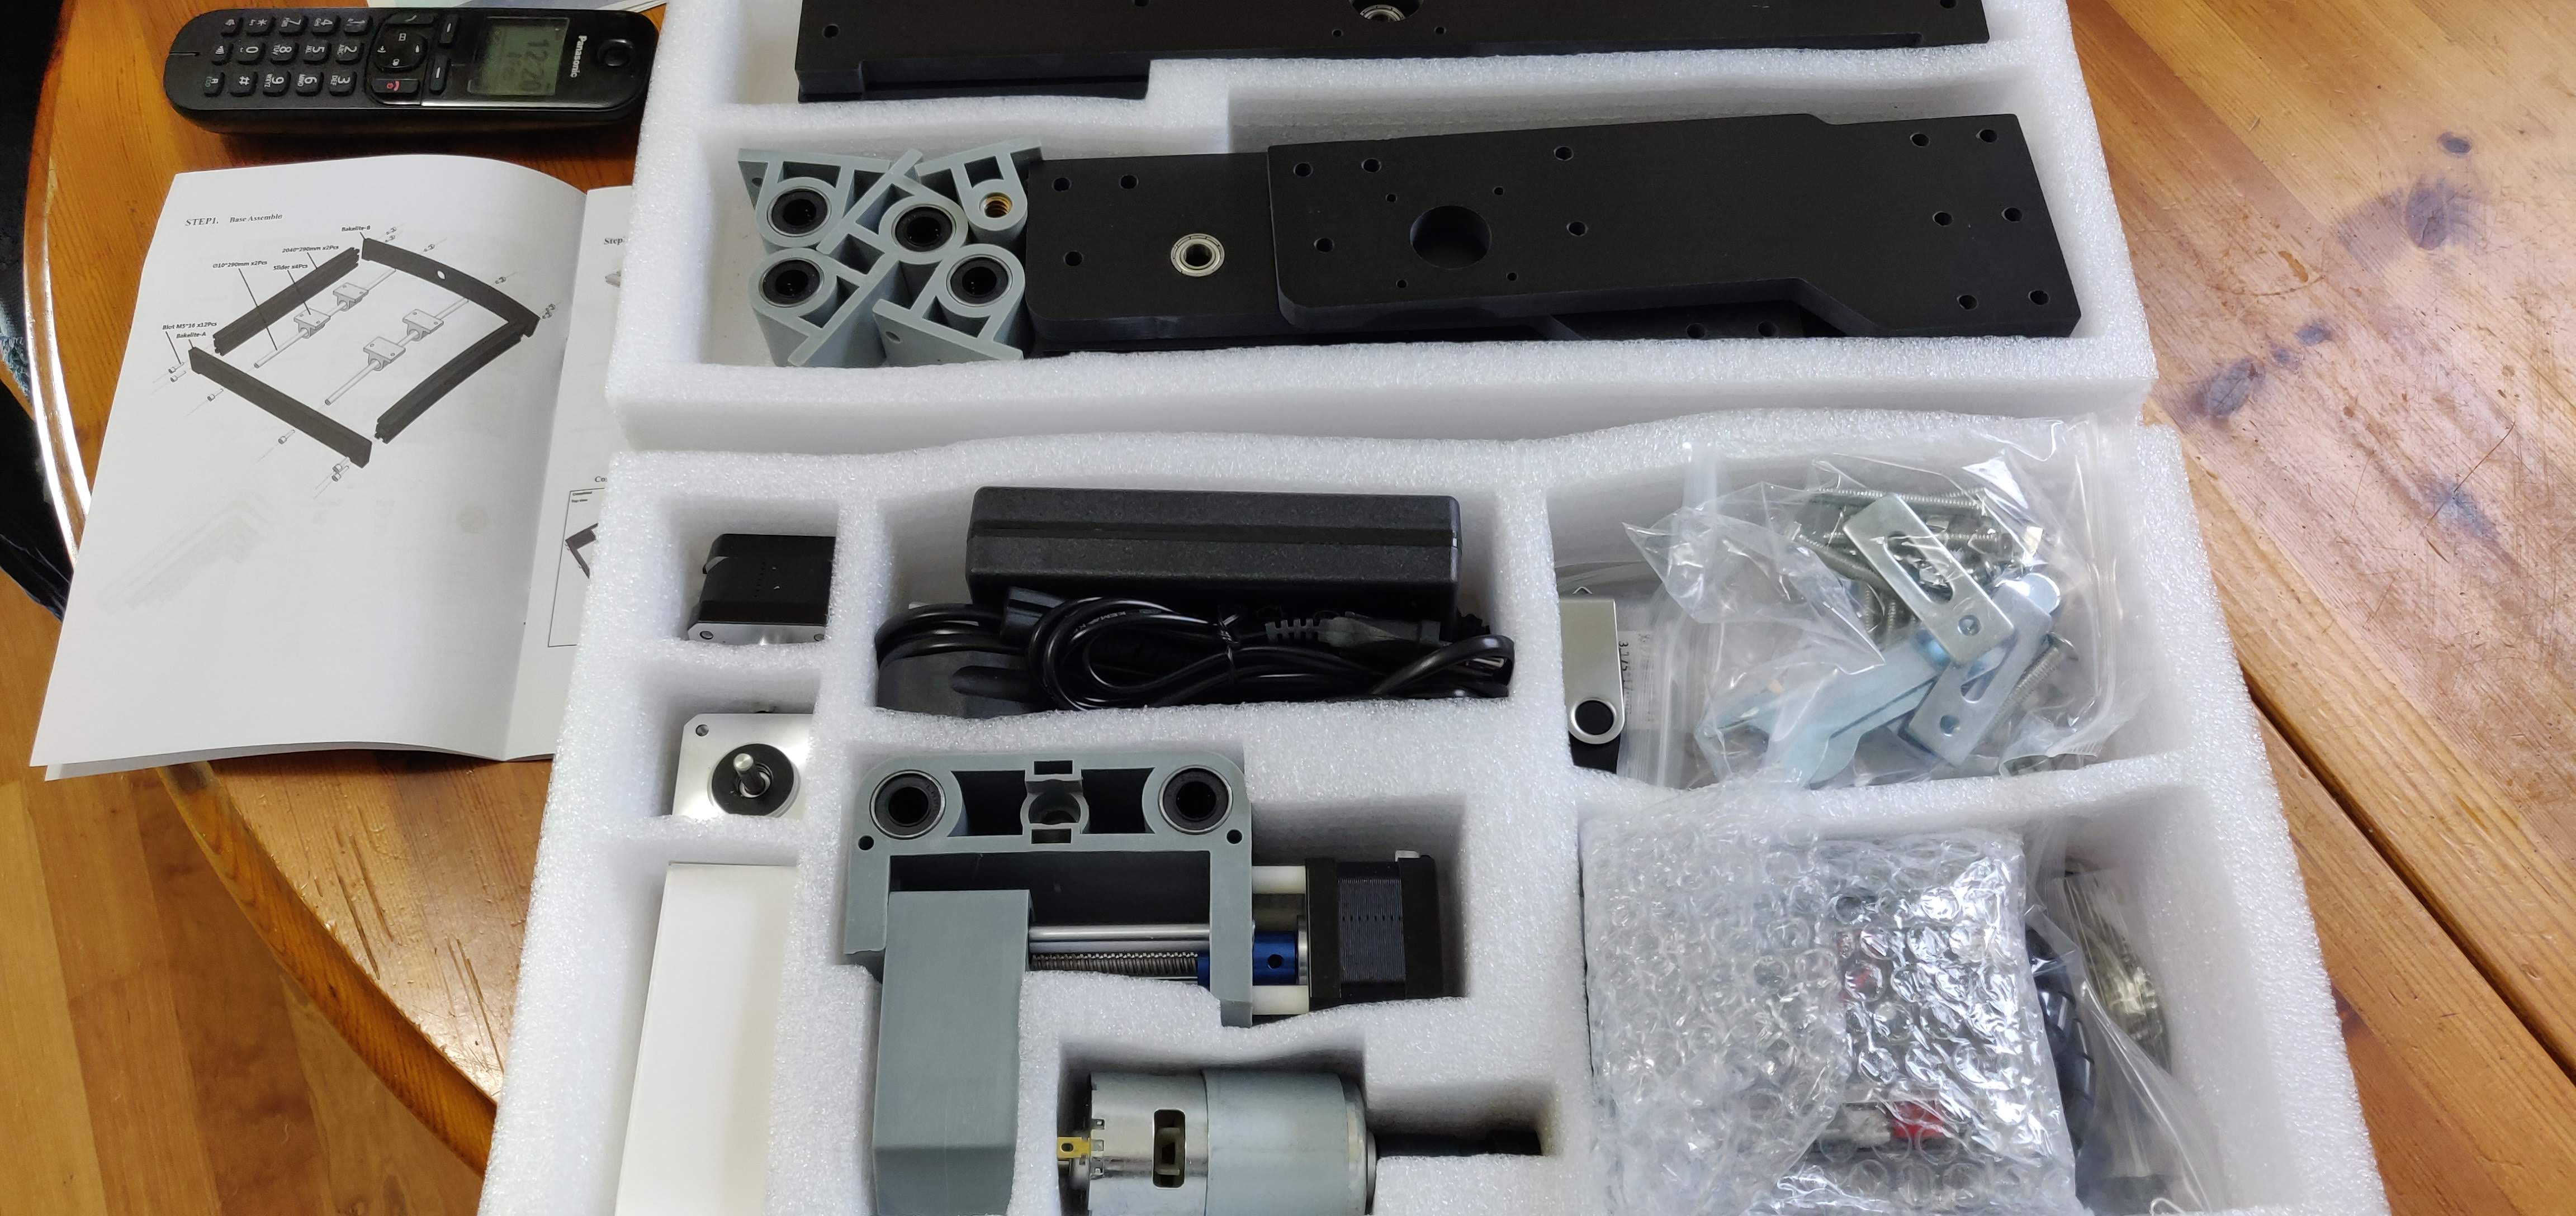
Back in Feb when the weather looked like it was going to be cold and crap, I bought a small desktop CNC router kit to assemble. I’ve had quite a lot of fun with it since then, experimenting with different materials and techniques.
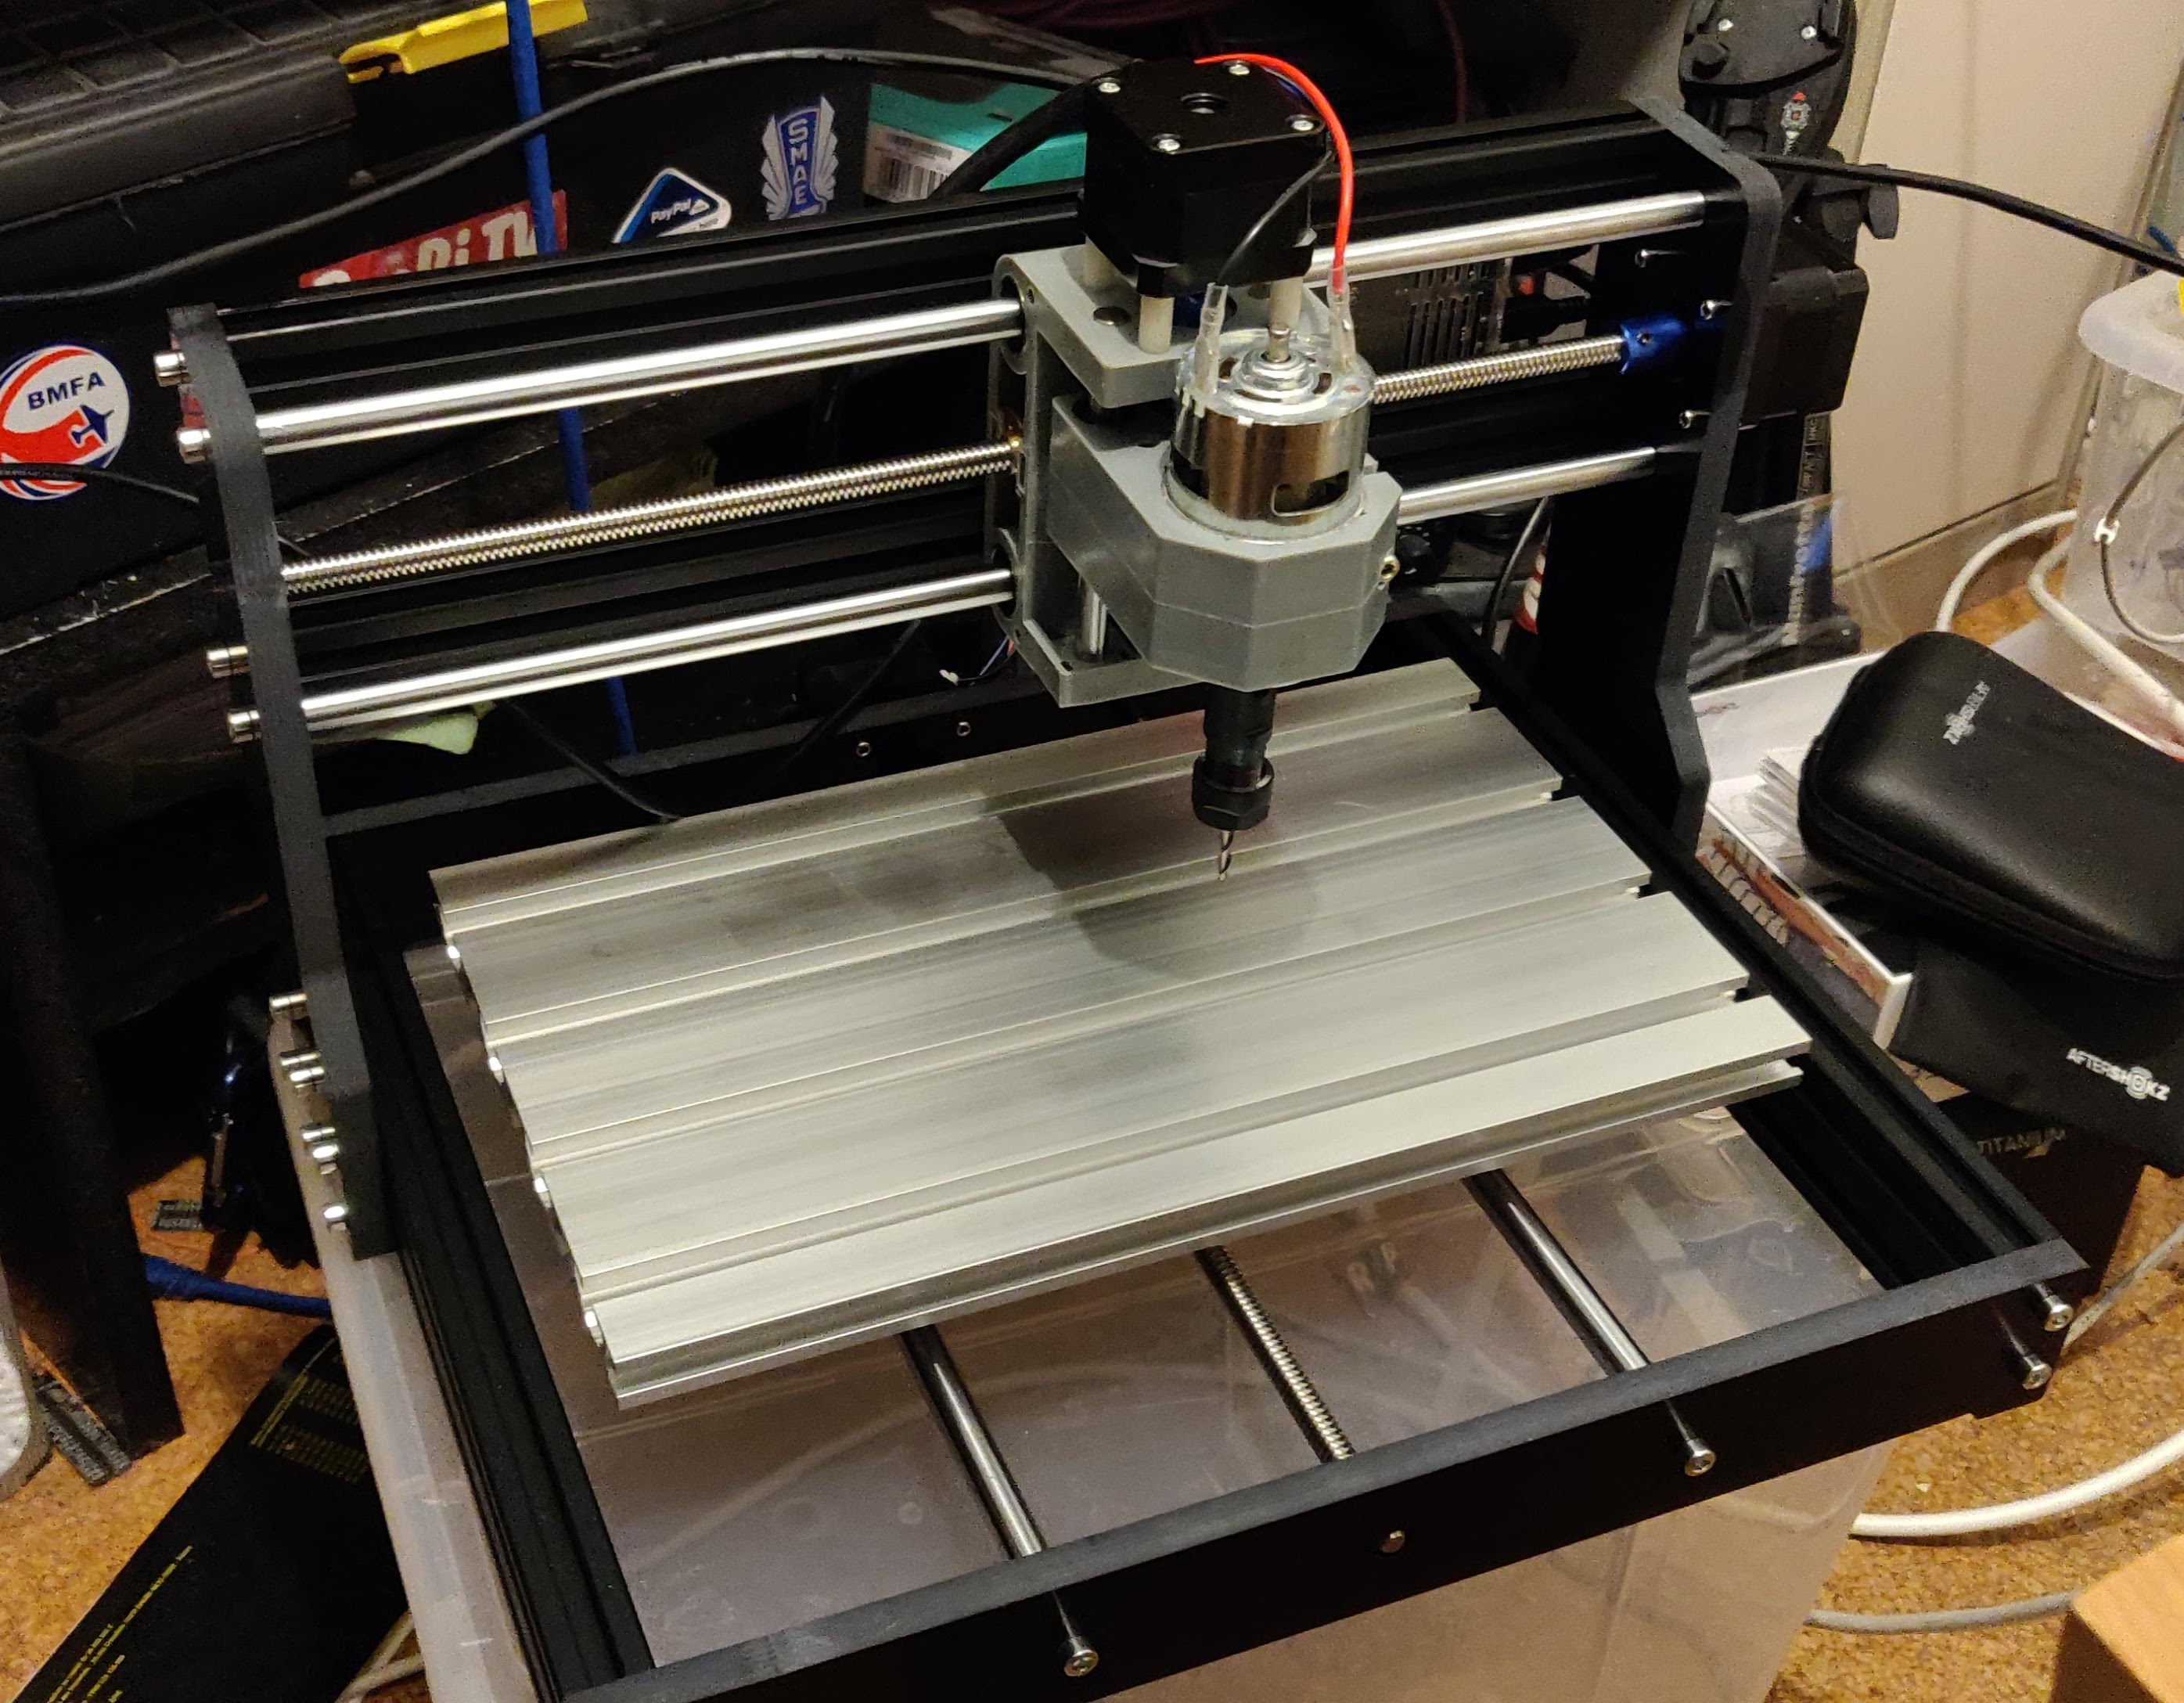
Here’s what it looks like when built…
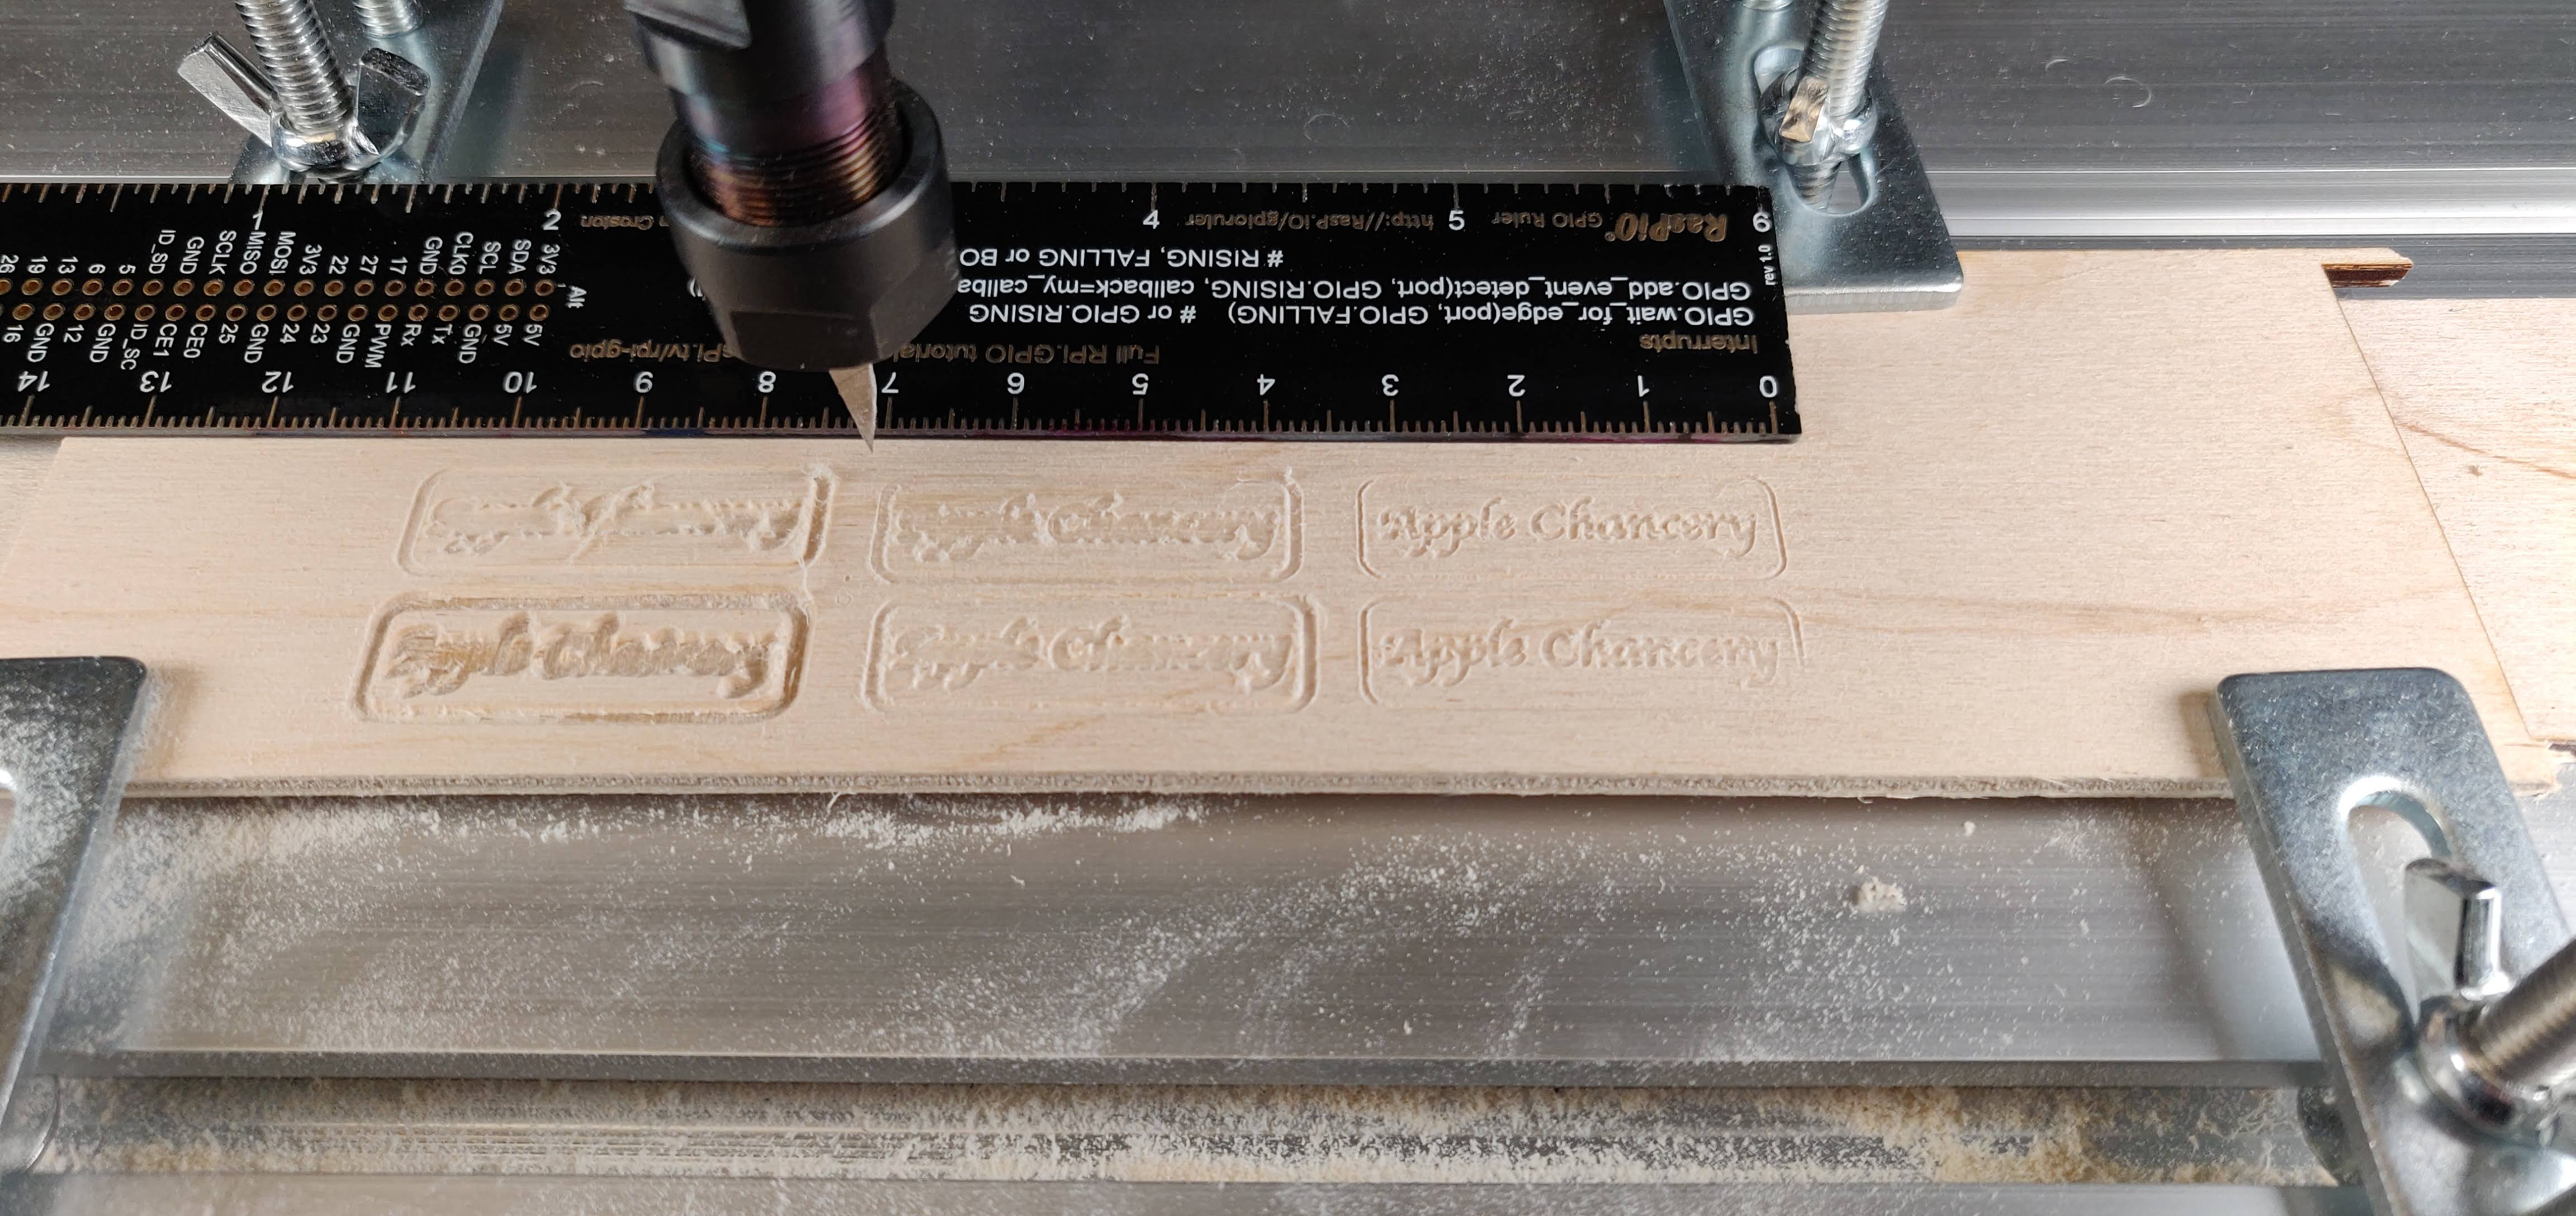
So what can it do? Well it’s basically a computer-controlled router, so it can cut, trim and engrave wood, plastics and softish metals like aluminium. Obviously it’s a ‘hobby’ machine, so not up to industrial size or speed, but it’s still pretty cool.
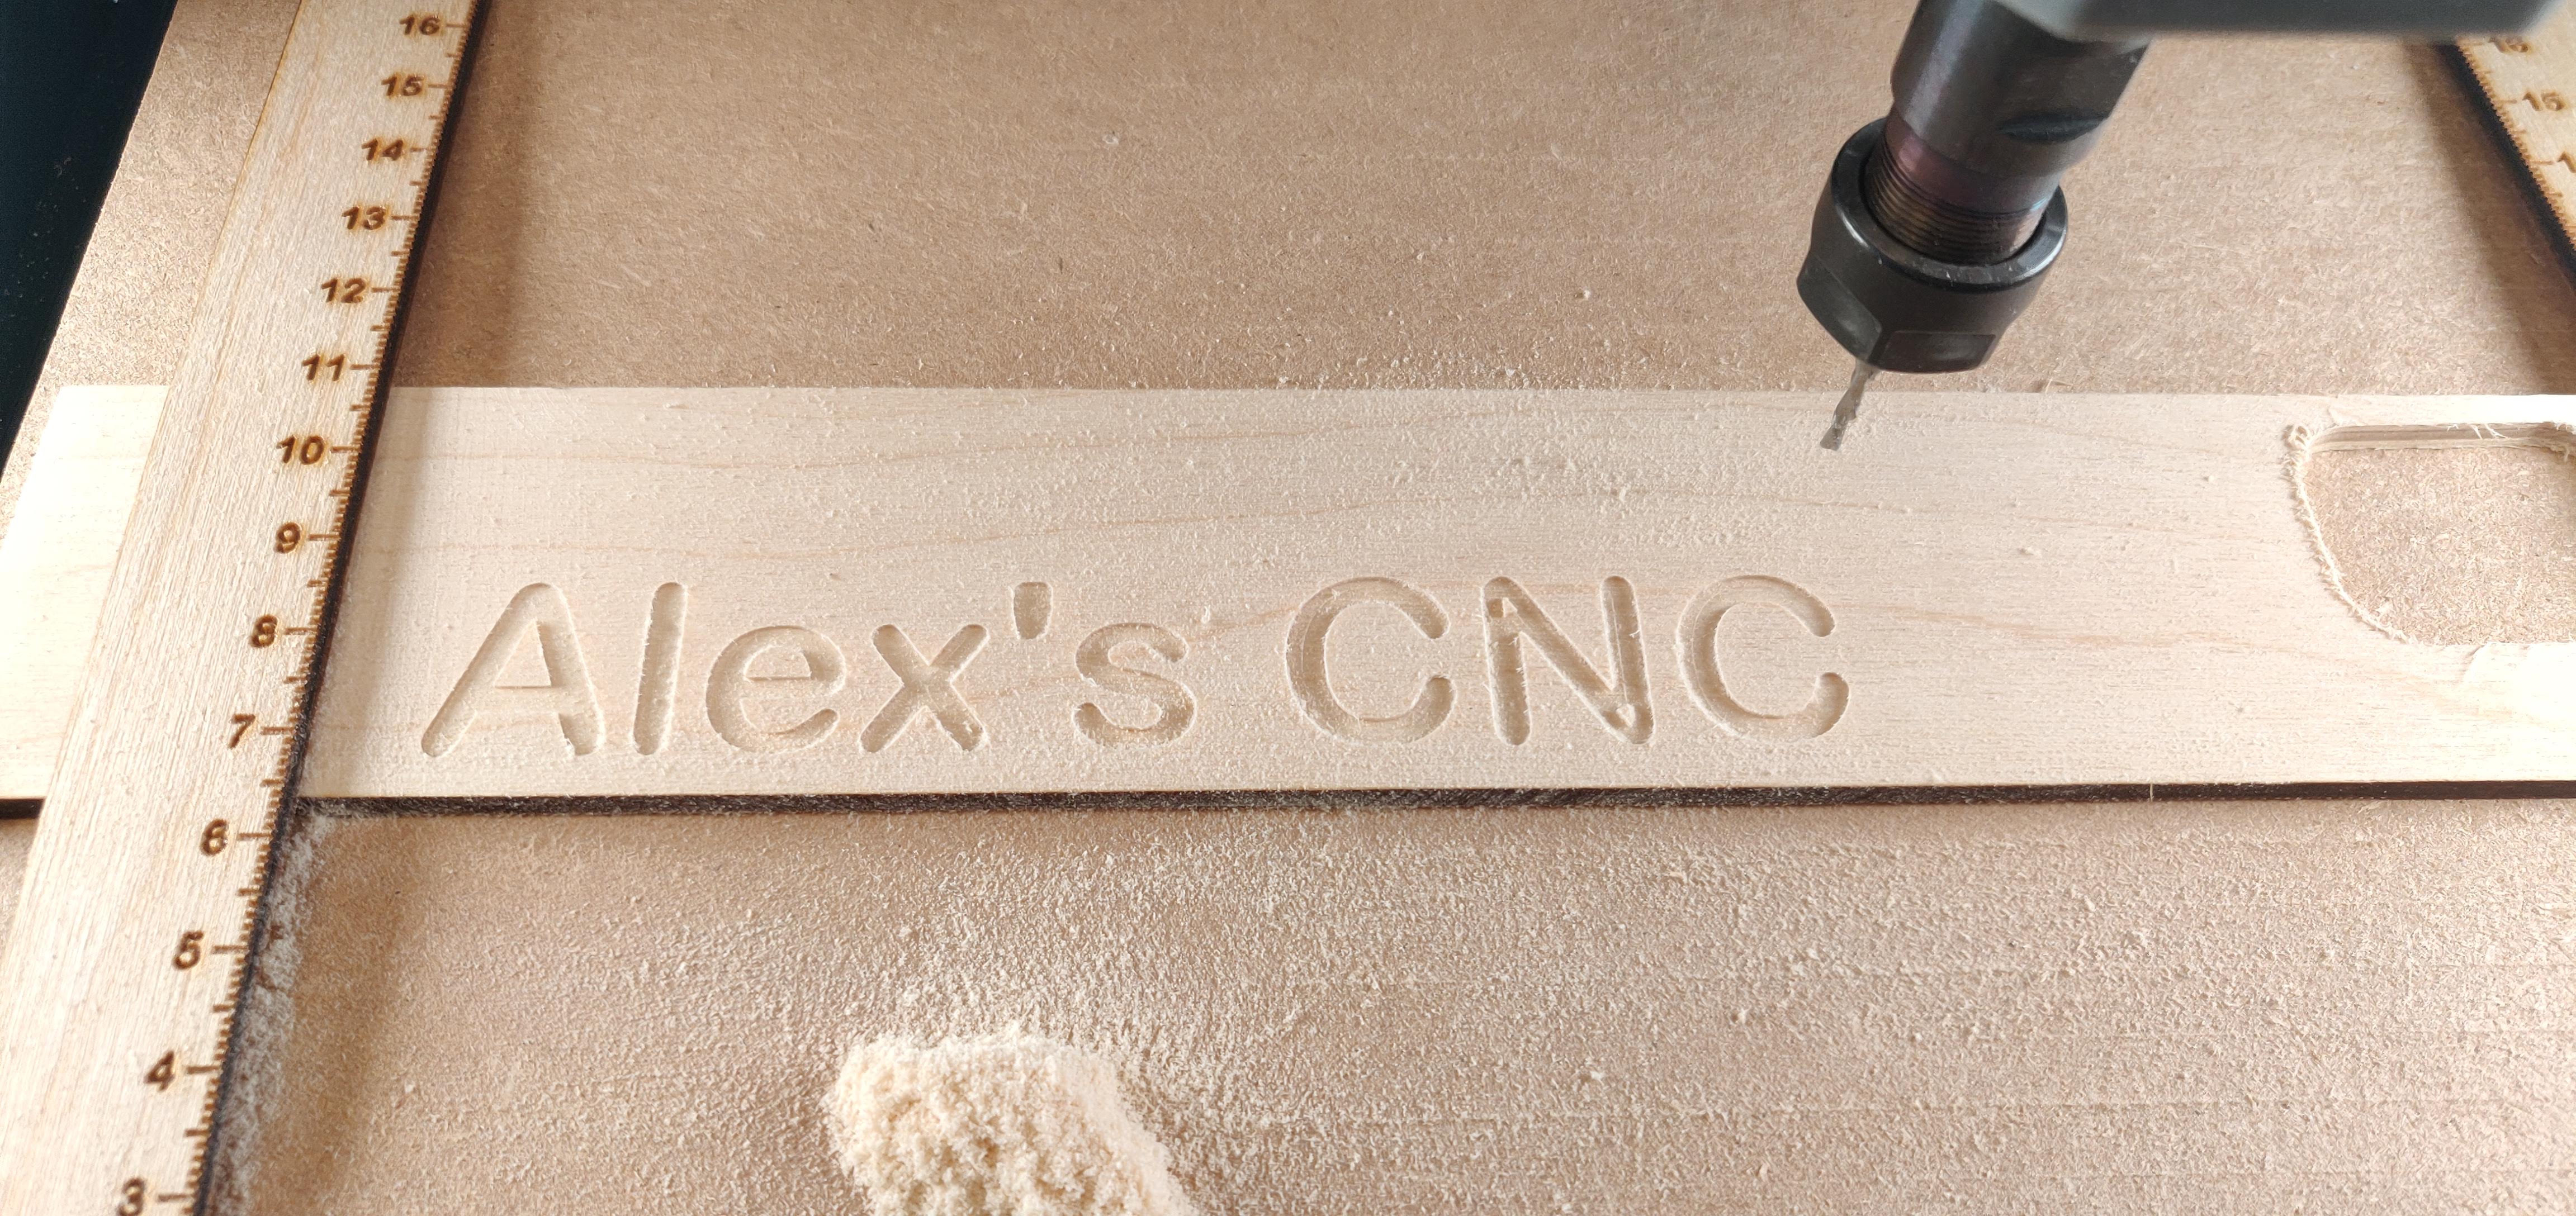
Obviously all the designing is done on a computer and software translates the design files into Gcode, which controls the movements of the CNC router, hopefully making it do exactly as you want.
Lots of experimentation involved to find the best settings for any given material. There is definitely skill involved, as the wrong settings will result in crap work and broken bits.
The supplied motor is a bit weedy, but can allegedly engrave and cut aluminium, if you’re careful with the settings, so that obviously had to be tried…
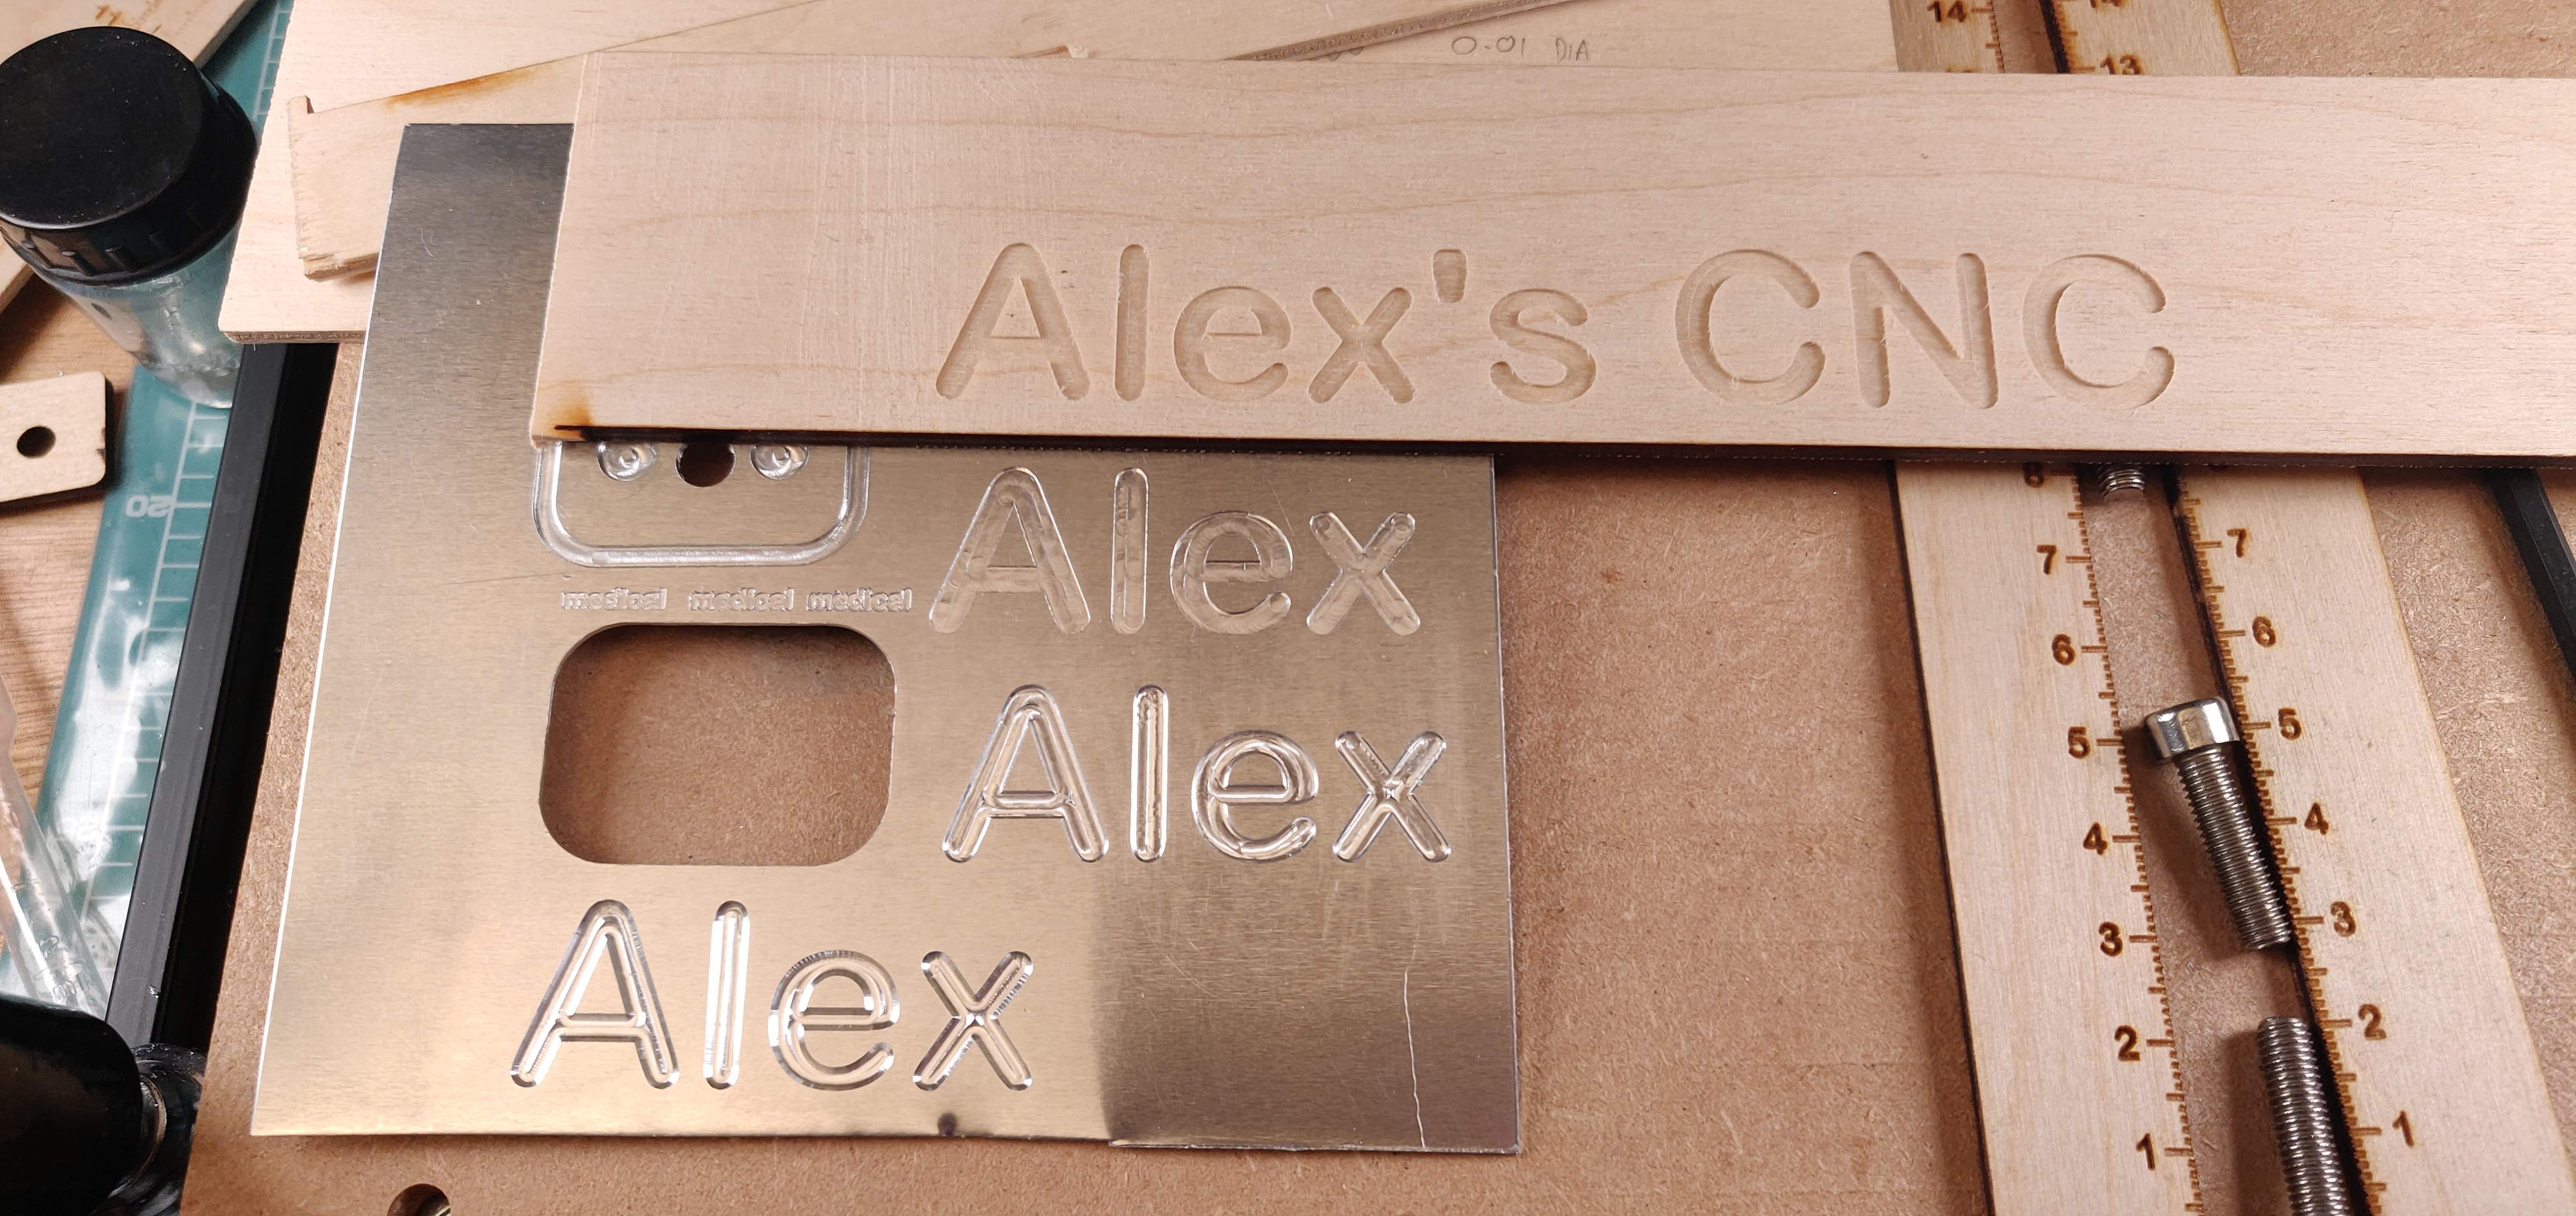
With this setup, aluminium needs very shallow cuts (0.02-0.05mm) and plenty of lubricant, but it can be done because the machine is capable of repeating the same movement very precisely over and over again. So you can cut a profile by going round it many times taking a little each time.
I’m using an open source software package called bCNC to control the router. It’s running on a Raspberry Pi 4. It took me about two weeks of ‘messing about time’ to get this far. A lot of it is in learning how to use the software, which is pretty poorly documented – but that’s because it’s free, so you can’t complain.
For me, learning the skills is probably more fun than using them, so I don’t find that to be a barrier, but it can cause frustration at times.
At that point, I stumbled across the concept of “V-carving”which enables you to do relief carving using a V-shaped bit. Another open source package, called F-engrave facilitates this.
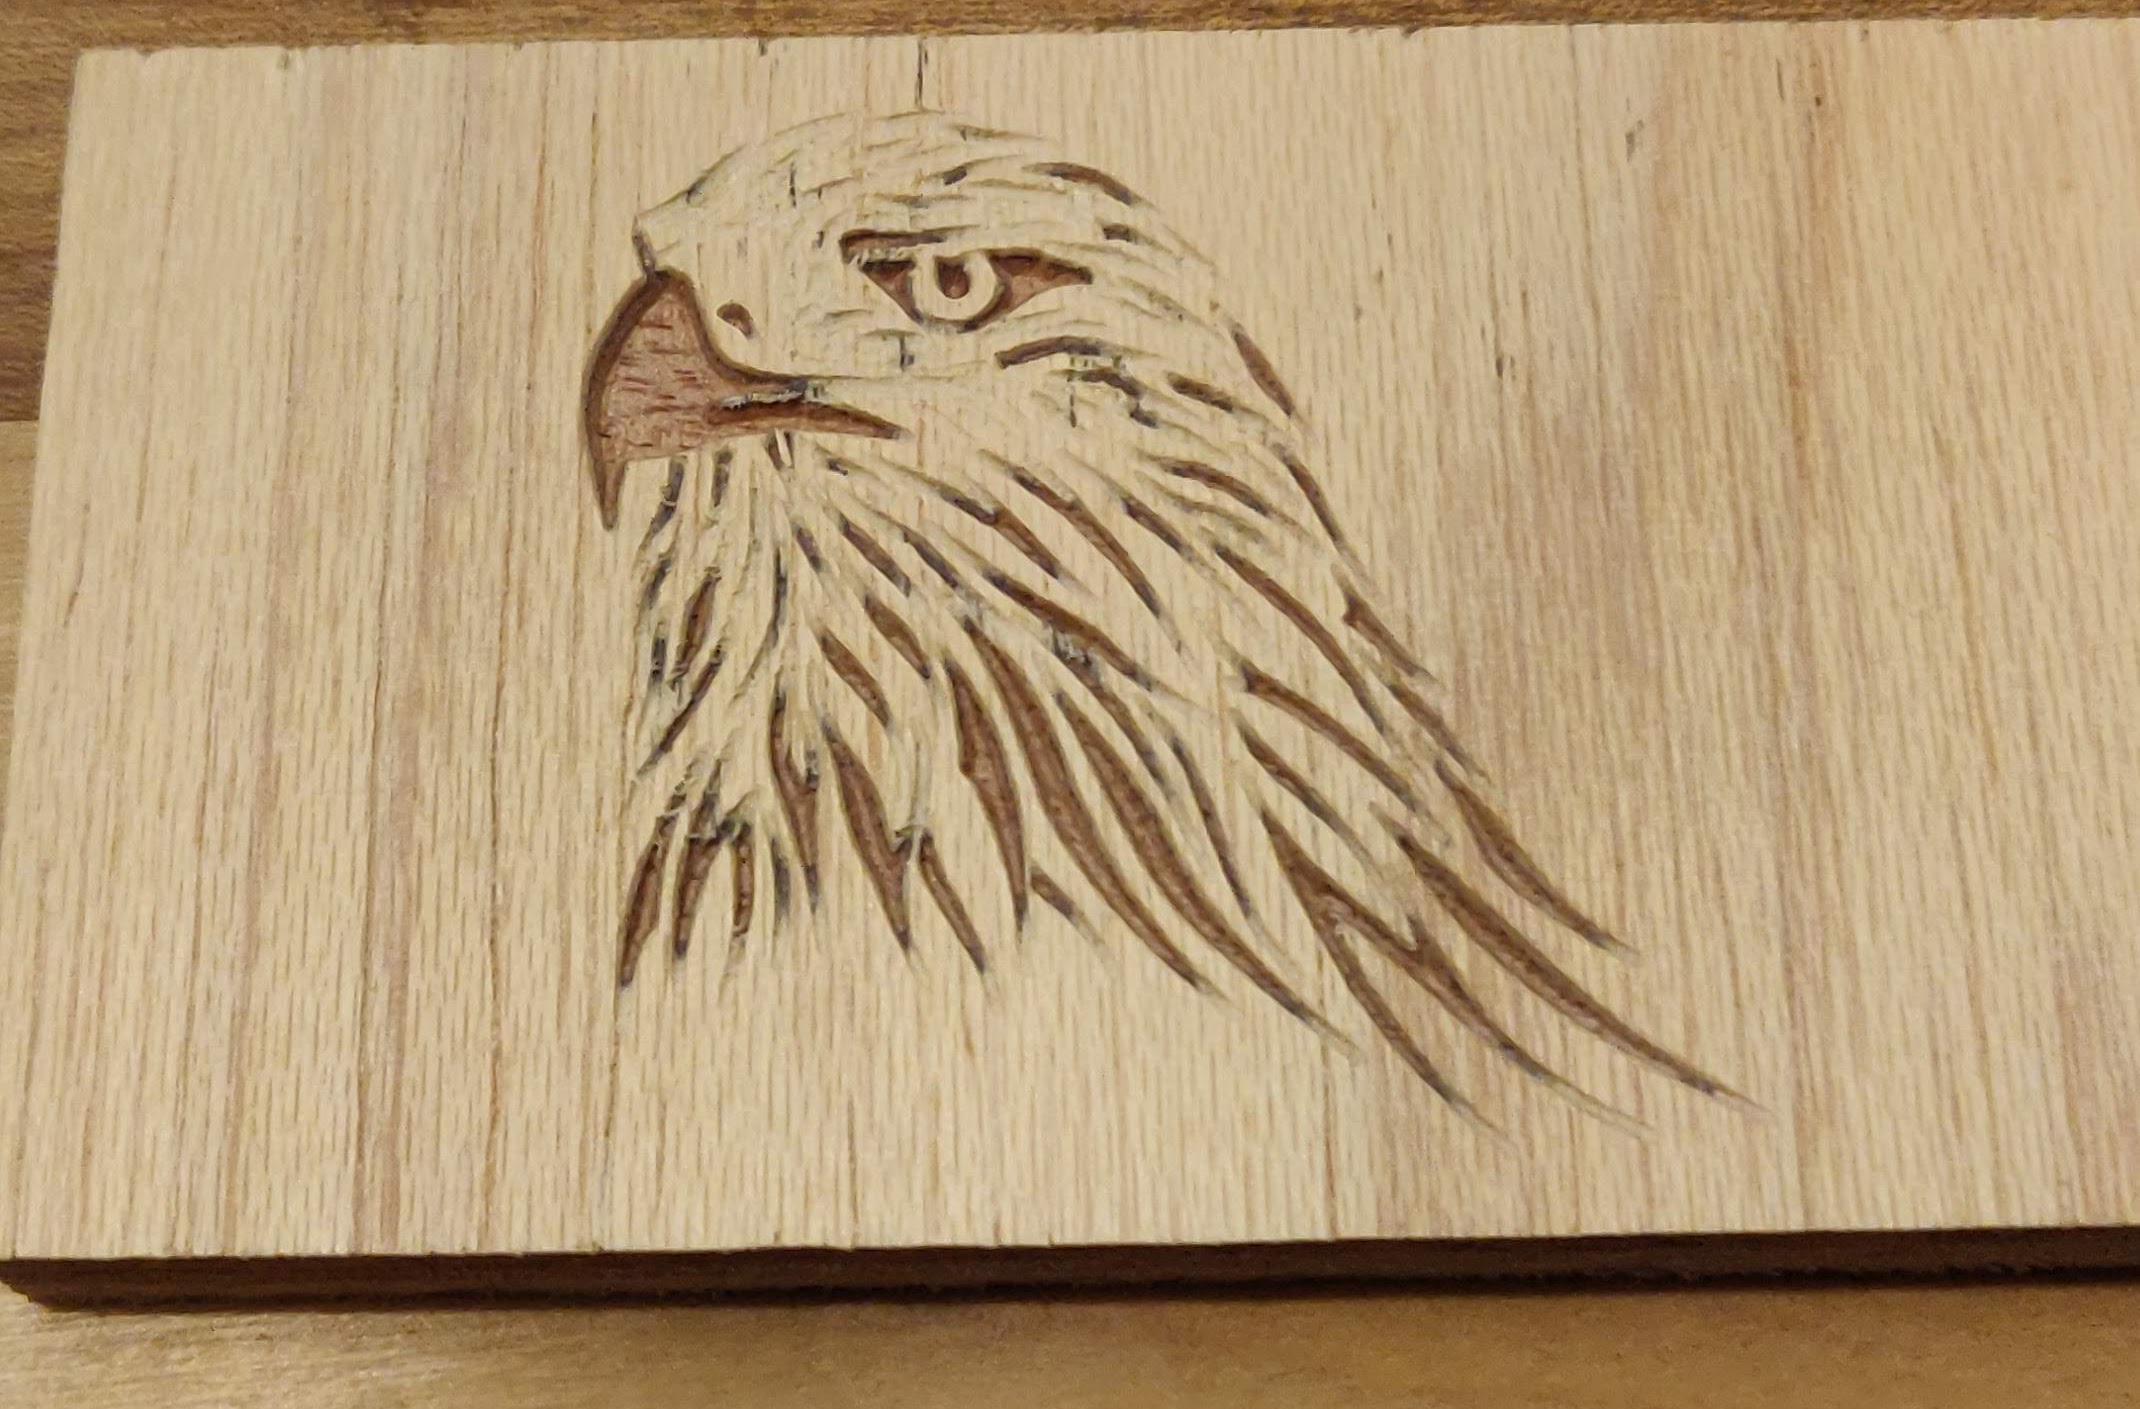
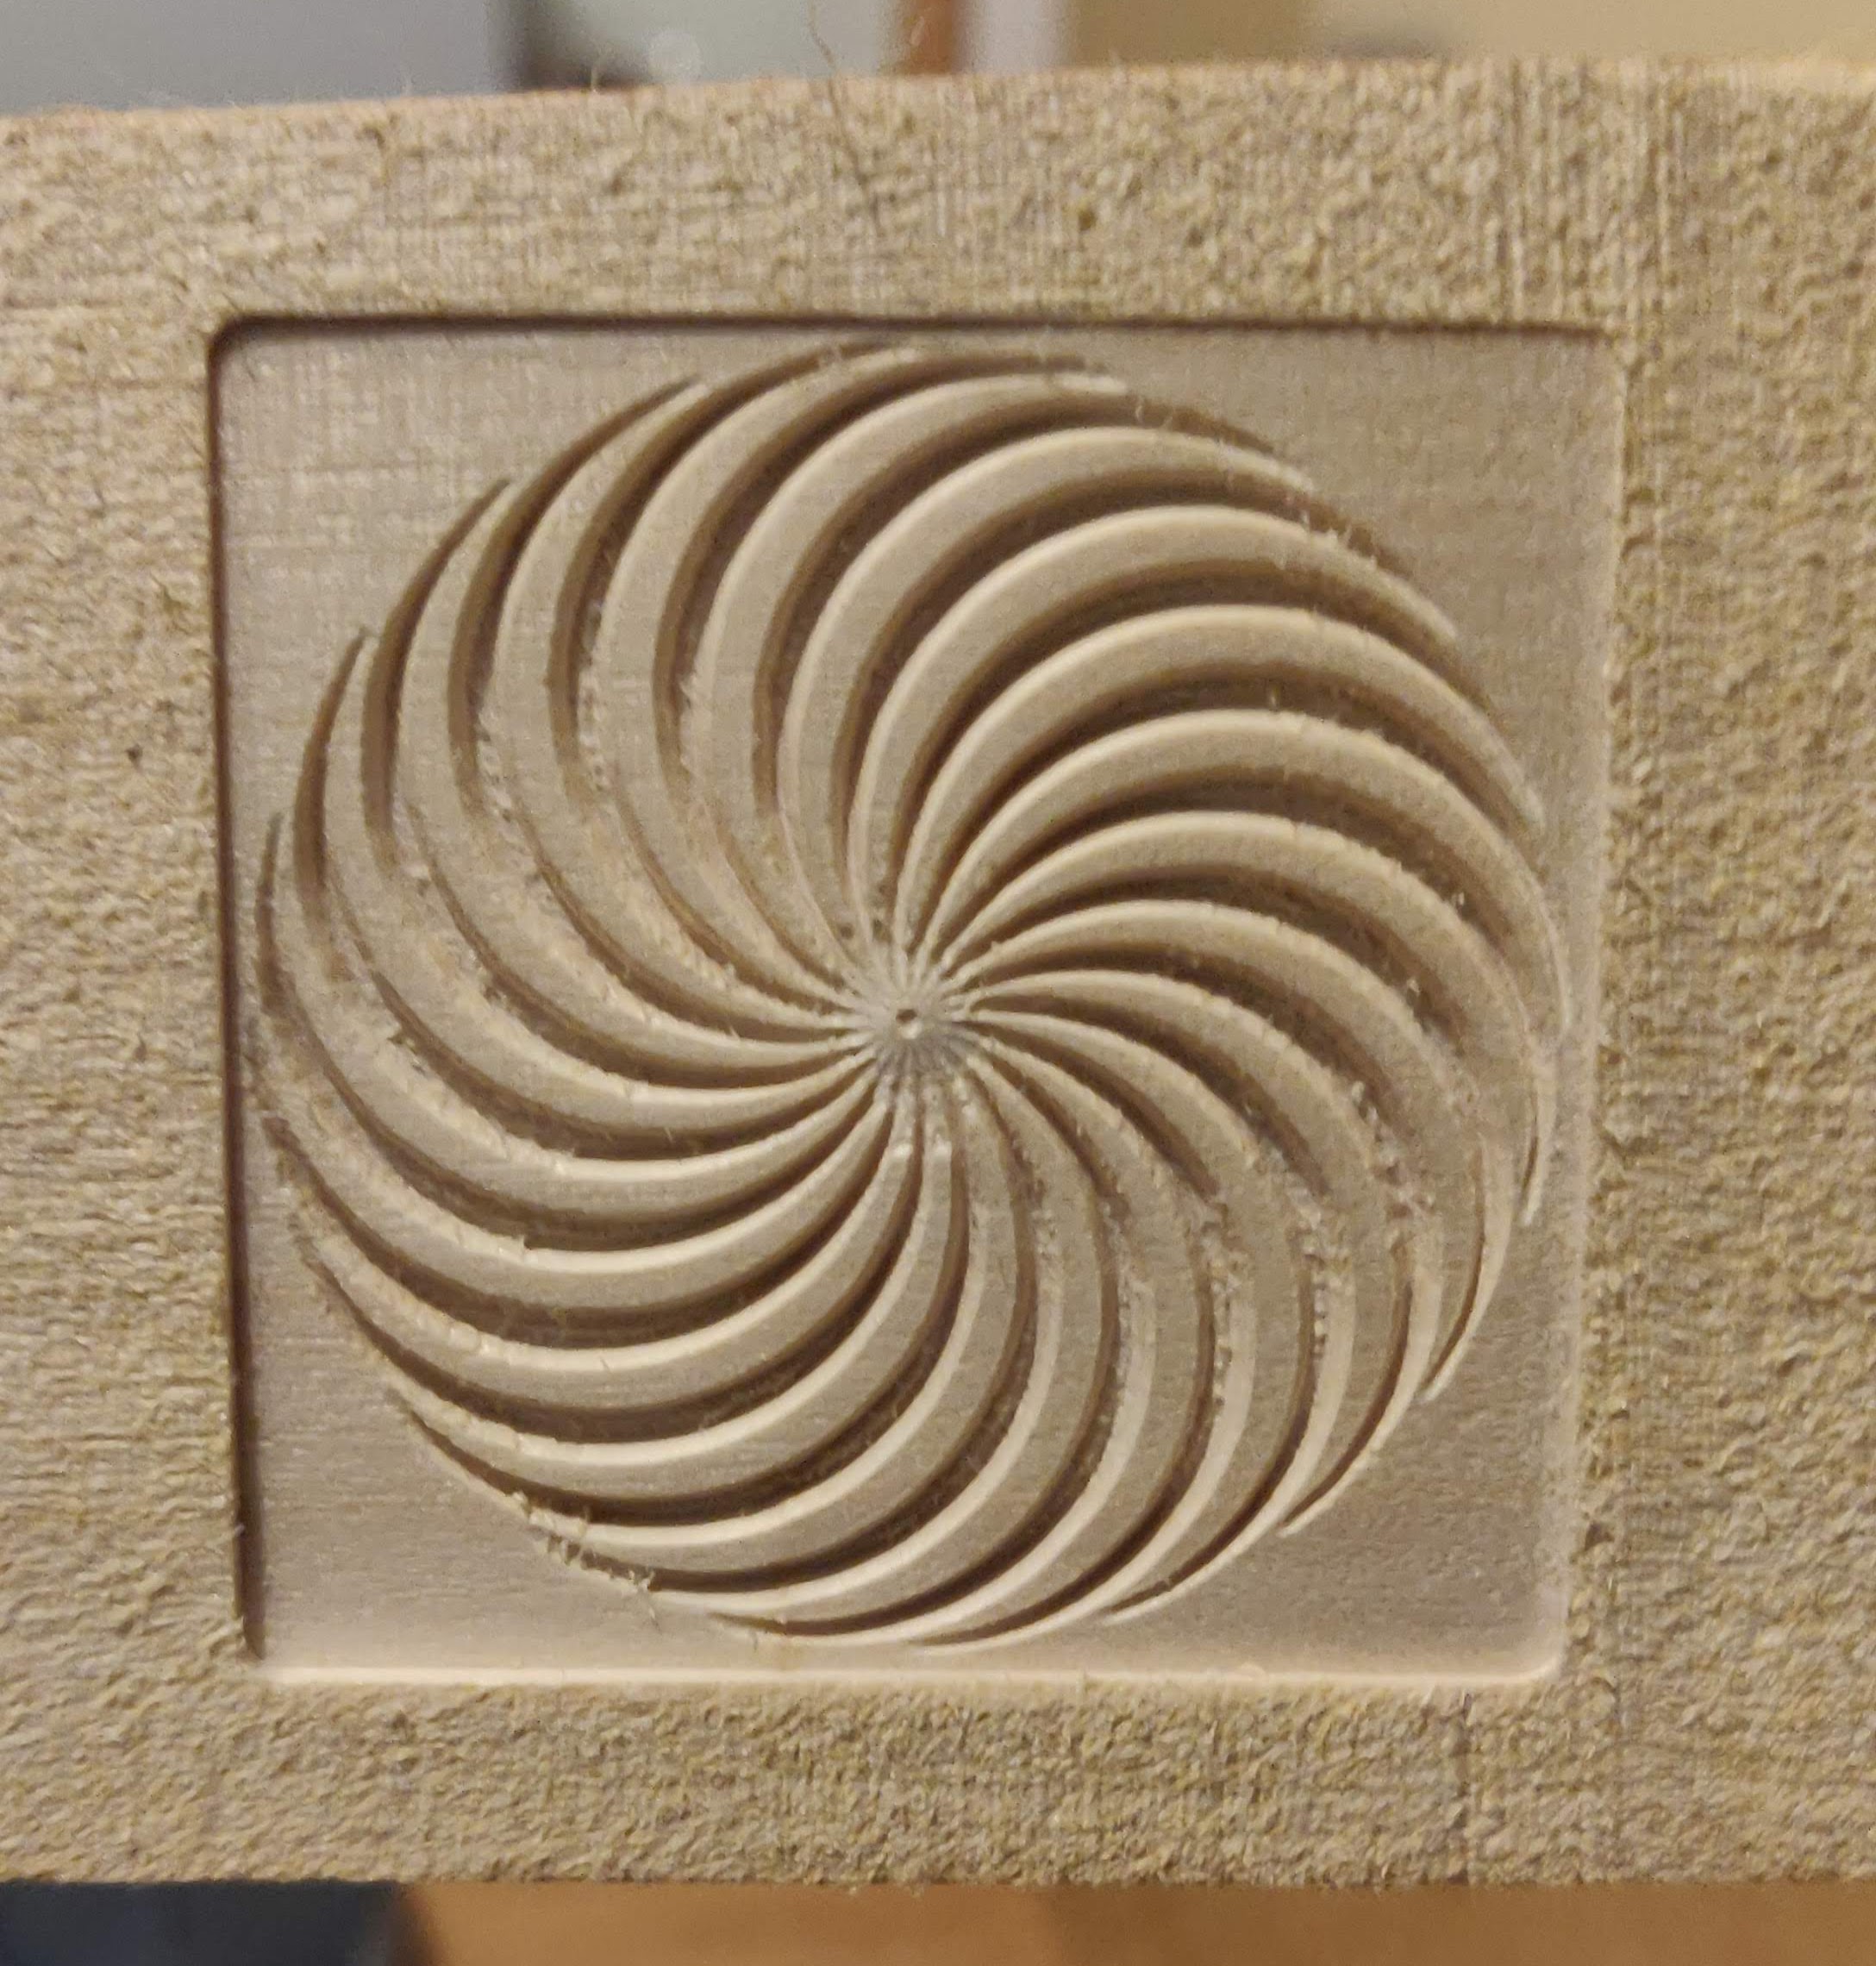
This took me up to the end of February, at which point I started getting frustrated with how long it took. When working with wood, you can ‘fire and forget’ but the machine does make a noise, which can be vaguely irritating if it goes on for 5 hours (the longest job I’ve run so far).
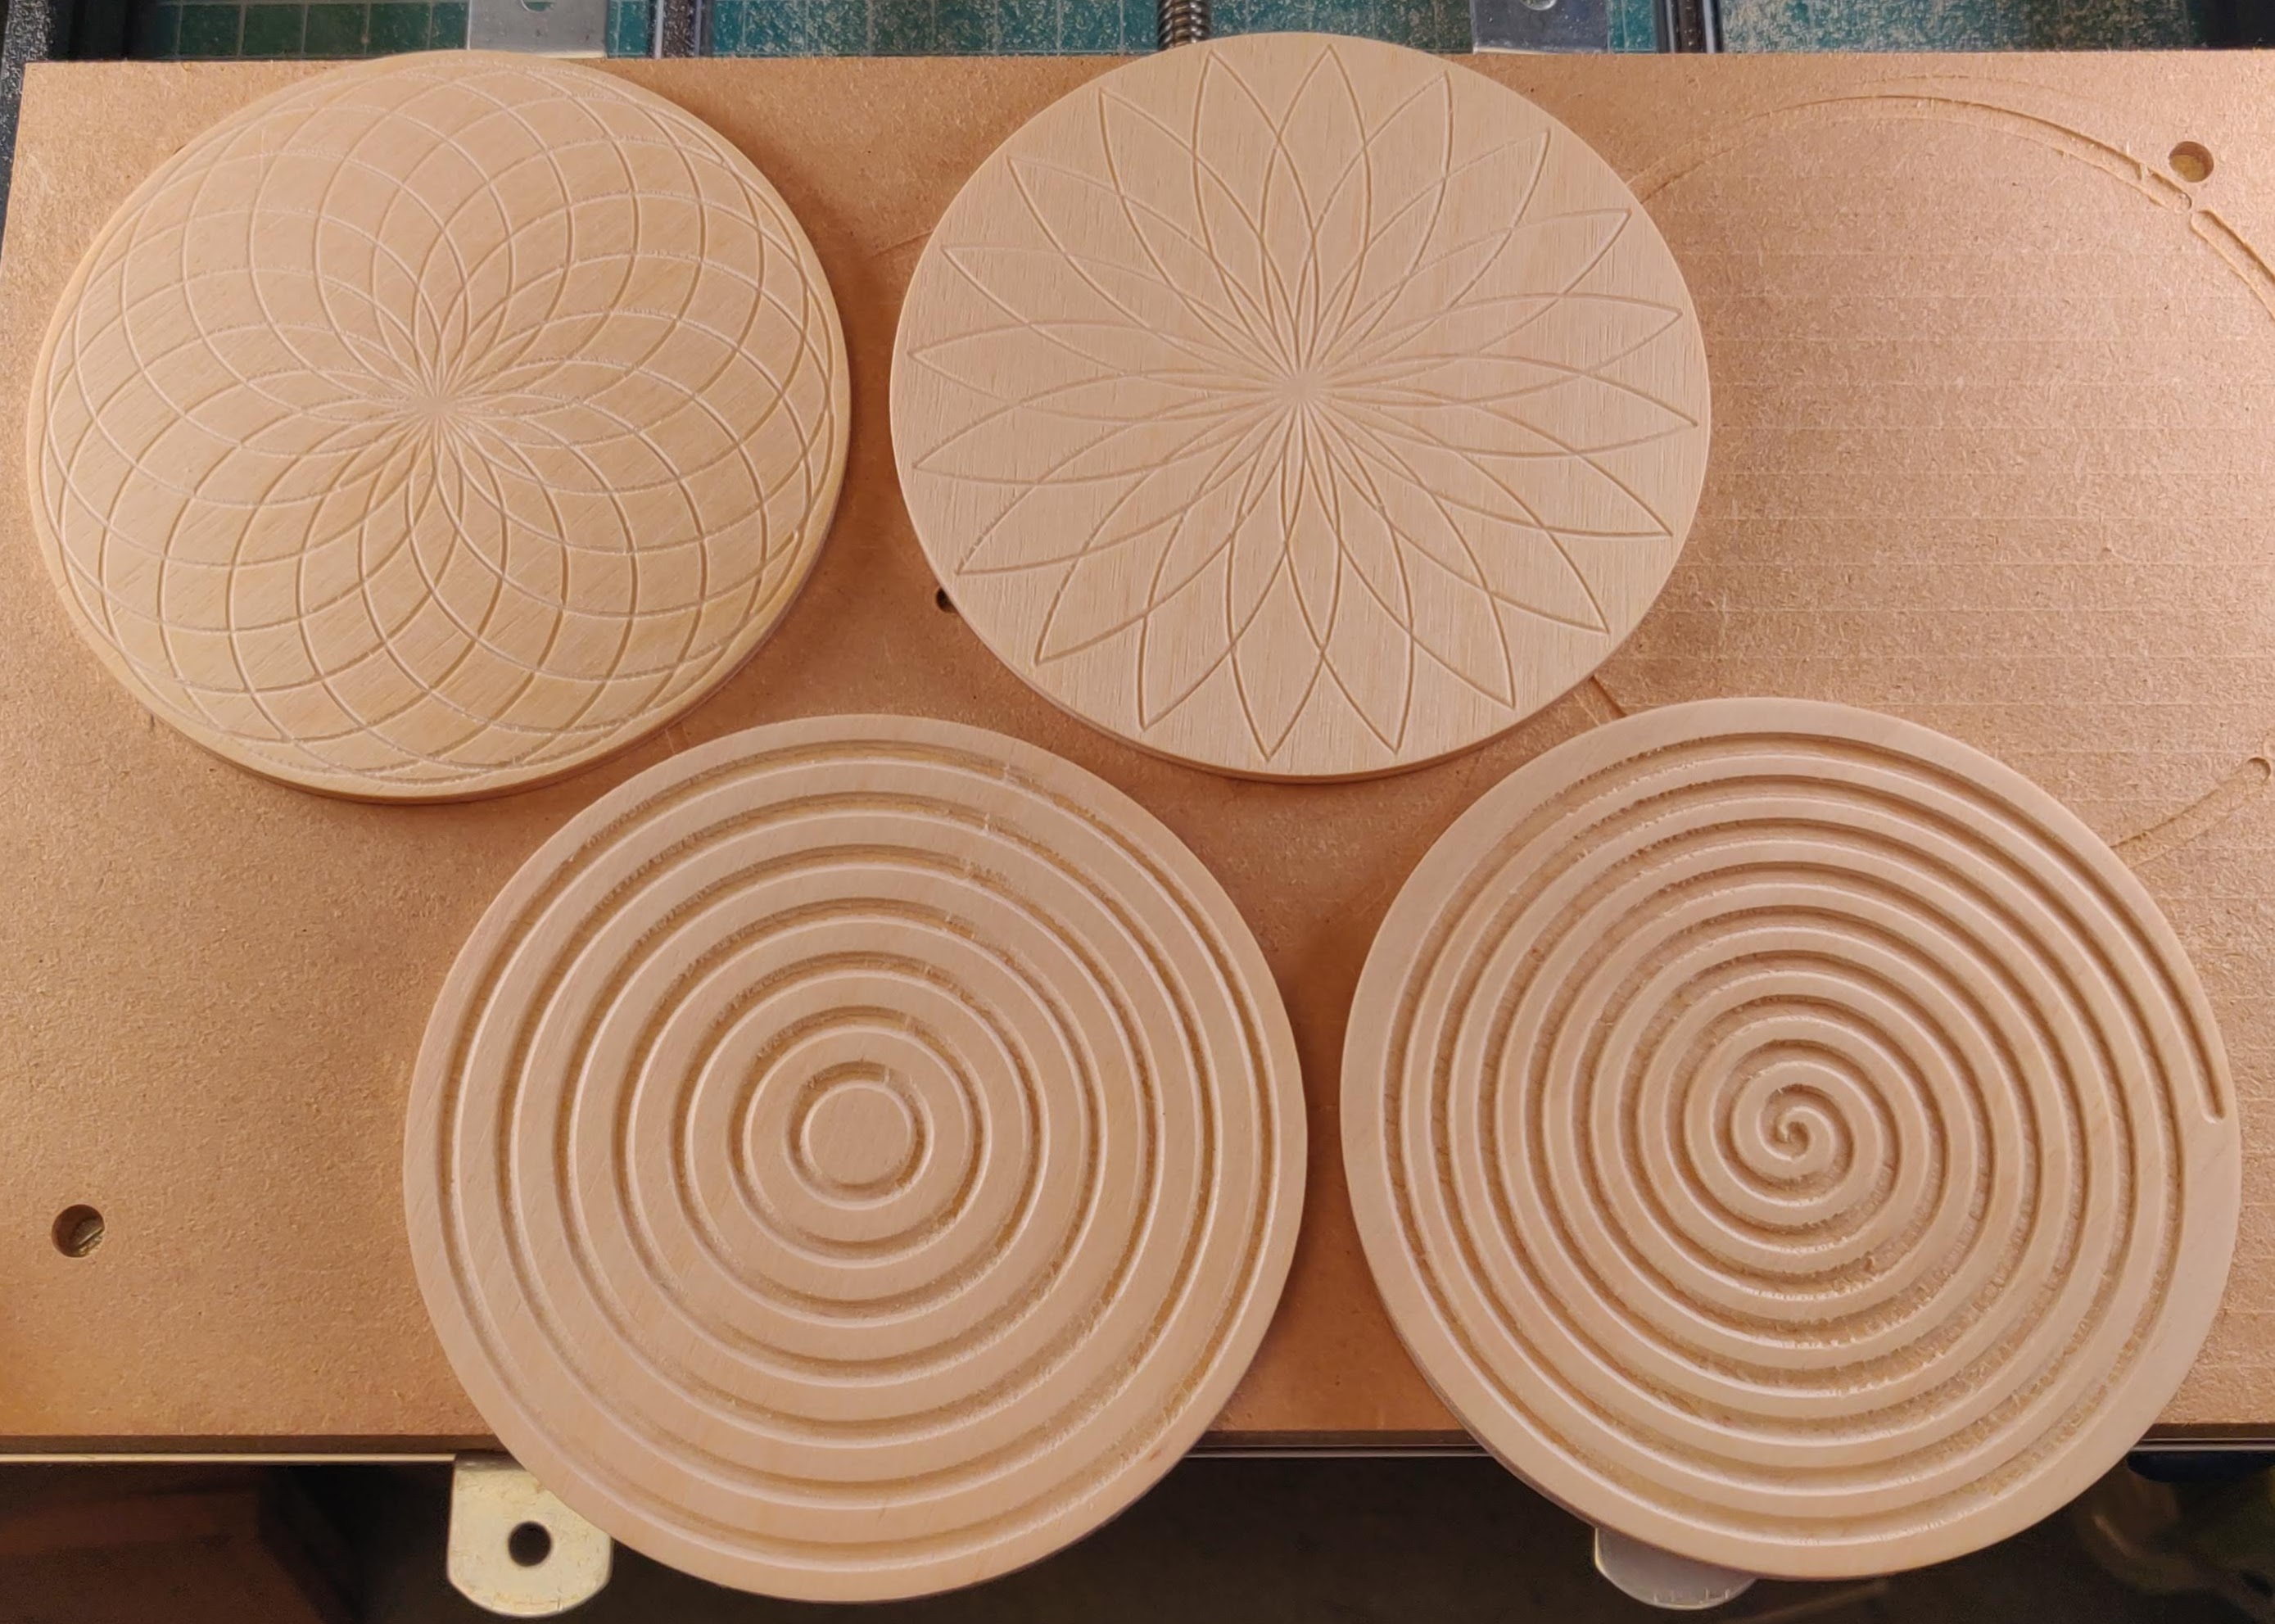
Fortunately, I’d already ordered a much more powerful motor upgrade, which promised more capabilities – i.e. better speed and deeper cuts. But while that was on the way from China, I did some experiments with some potential designs for coasters…
And I got it into my head to try a Greek pattern, so found one on the web and adapted it. This is the job that took five hours to run…
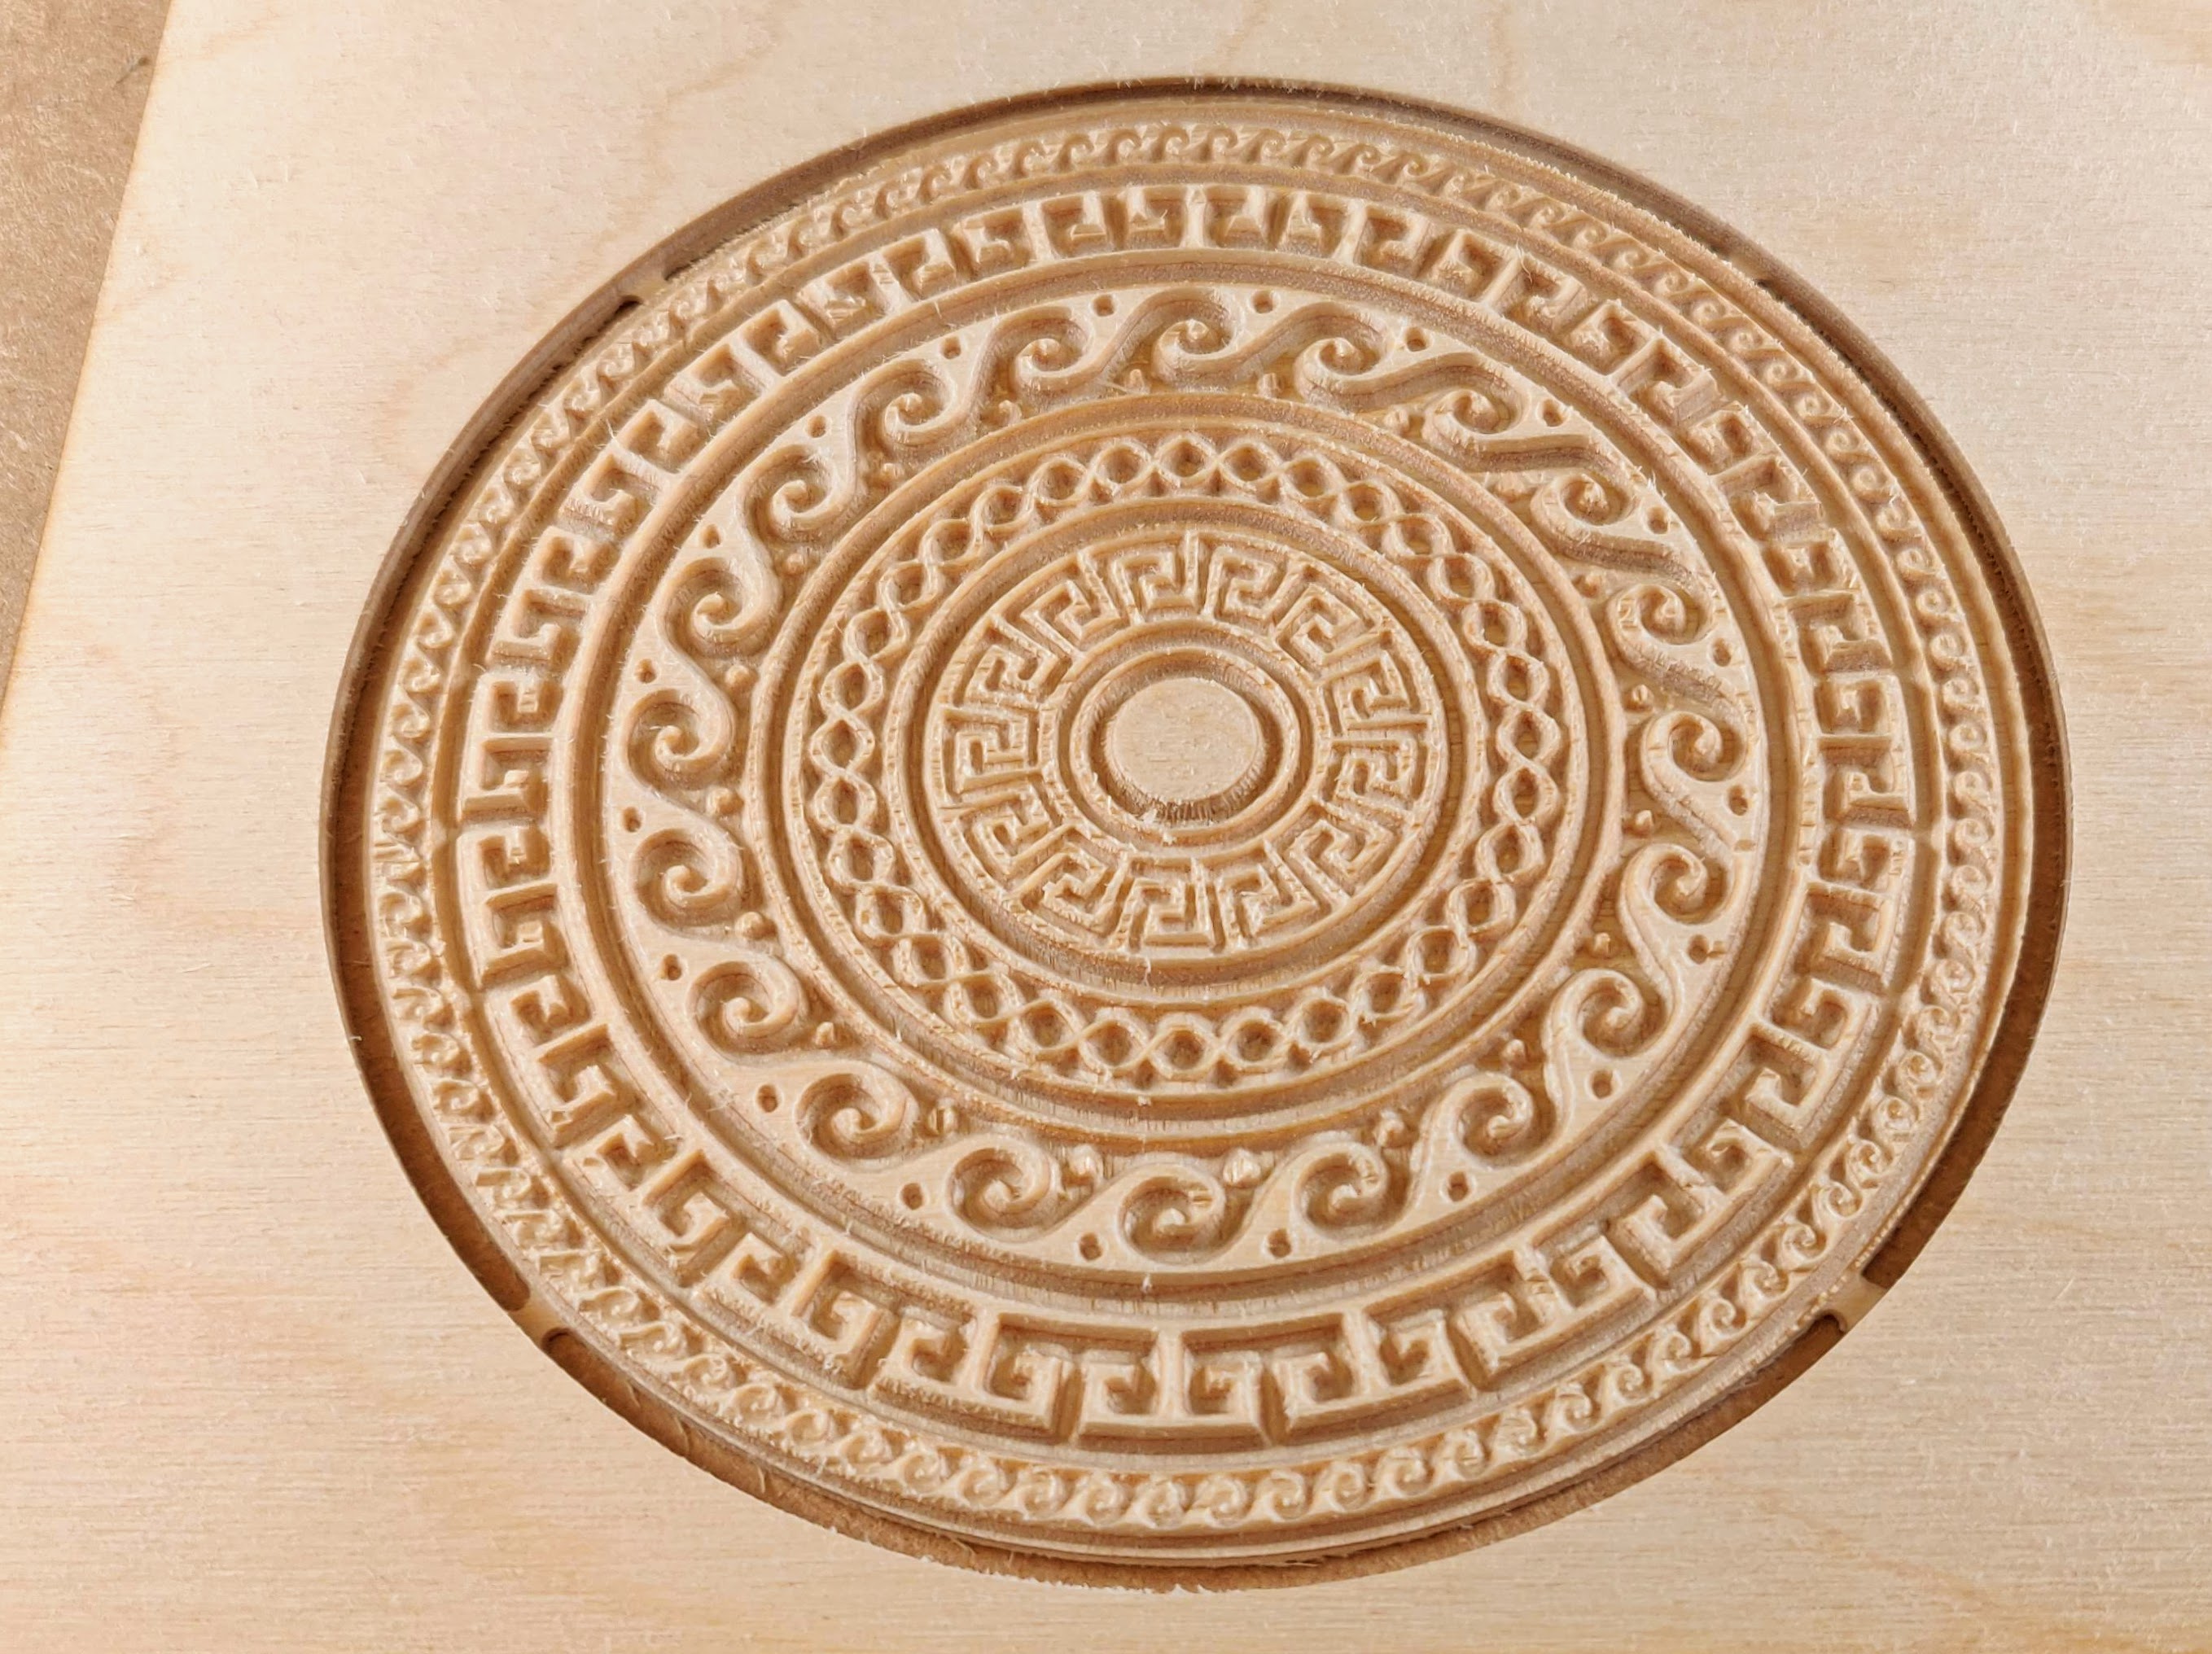
I was quite pleased with that one. There are some slight tearing issues due to the weakness of the ply veneer, but it shows that the stock machine is capable of some quite complex and precise work over a sustained period.
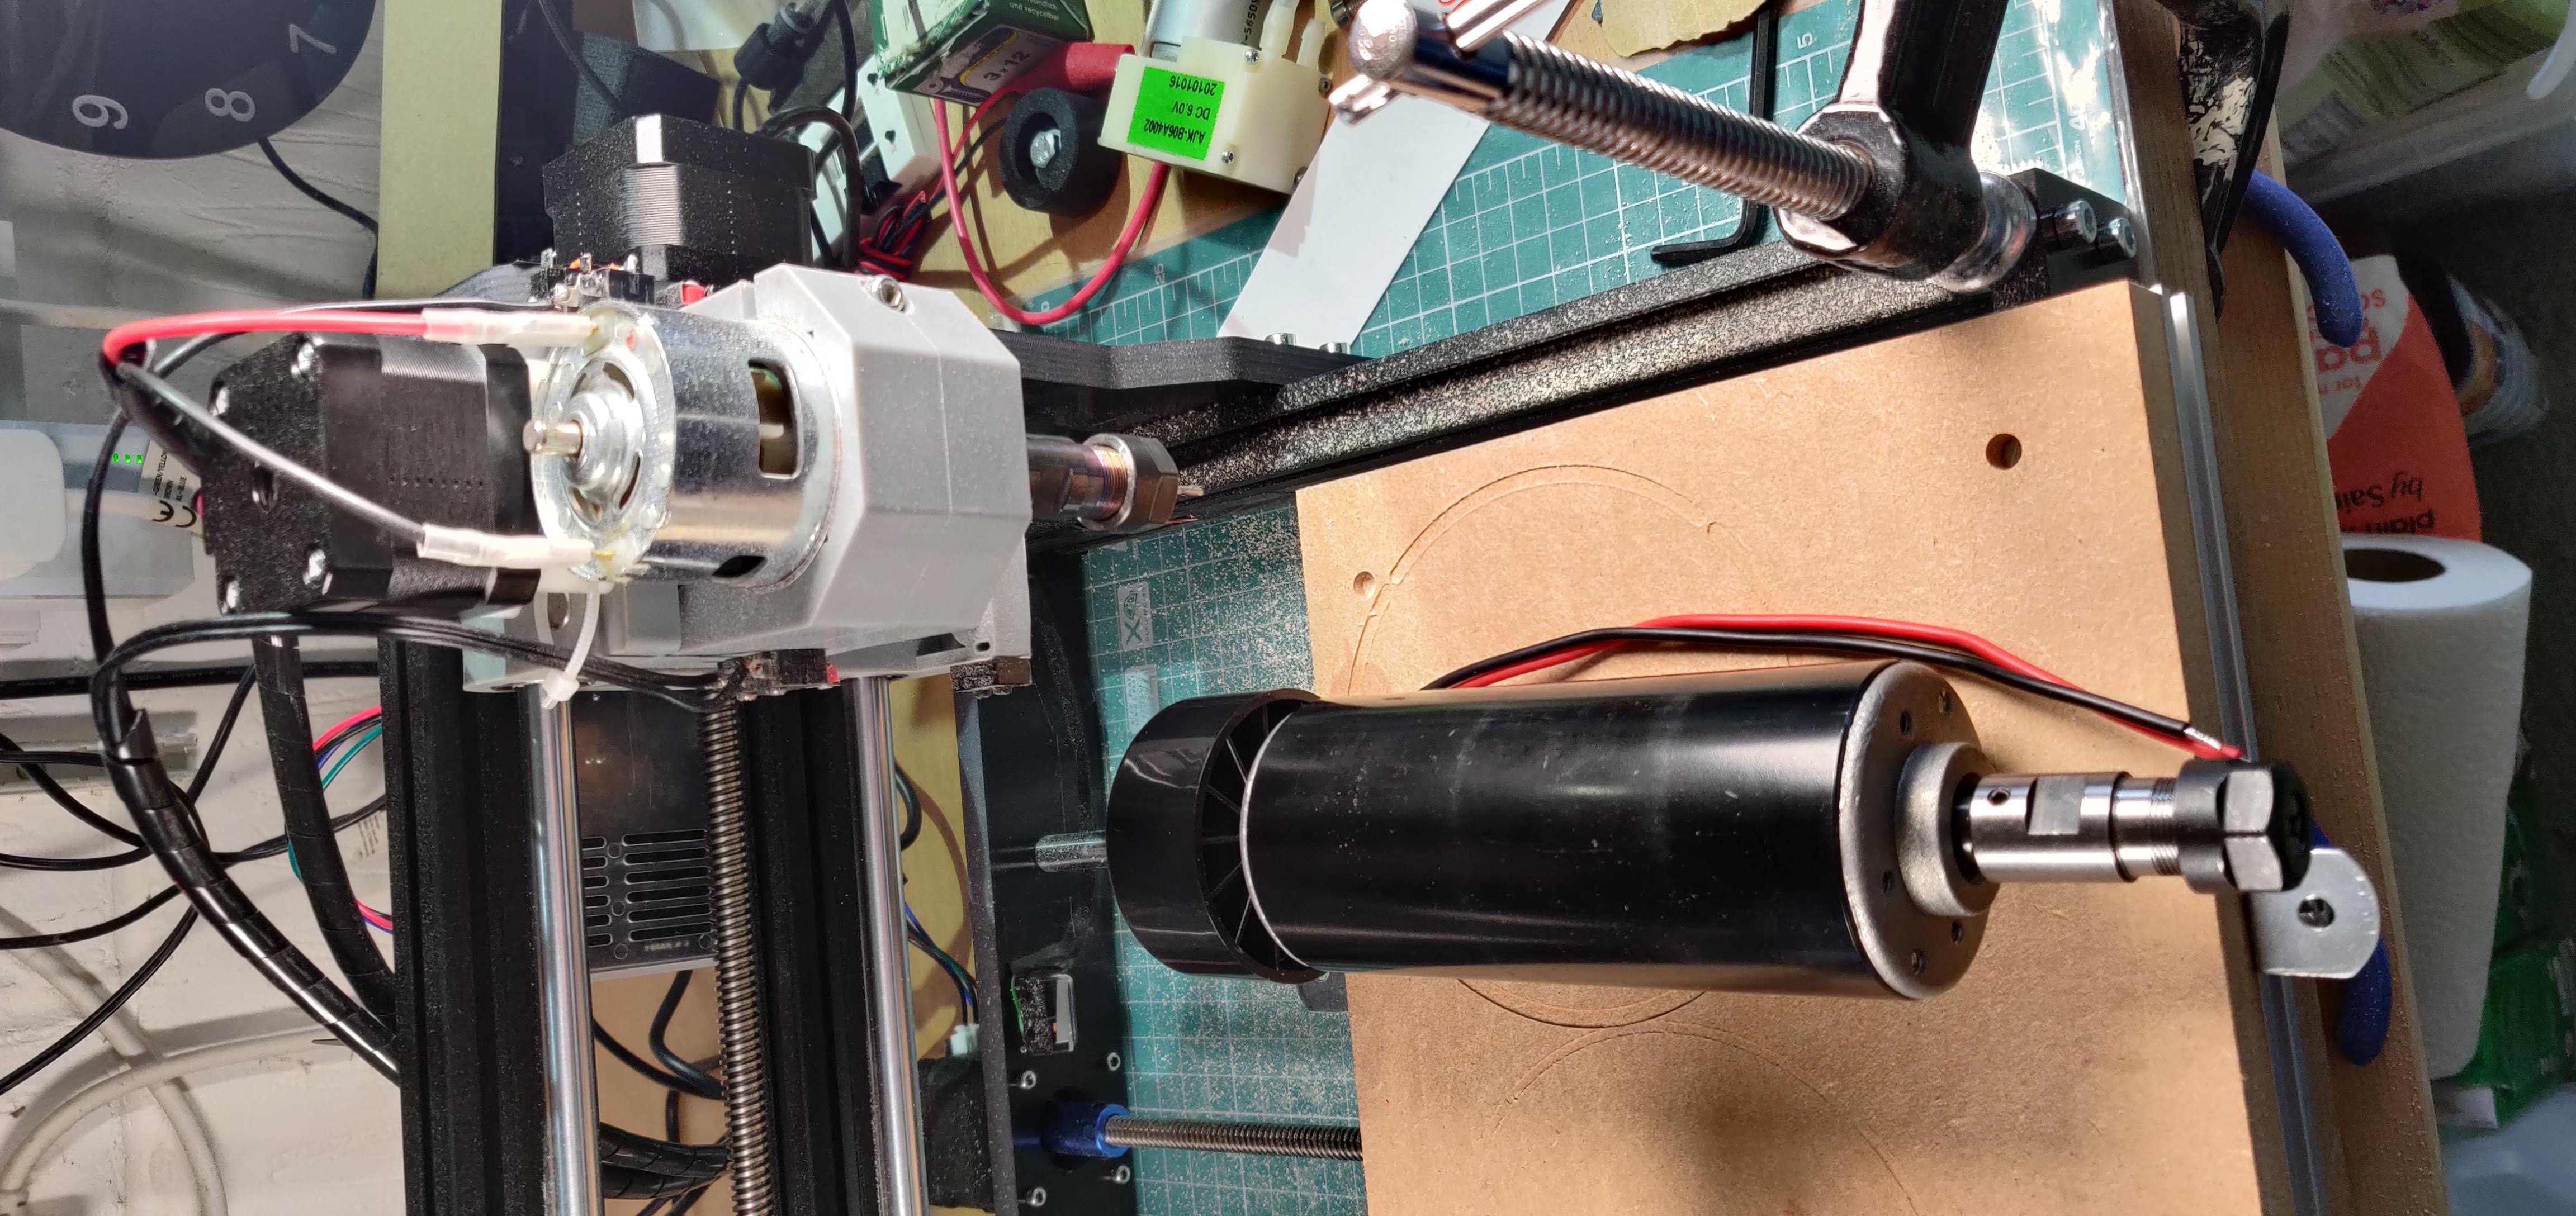
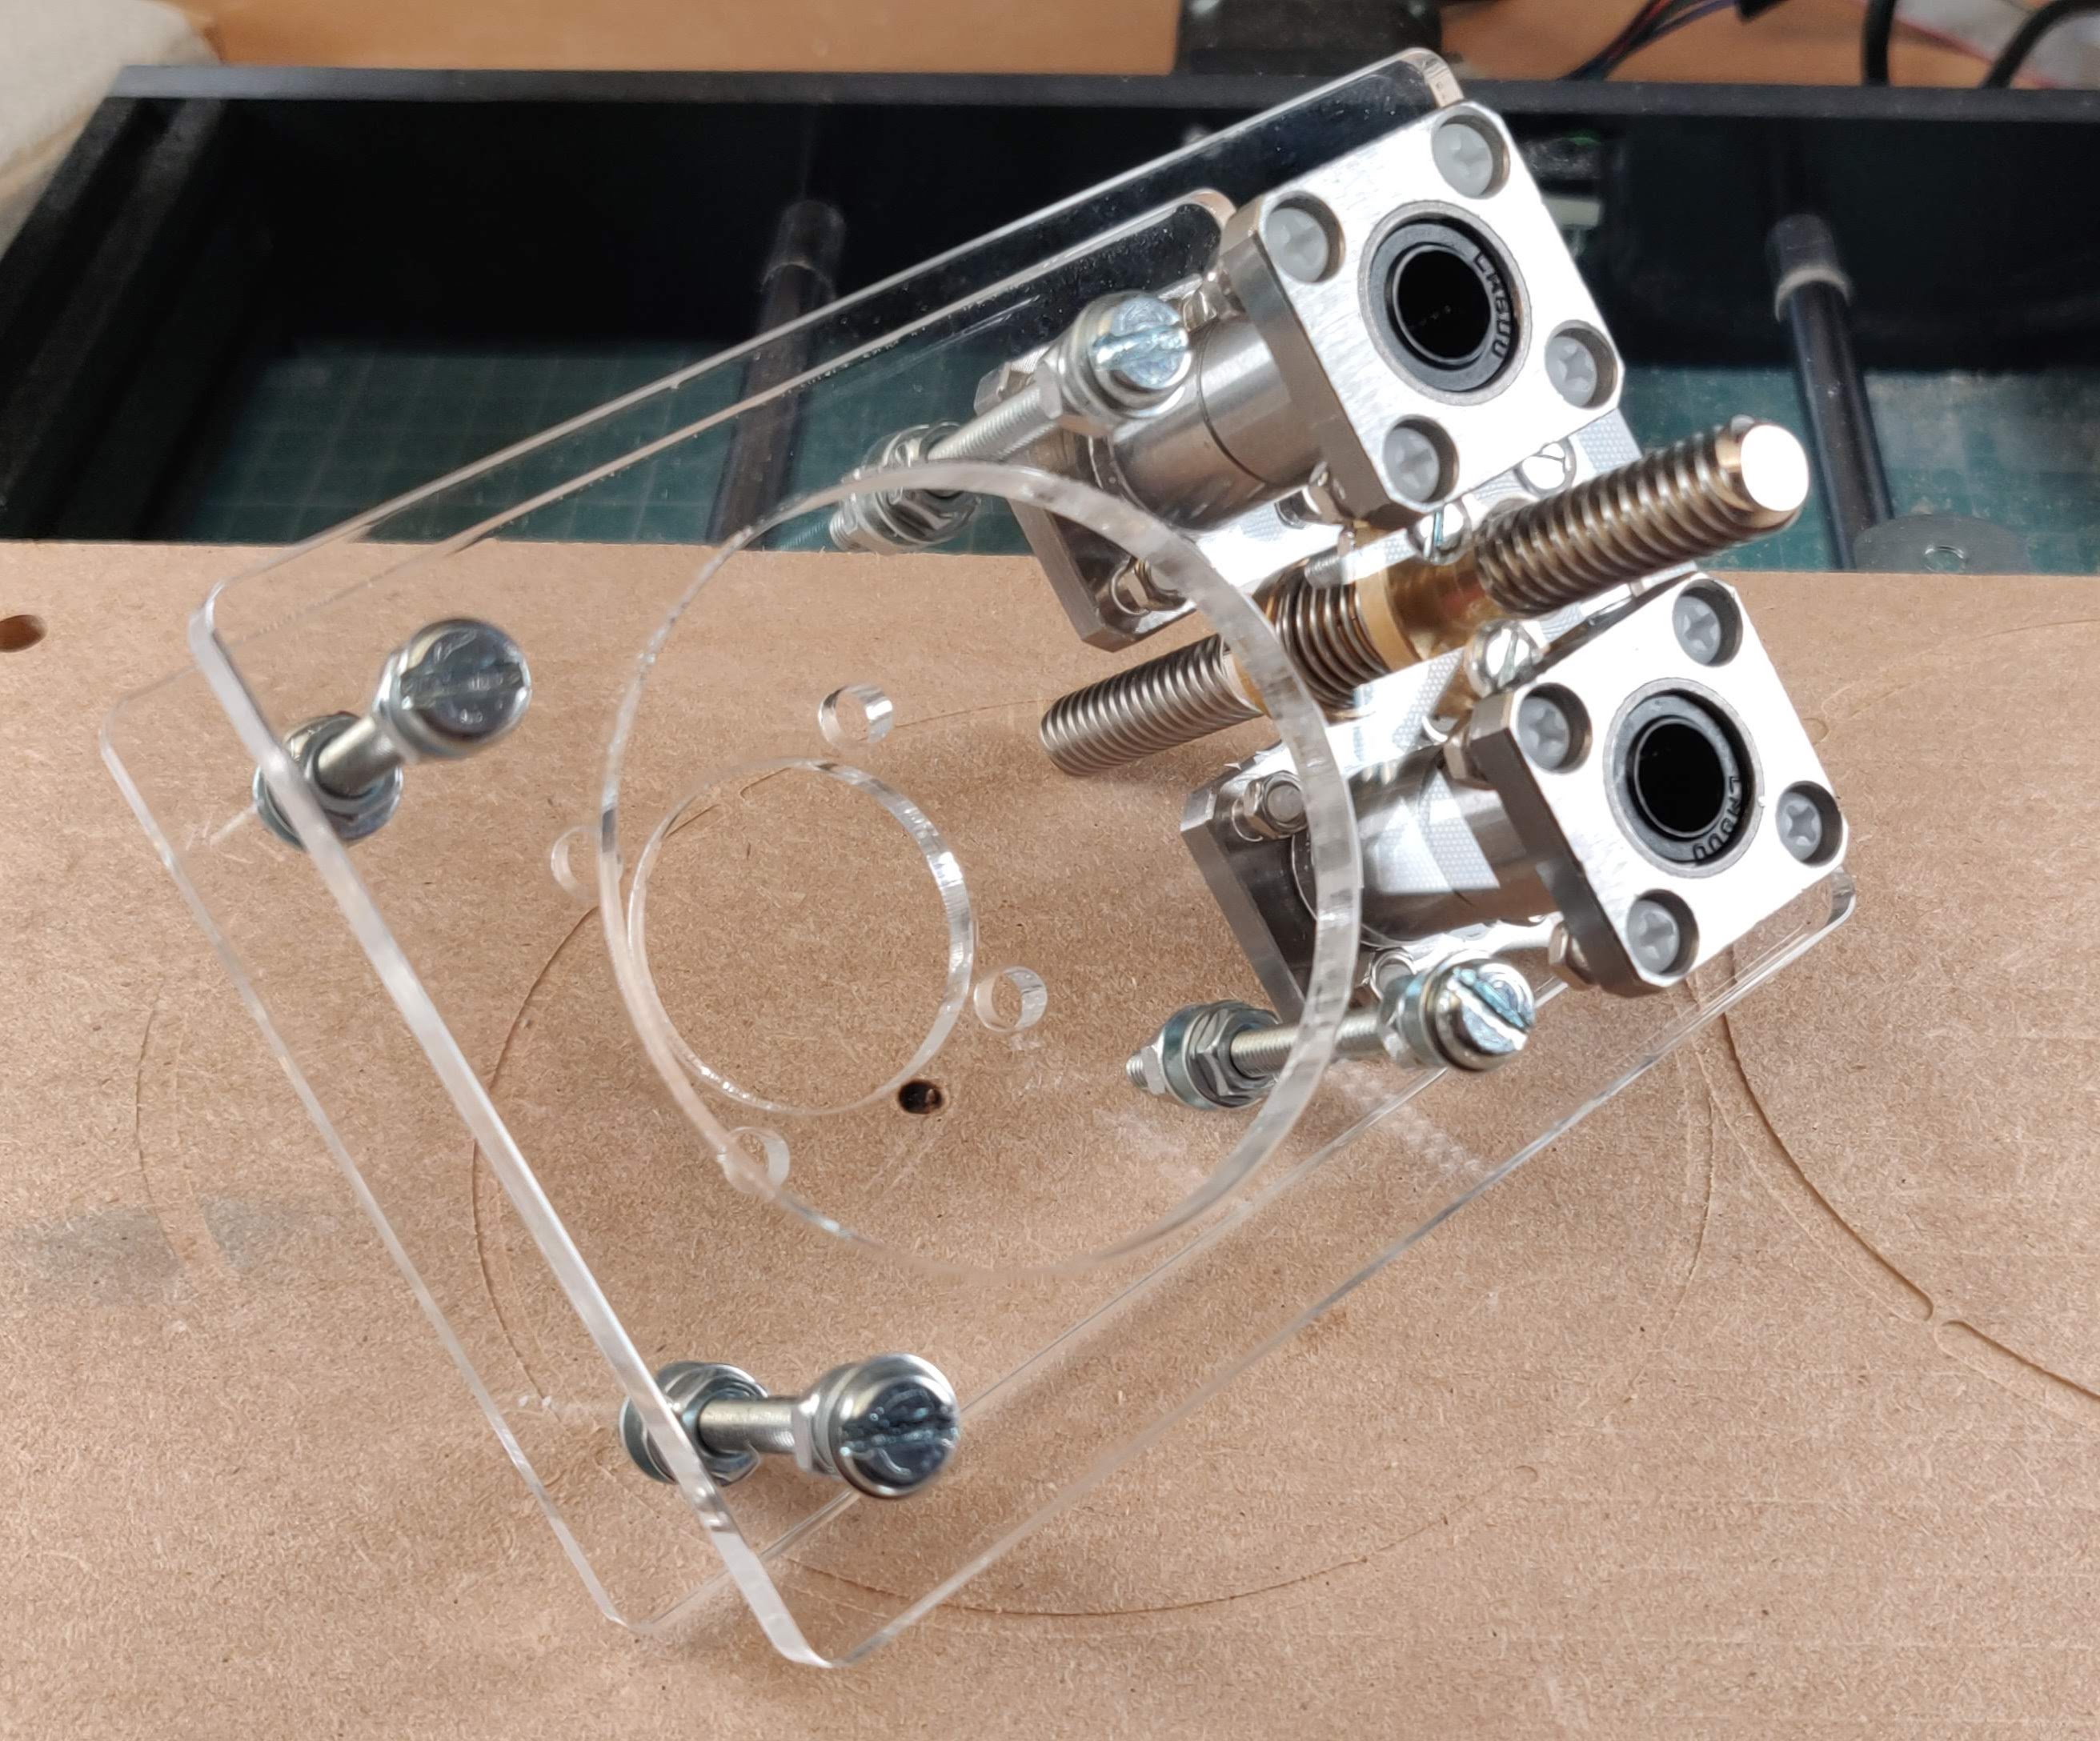
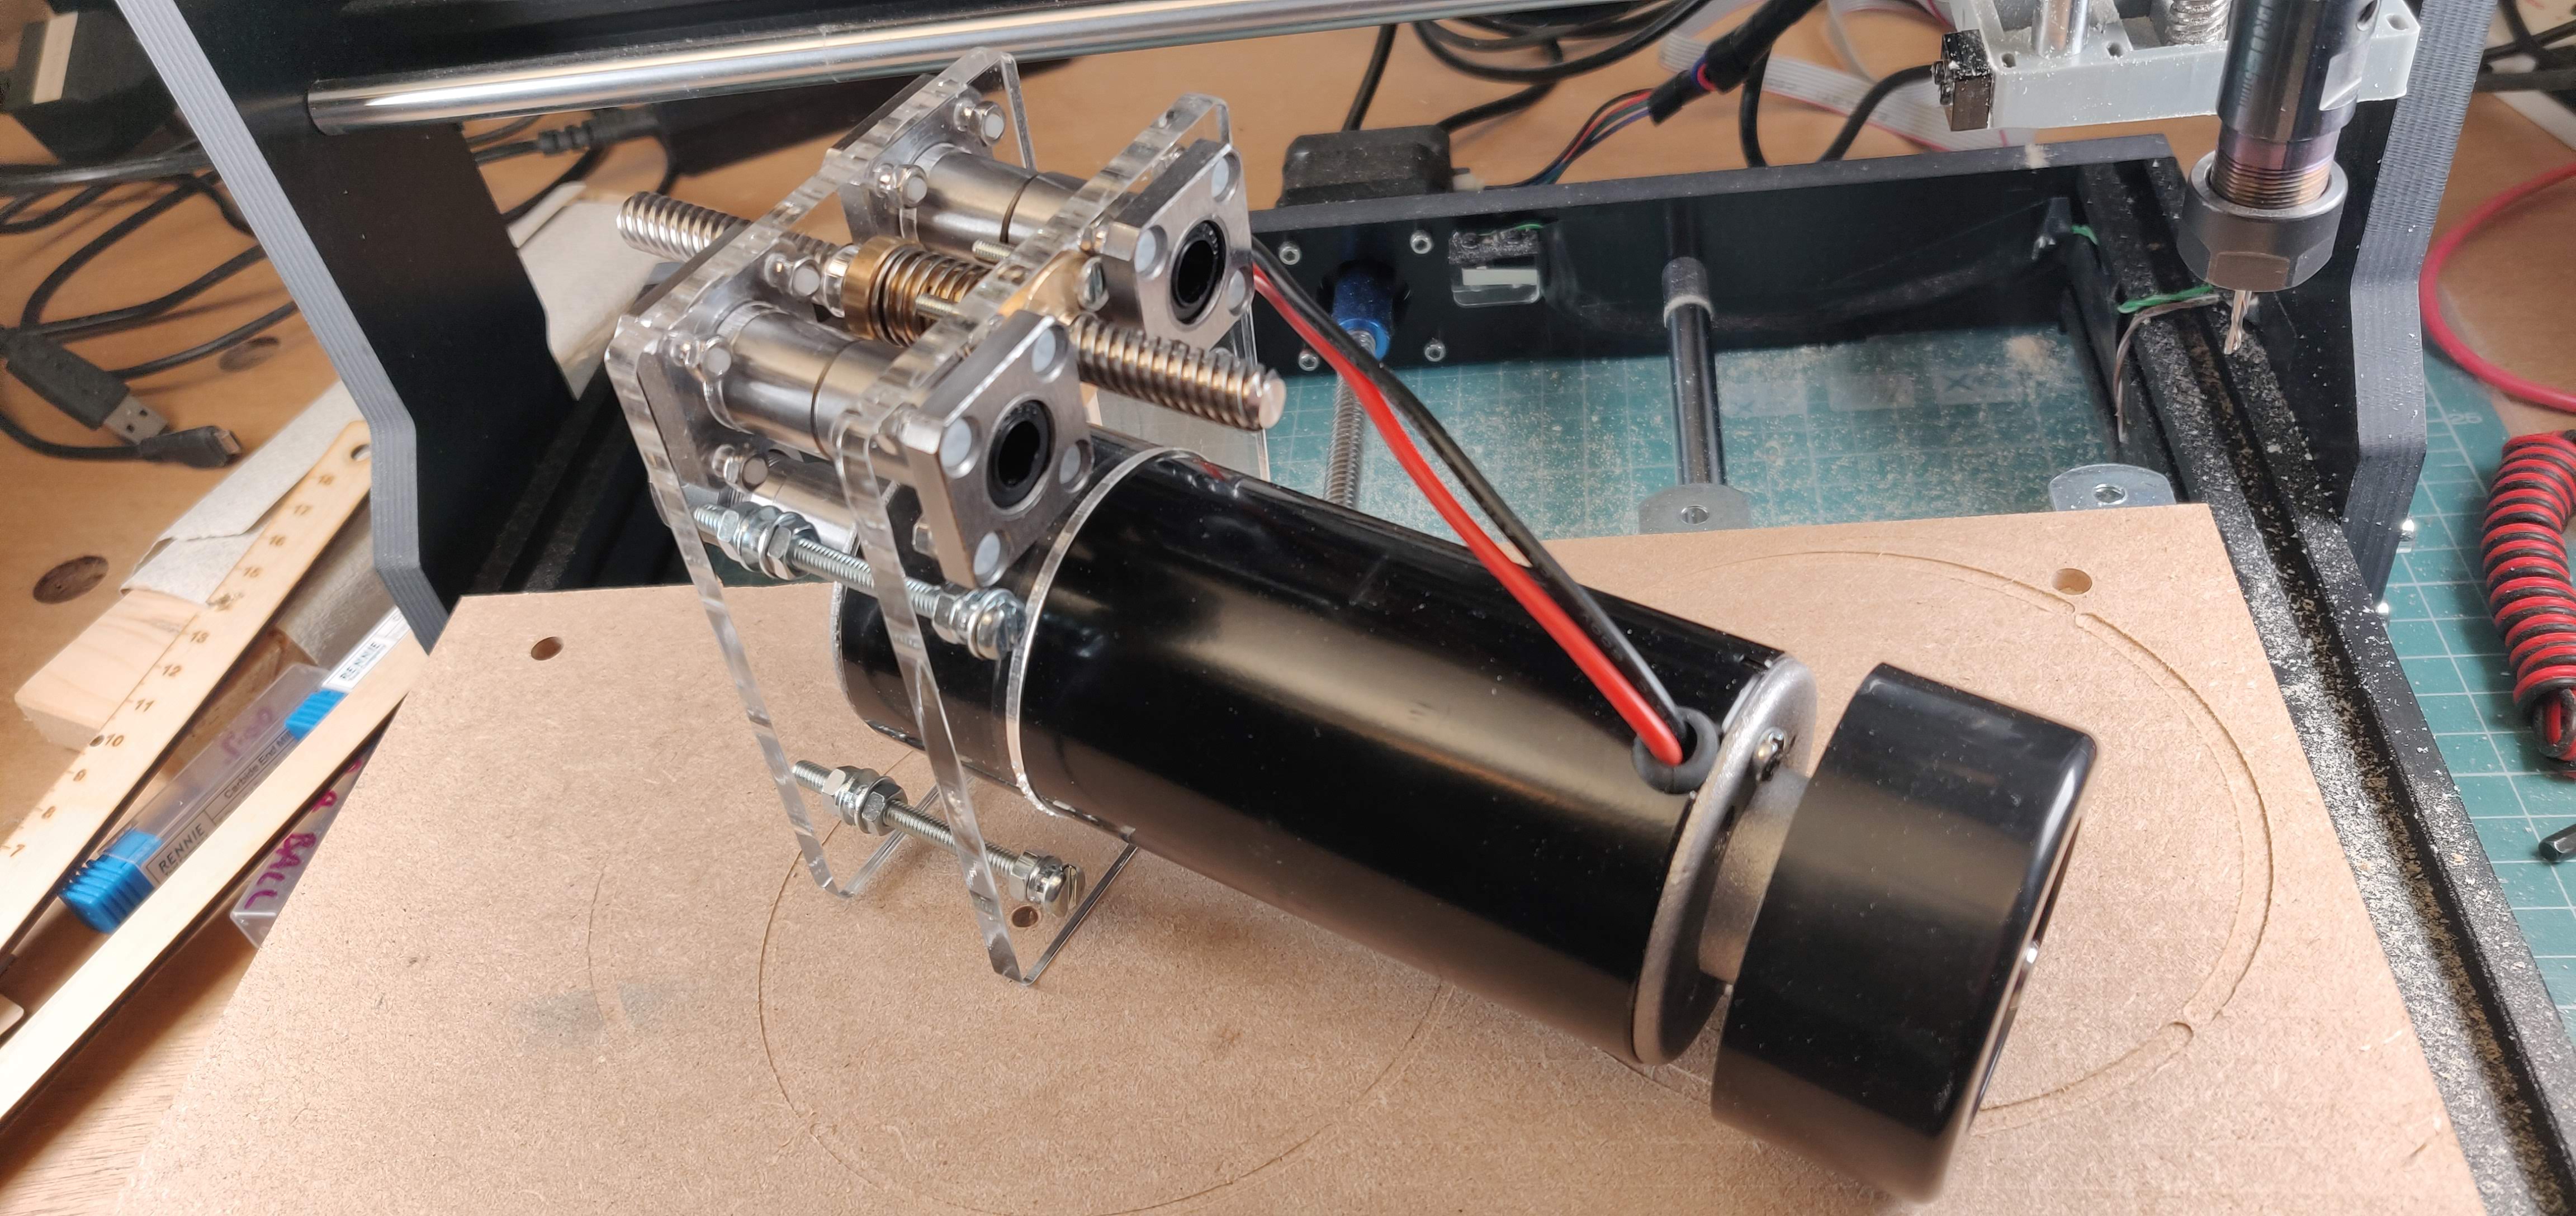
It took me a couple of days to upgrade the motor. I had to build a mount for it – thankfully someone had already done it, so was able to more or less copy their design, but obviously I tweaked it – as you do.
The circular black fan on top of the motor was off-centre. It caused wobble and vibration. So I designed and made one out of laser cut, heat-bent perspex. It’s basically a small 4-bladed propellor.
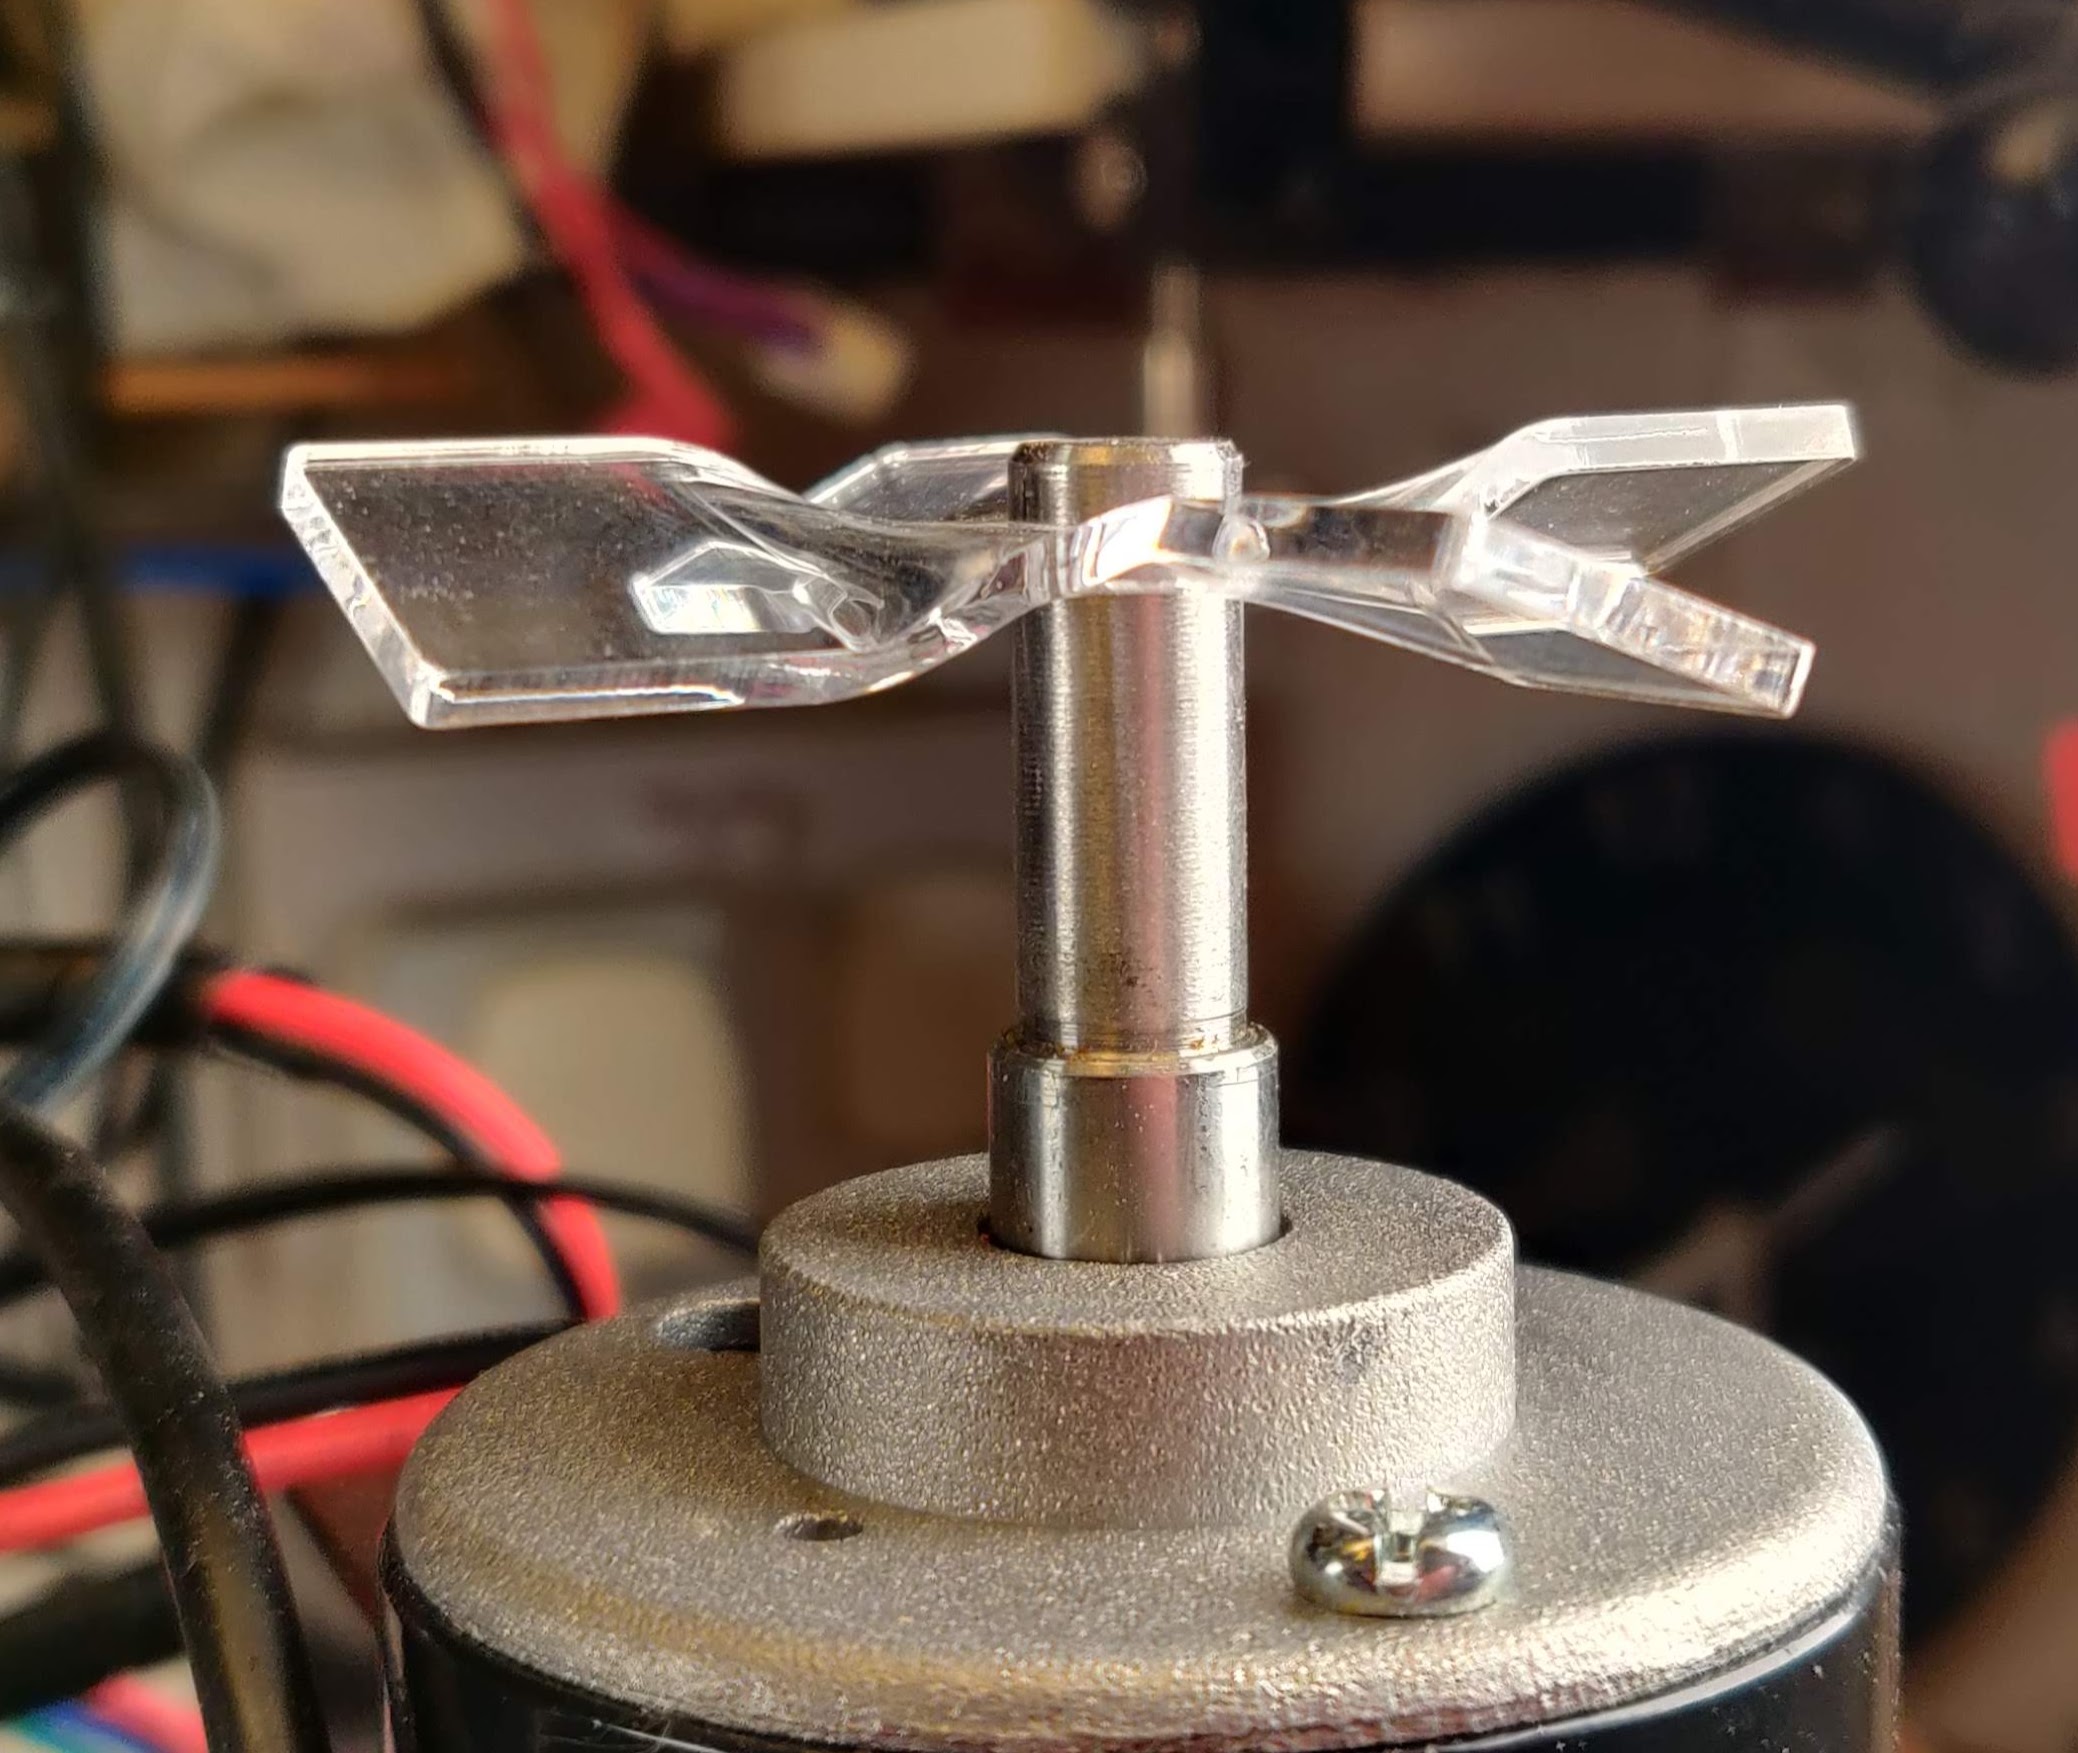
Putting a temperature probe on the motor case shows a huge difference with the fan. The motor gets too hot to touch after about 5 minutes running without it. With the fan in place, you can run it for a long time with no issues.
So much more playing to find the new, faster, deeper settings that the new motor is capable of. I’d also ordered a small square of brass to play with, and wanted something small to test it out. So I designed a small spoke key and valve-core remover to go in the saddle-bag.
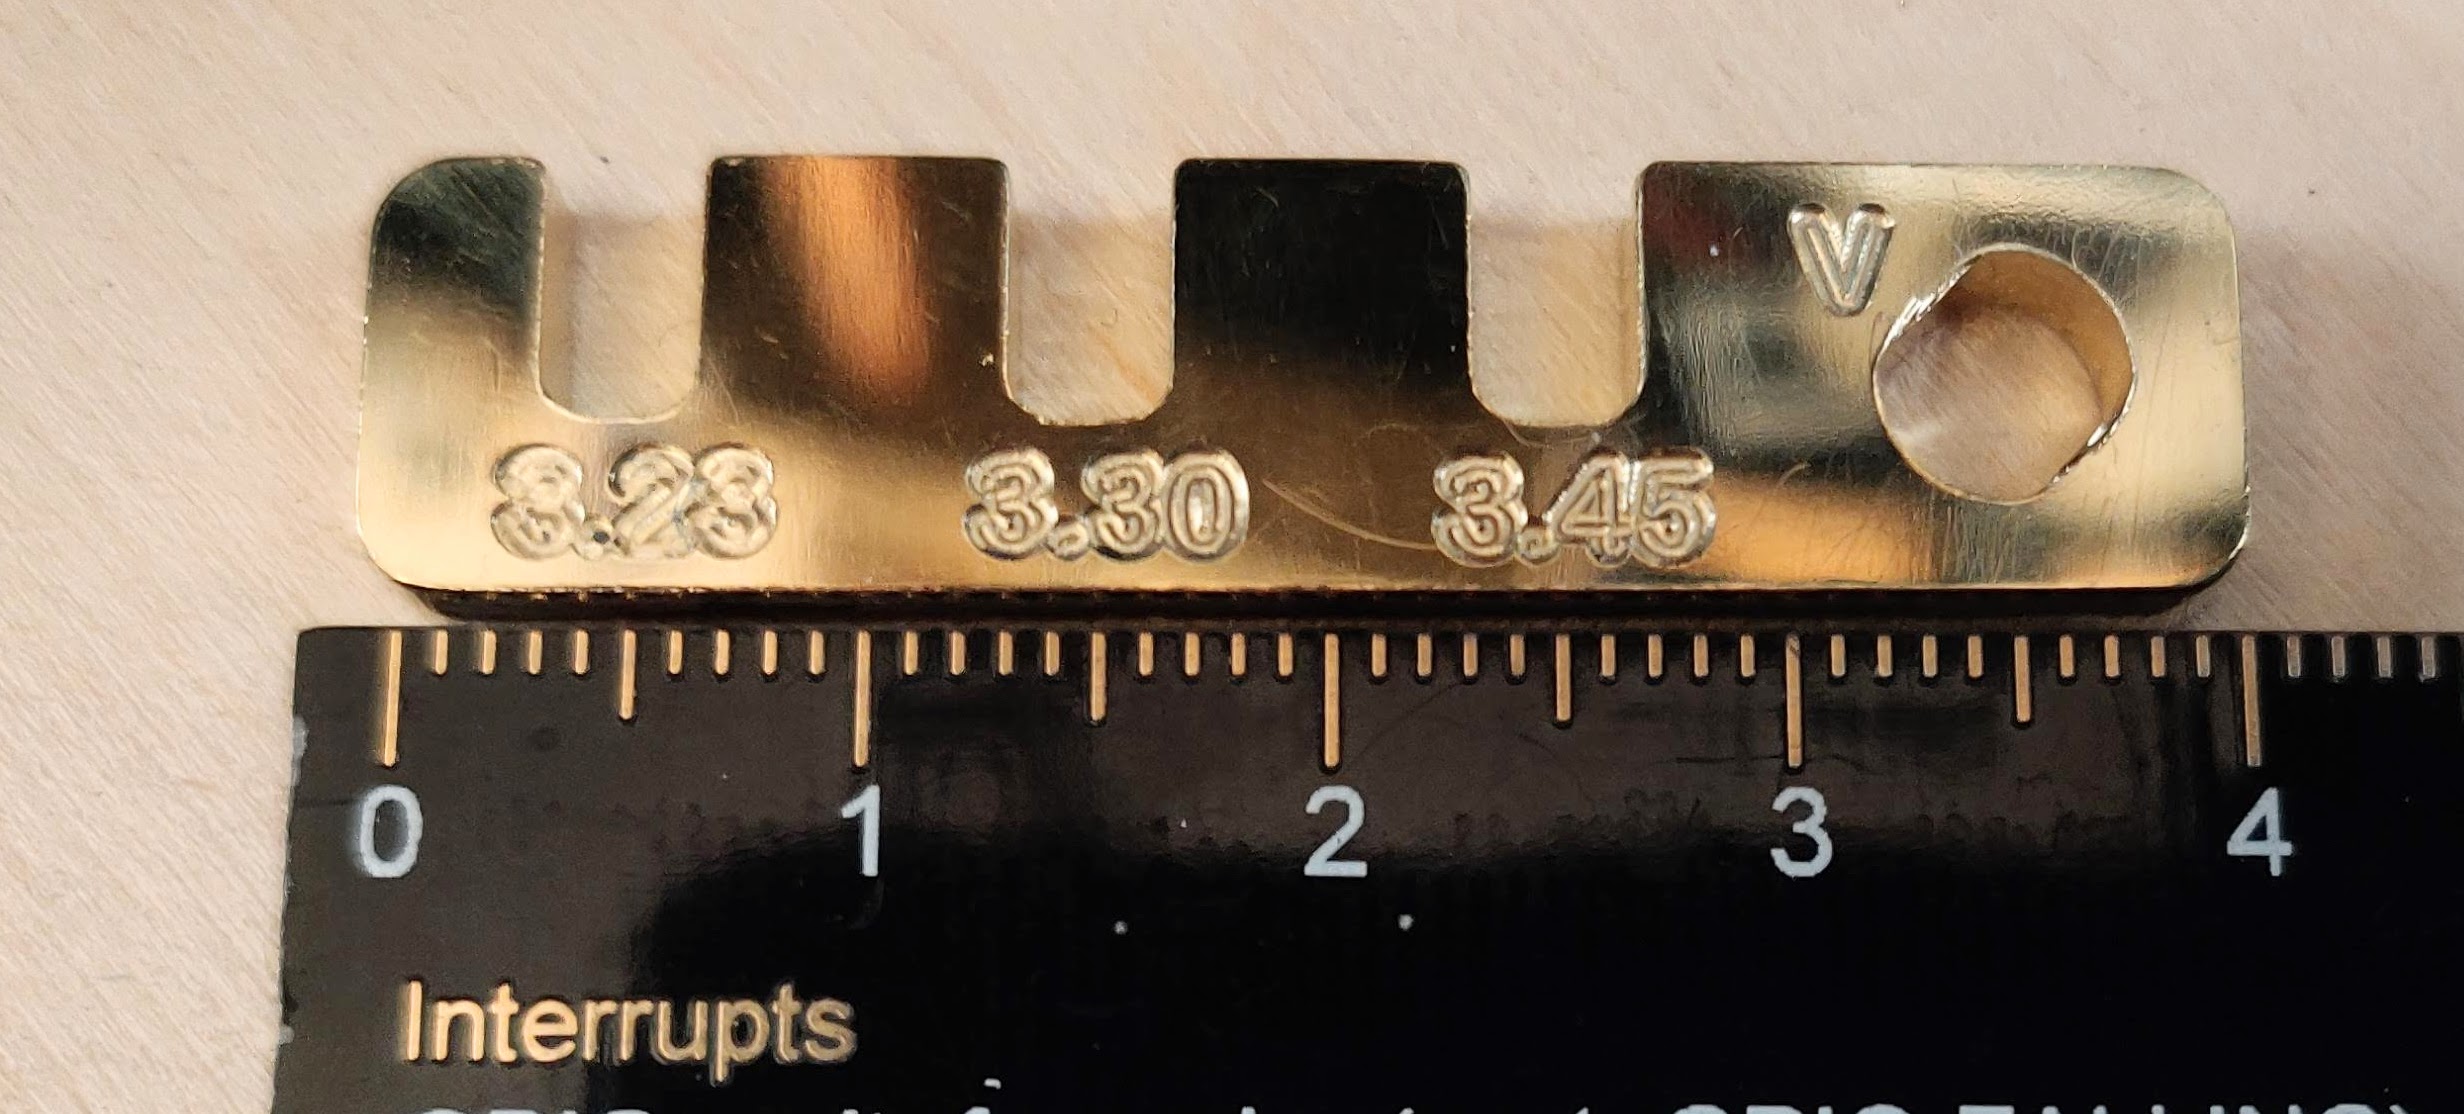
Not knowing the right settings, I took it very slowly and cautiously, but the results were really good. Encouraged by this, I designed a 7mm-8mm spanner

And this is how it eventually turned out, but not without some ‘learning’. After about an hour and a half of cutting, the job was within 10 minutes of finishing, but I hadn’t clamped it down well enough and the bit caught on the edge of the job, moving the sheet of brass out of alignment. This caused the bit to break and the job had to be finished by hand with lots of Dremelling. Then it needed a couple of hours of filing, sanding and polishing, but the final result is this, with which I am very pleased…
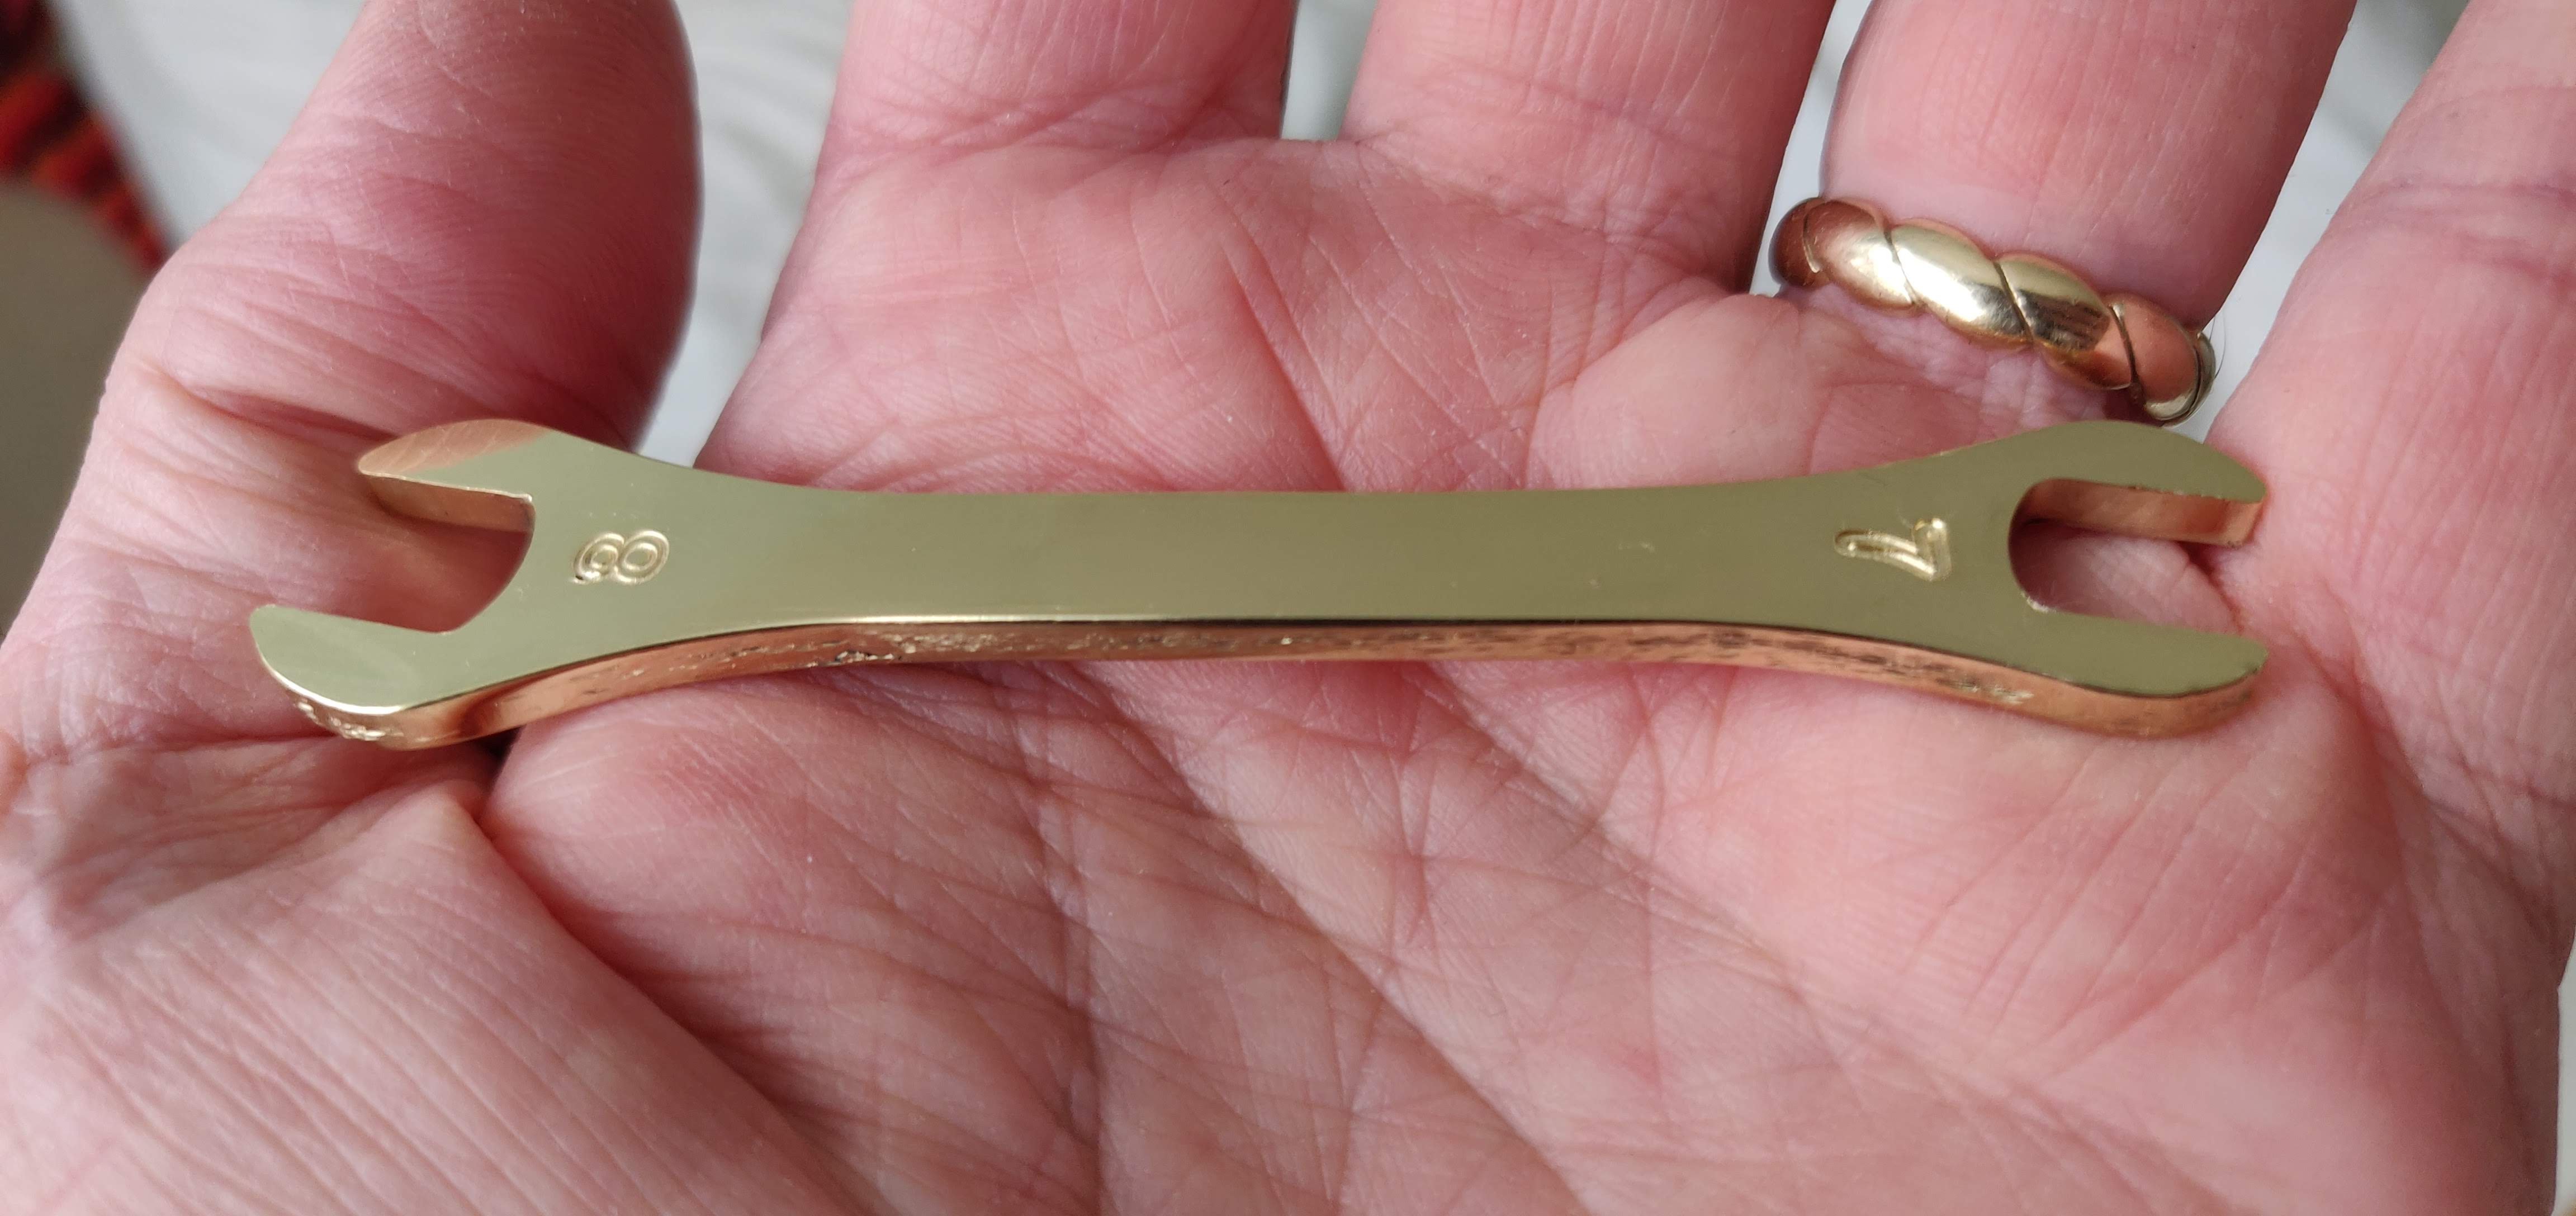
Better clamping will avoid such issues in future. Bits do break now and then, particularly on harder materials. It’s just part of the game.
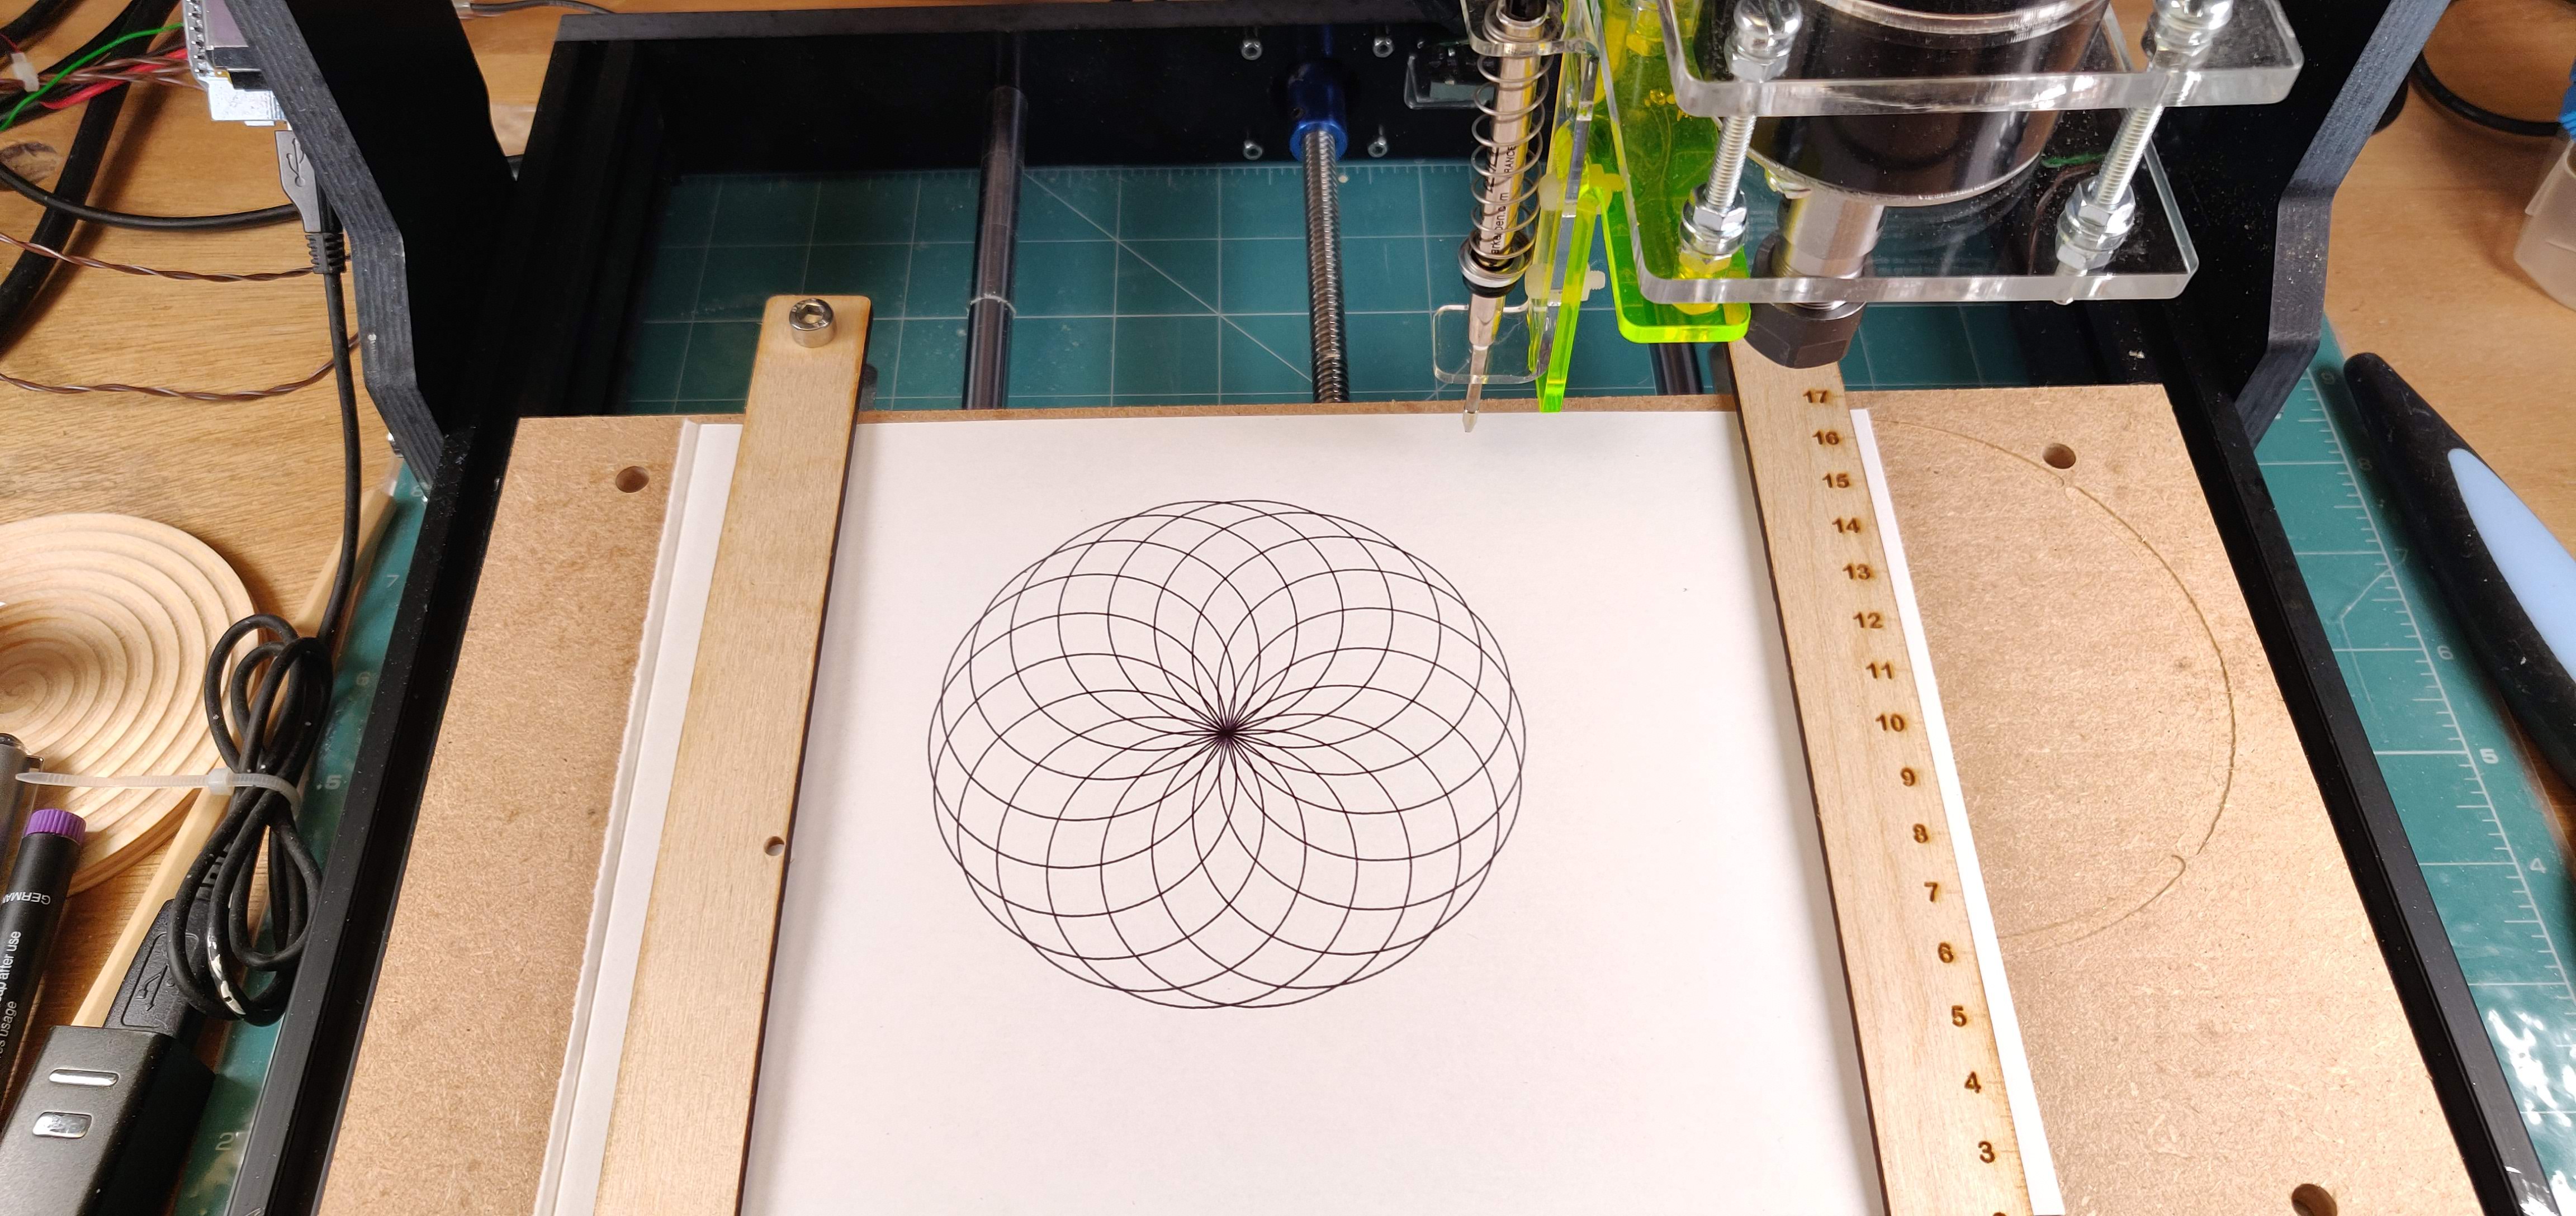
So that brings me right up to mid-March. The next thing I did was design a pen-holder to turn the machine into a pen plotter. This turned out to be almost ‘disappointingly easy’, in that it worked first time and only took about 2 hours.
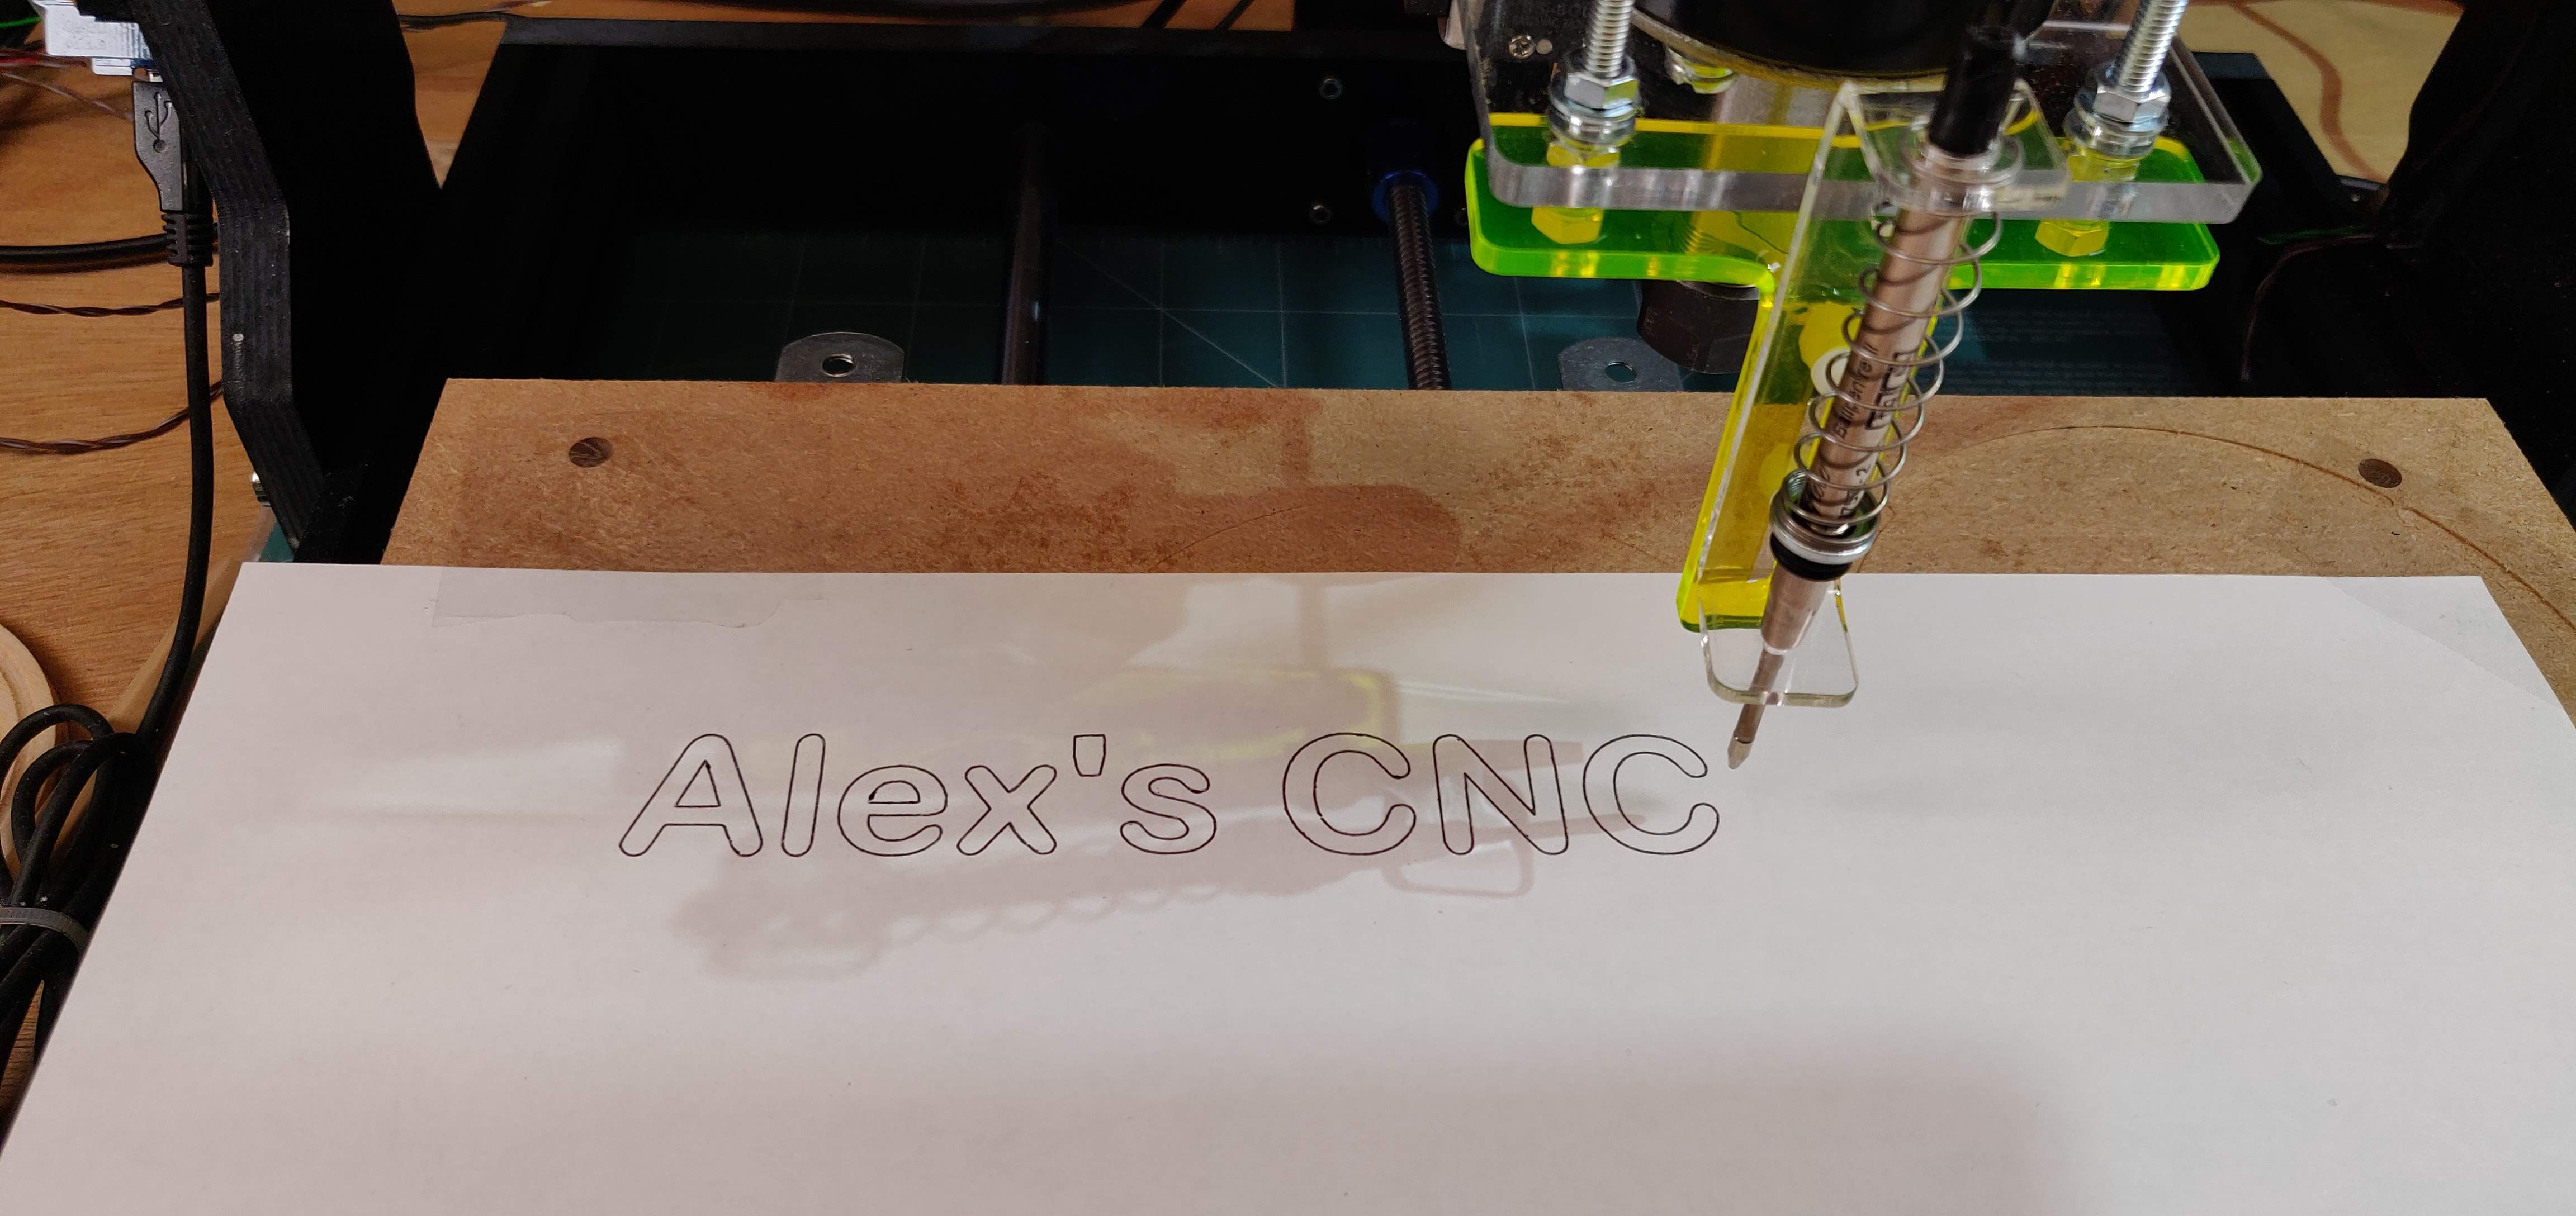
It also mounts on either front or side of the motor mount (the joys of symmetry). And with a cardboard backing to smooth out irregularities, you can get some quite nice results…
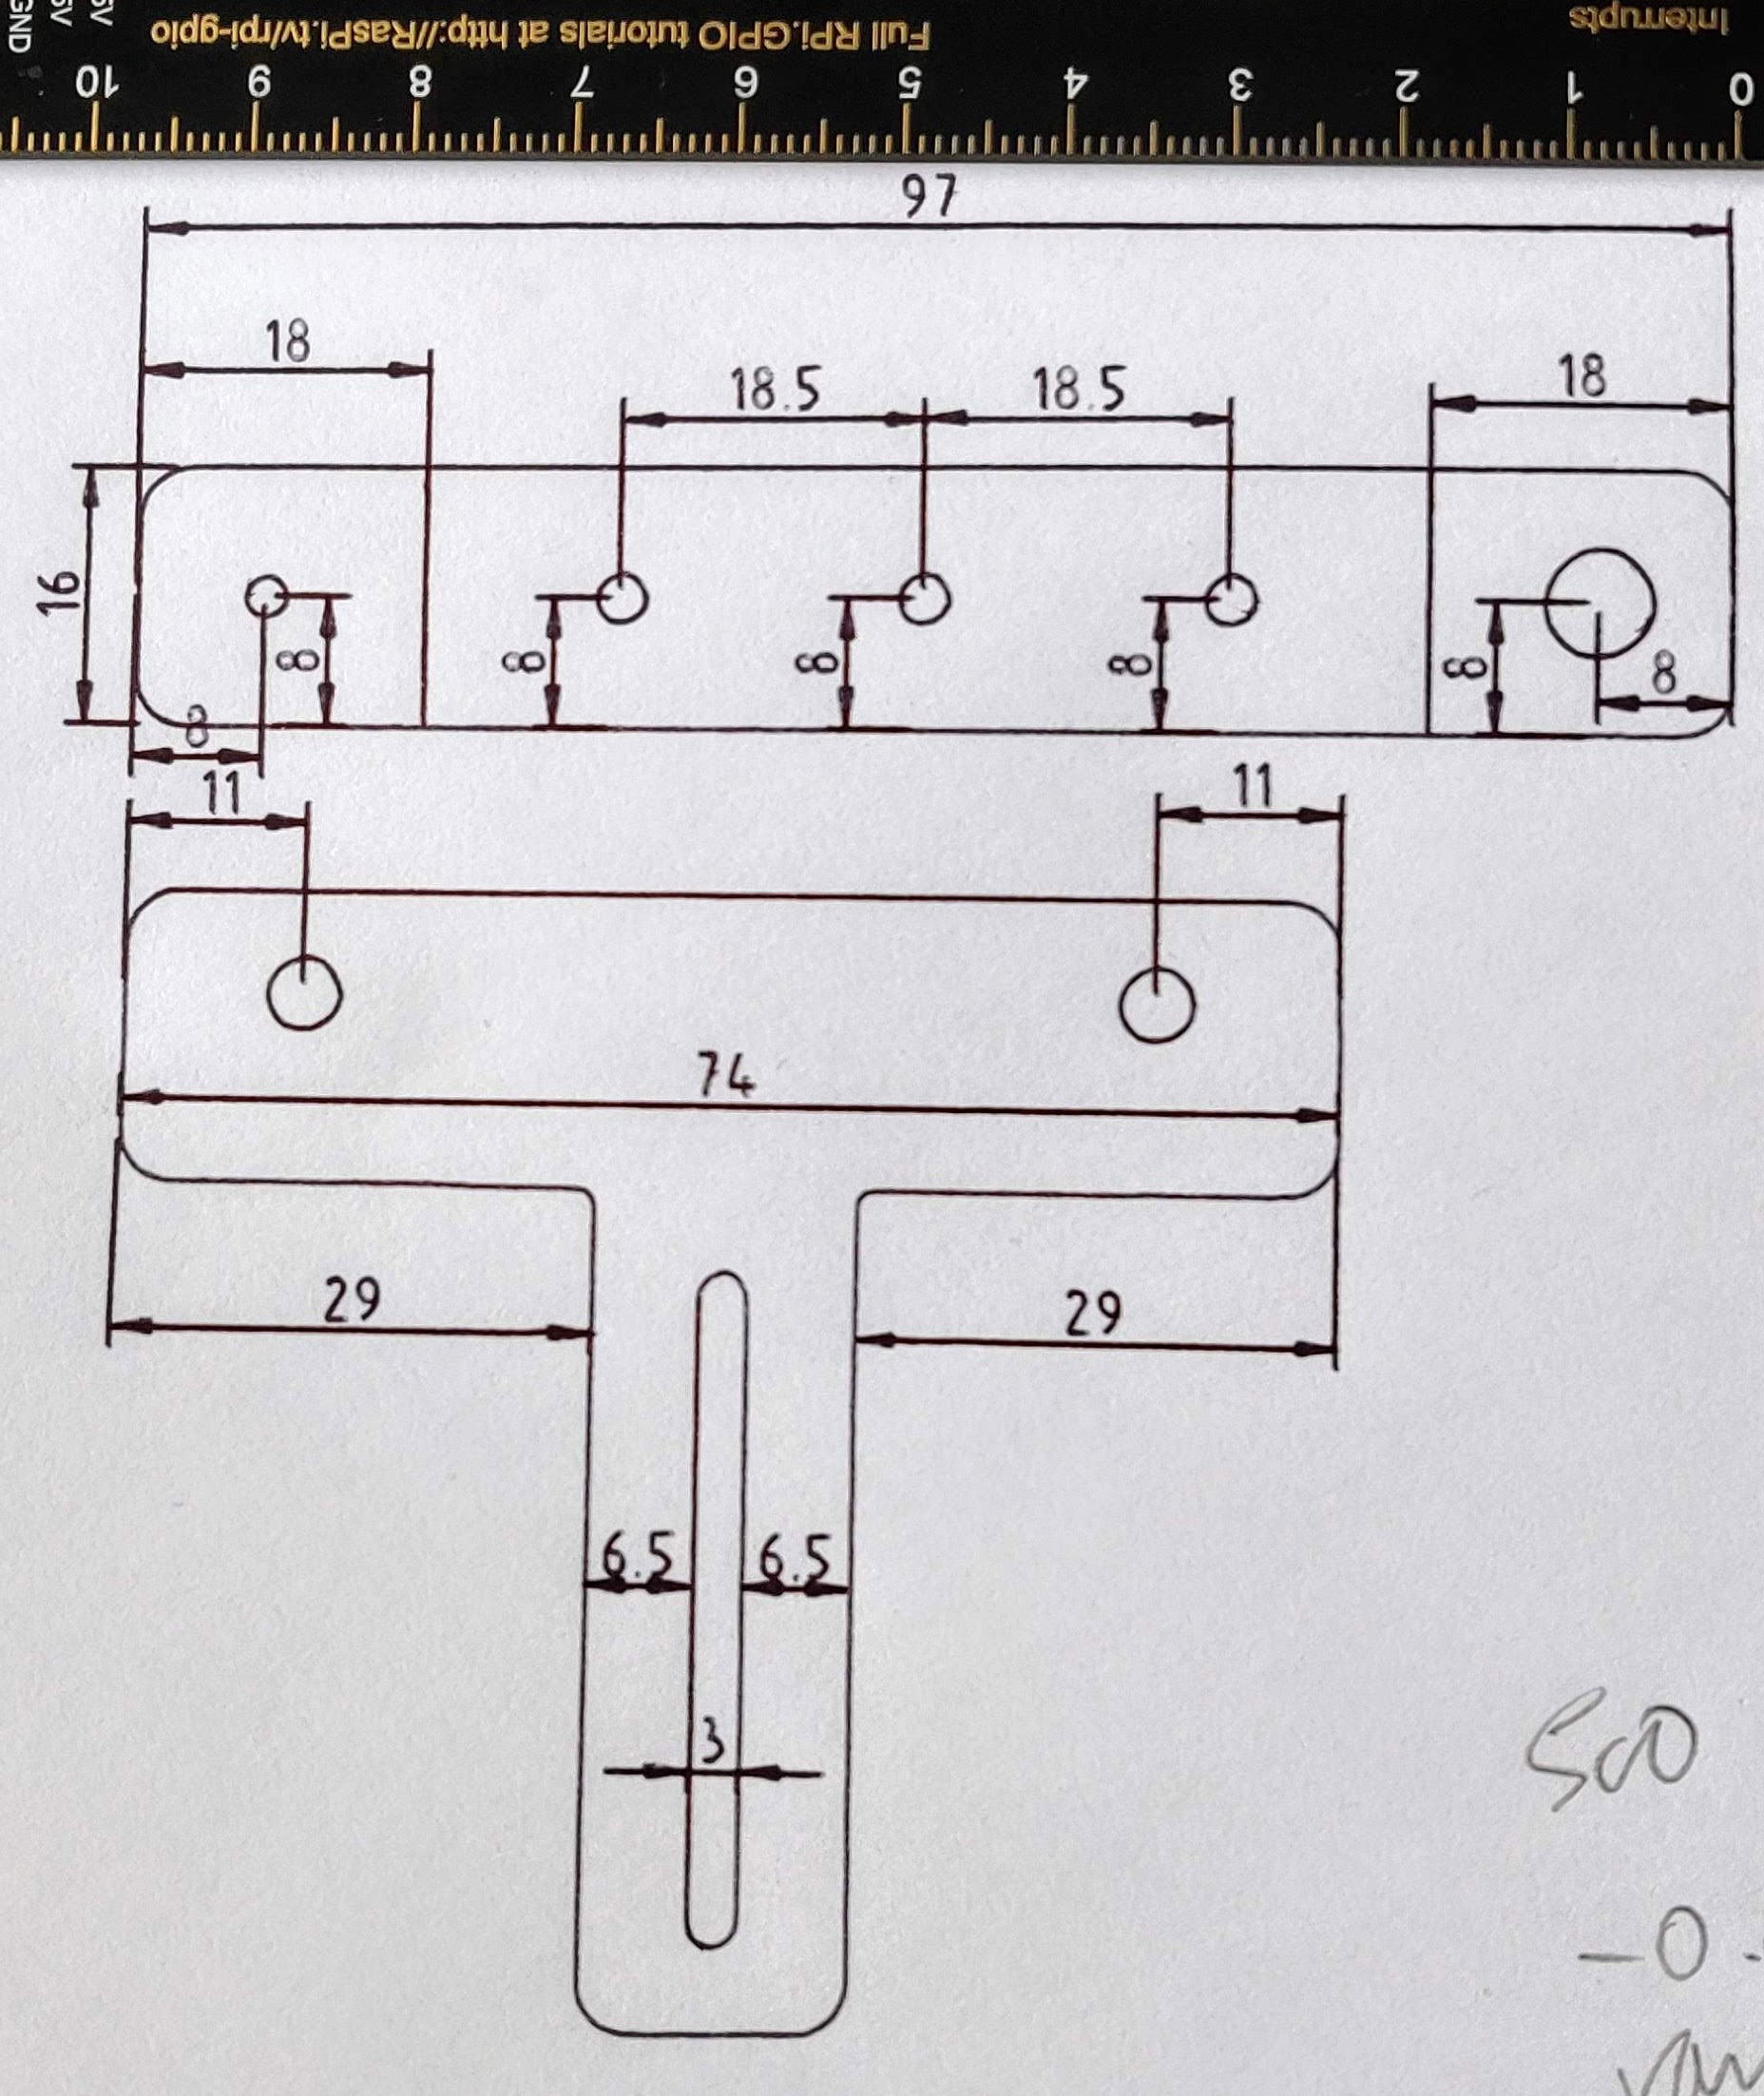
It can also do technical drawings from CAD software to perfect scale…
Next stop, I want to experiment with a ‘drag-knife’ attachment which supposedly would enable the machine to cut vinyl. But that’s for another day.