
Almost 2 years ago I received a lovely knife-making kit as a secret santa present. It opened my eyes to a new hobby – so it ended up being a really awesome present. I’ve always been interested in making things with wood and metal and am somewhat keen on making things to the best of my ability – even though it costs a large investment in time.
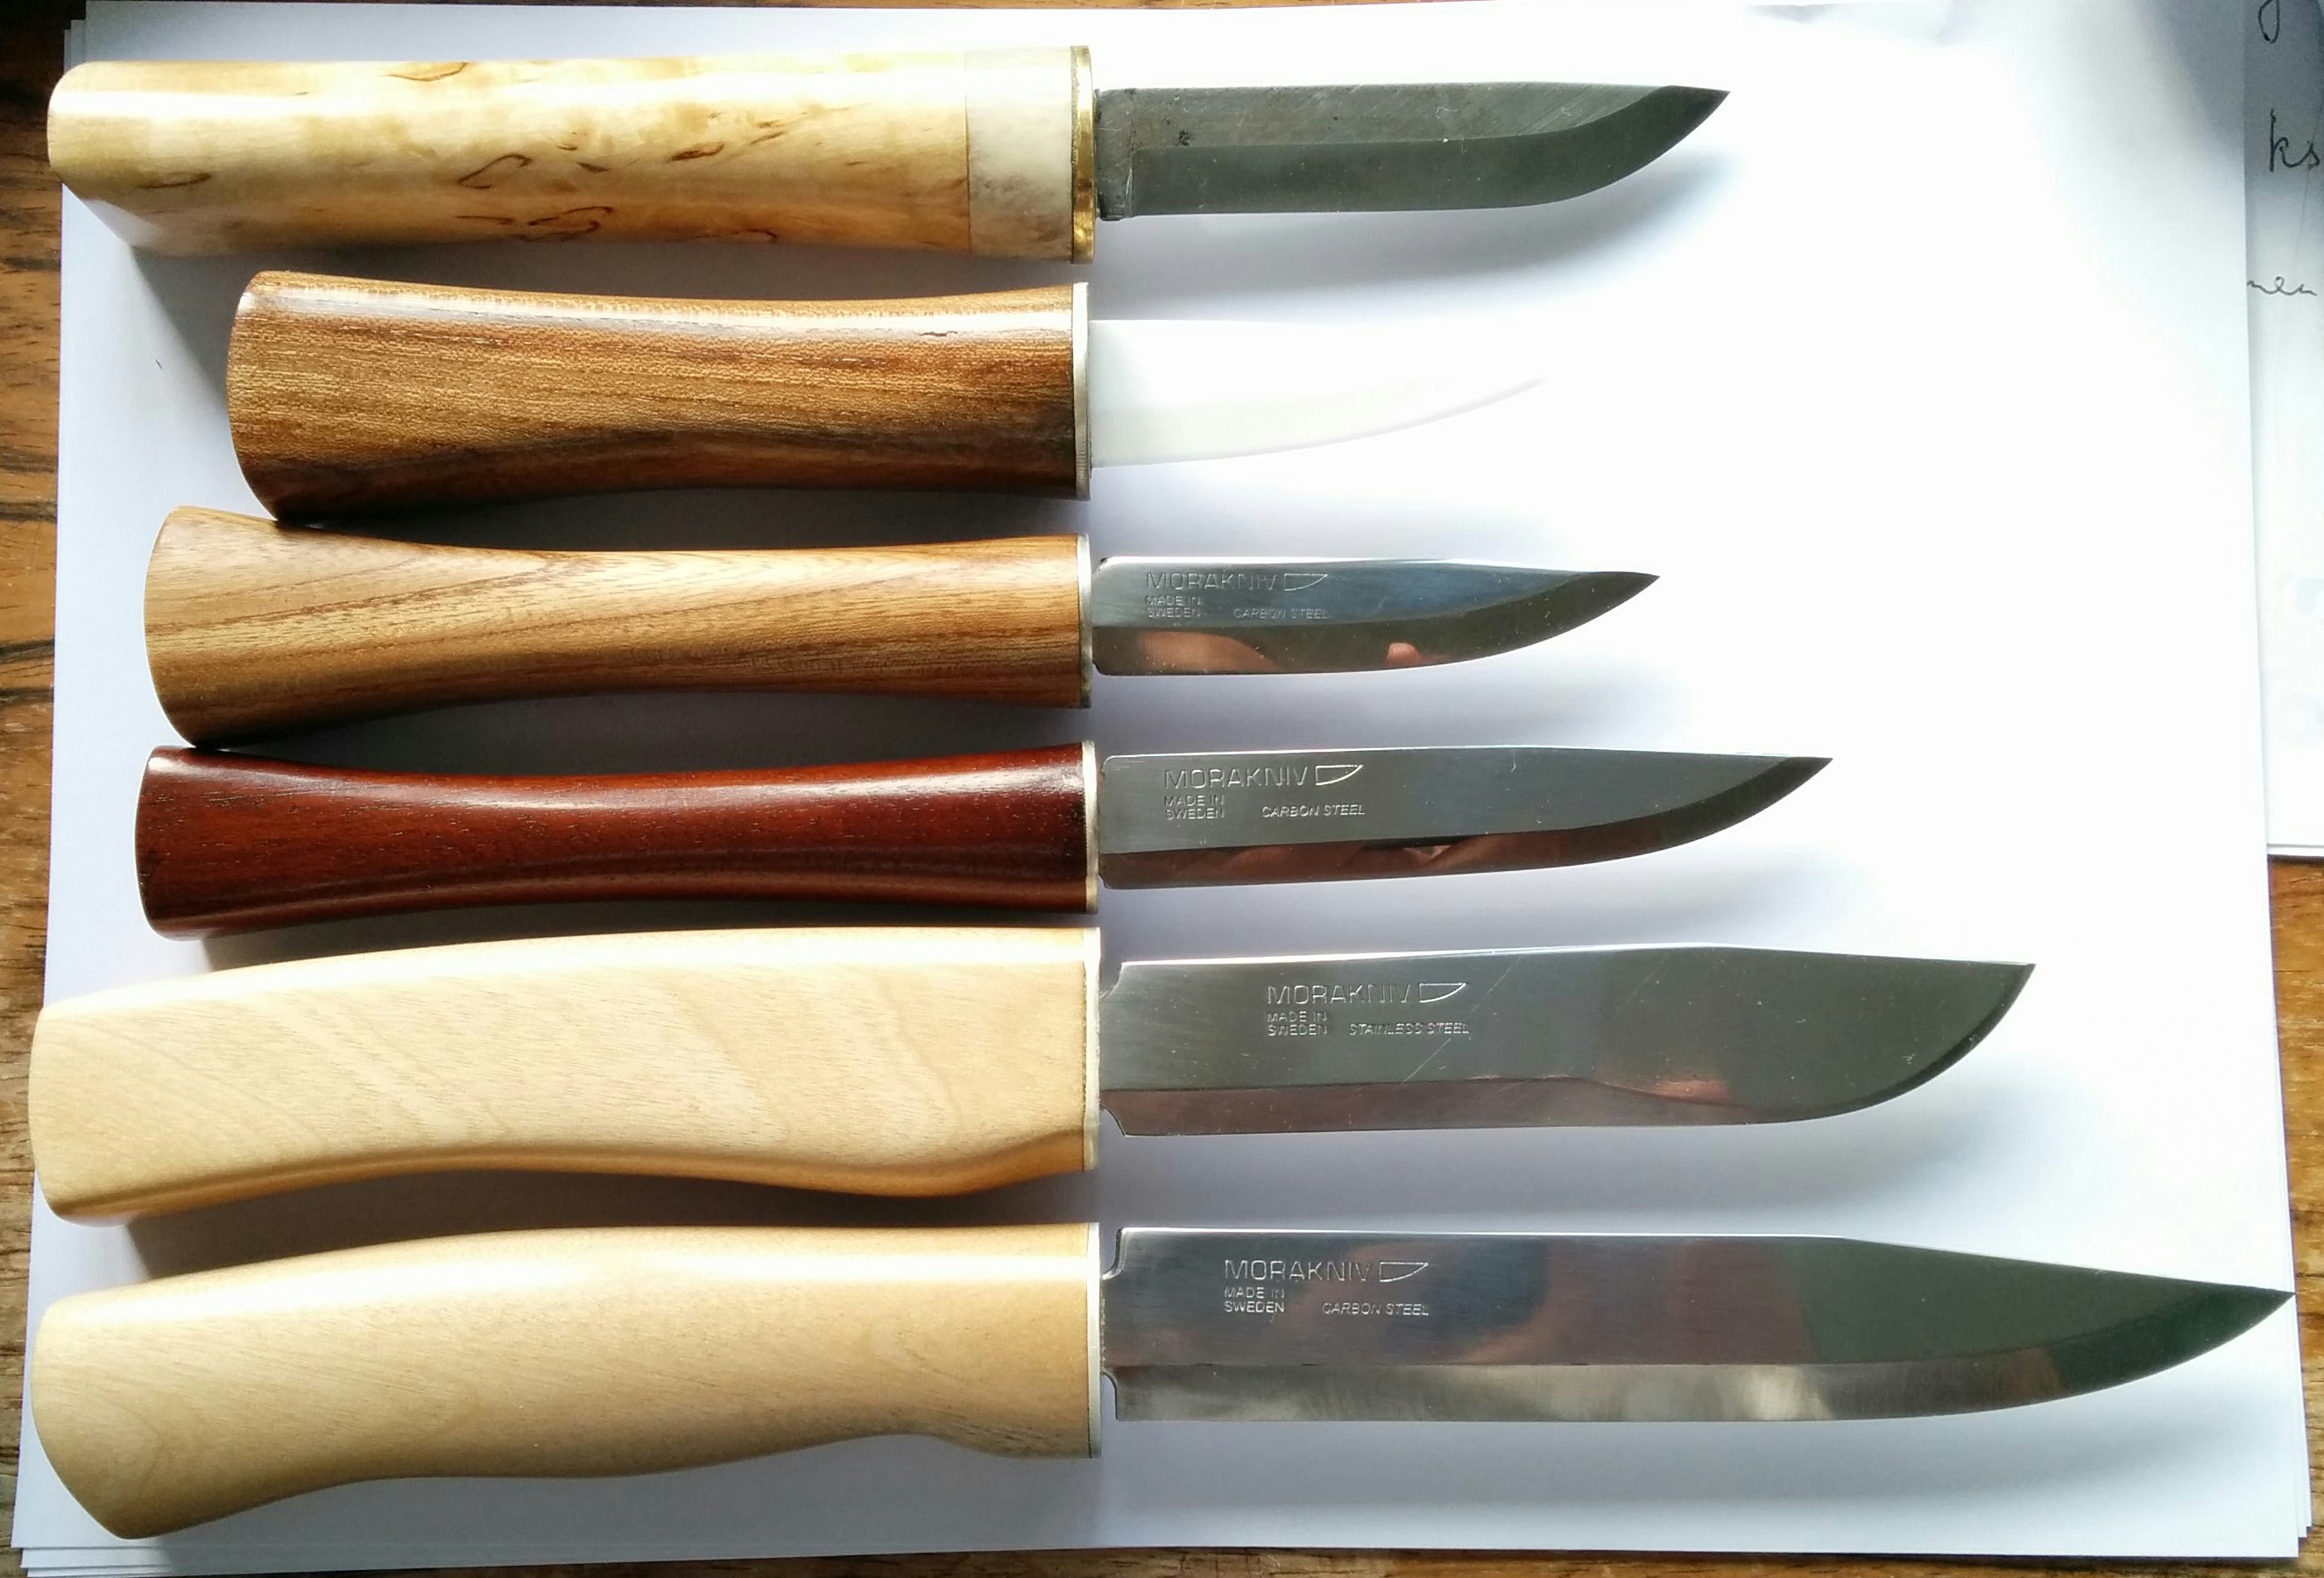
The first six knives I made (chronological order) curly birch, cherry, cherry, mahogany, maple, maple
Since Christmas 2014, I’ve made about 8 knives. All of them are different. All of them are experiments. I’ve tried new blades, new wood, new methods. So far I’ve only managed to bring myself to give one knife away as a present because I love them all. Each one represents a different time and different things learnt. Because each knife takes somewhere between 6 and 20 hours to make (the way I do it) – each one reminds me of a time in my life. While spending 2 hours carving and sanding a handle, you have plenty of time to think. So whatever is going on in your head at the time, the knife will be a reminder of it. (If it’s bad stuff – you can give that one away 🙂 )
Most Recent Knife
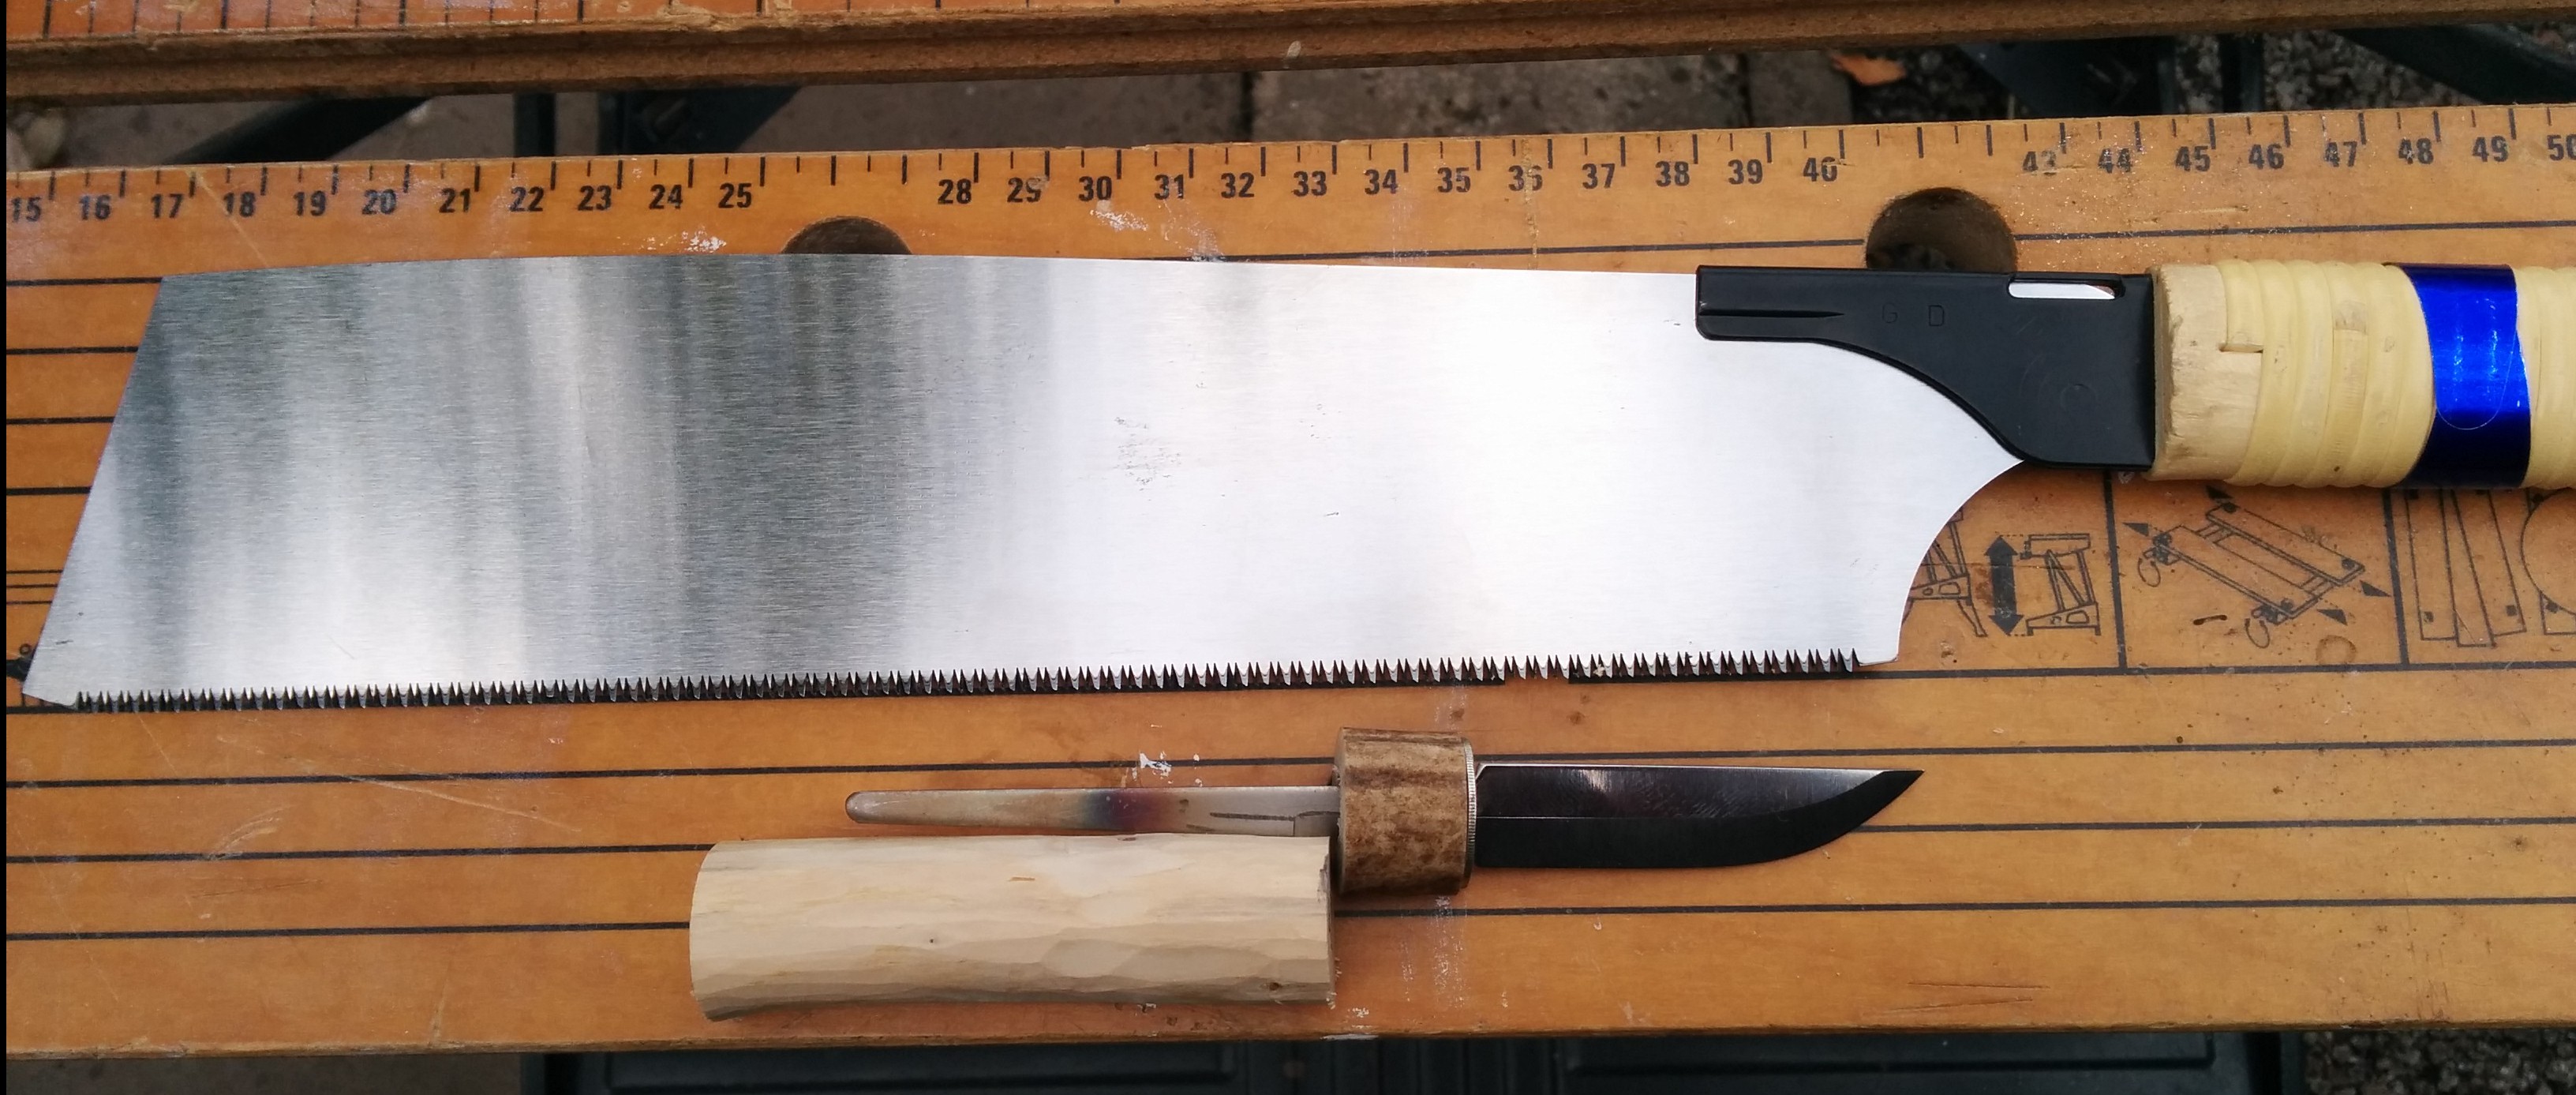
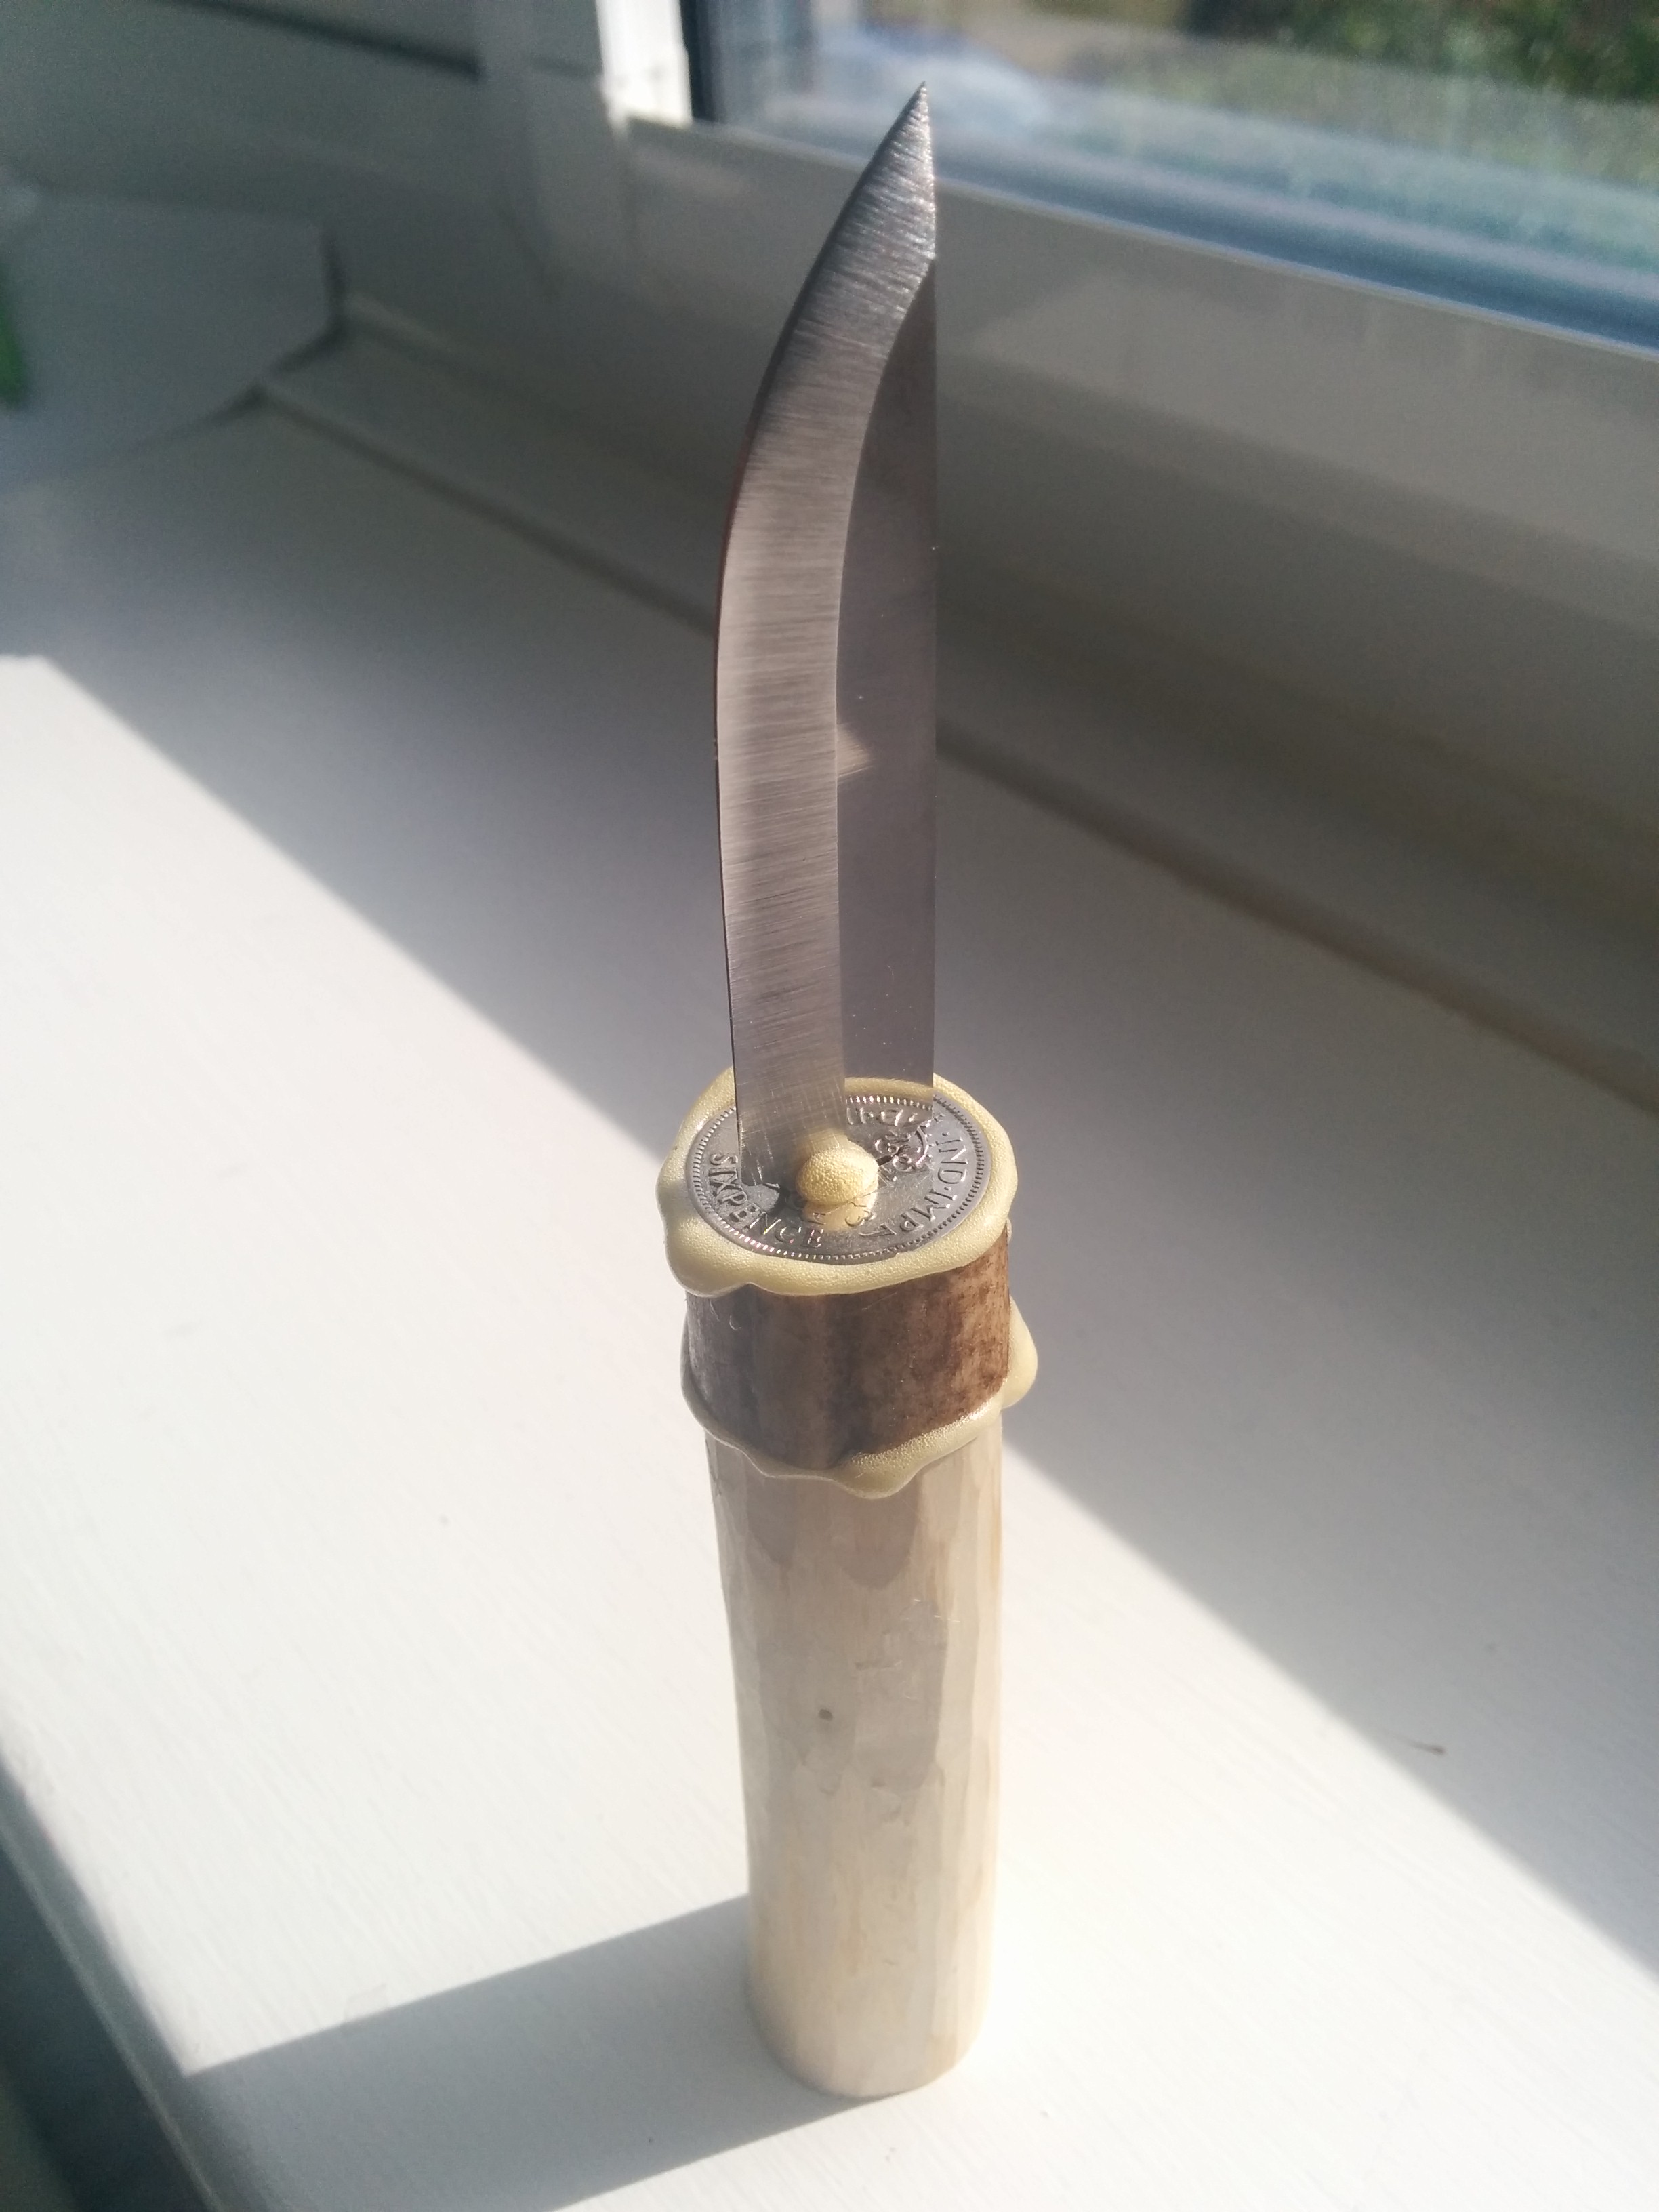
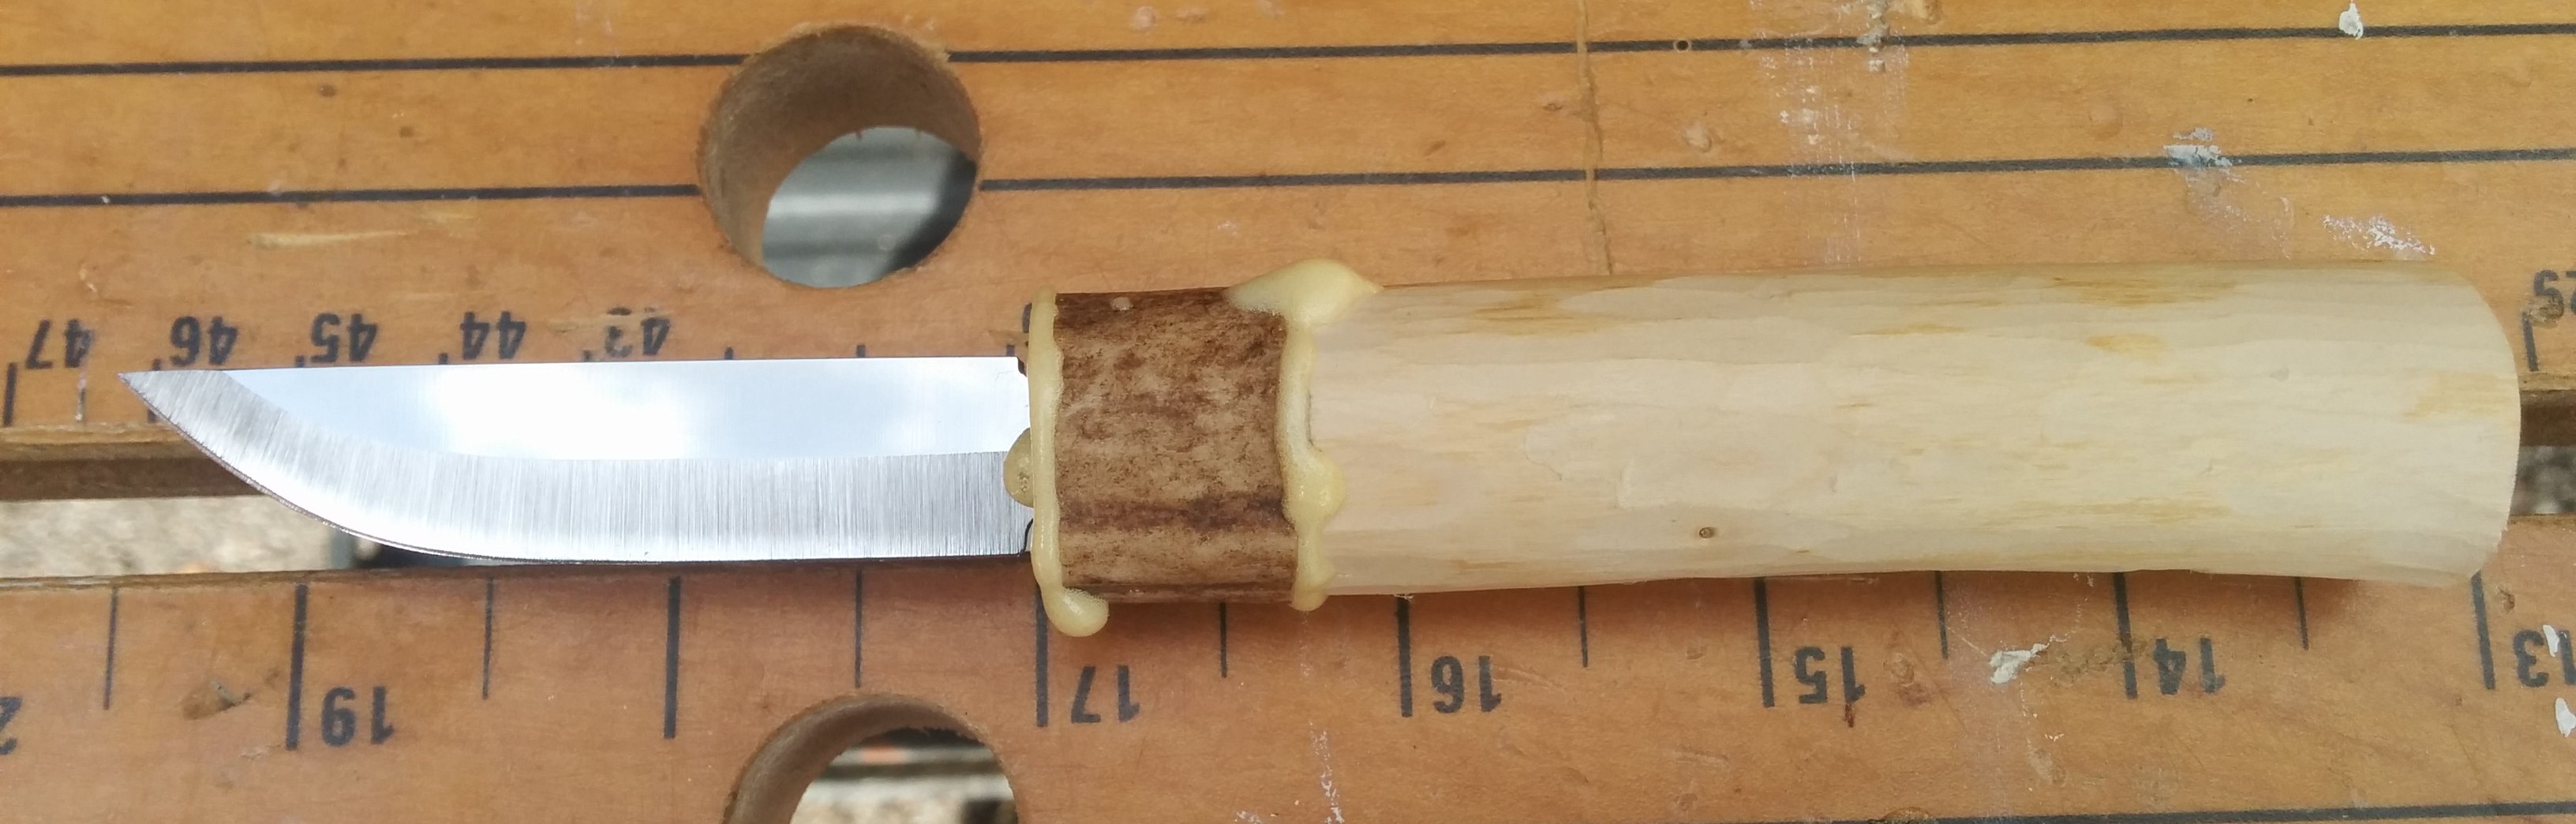
Enough blathering. Here is my most recent knife. It took me about 9 hours, I think. It’s made from a Laurin 6cm stainless-steel blade, a silver sixpence, a piece of red deer antler, and a bit of a conifer tree that I cut down 18 months ago from the garden.

Finished knife, handle blank and raw conifer
Making this Knife
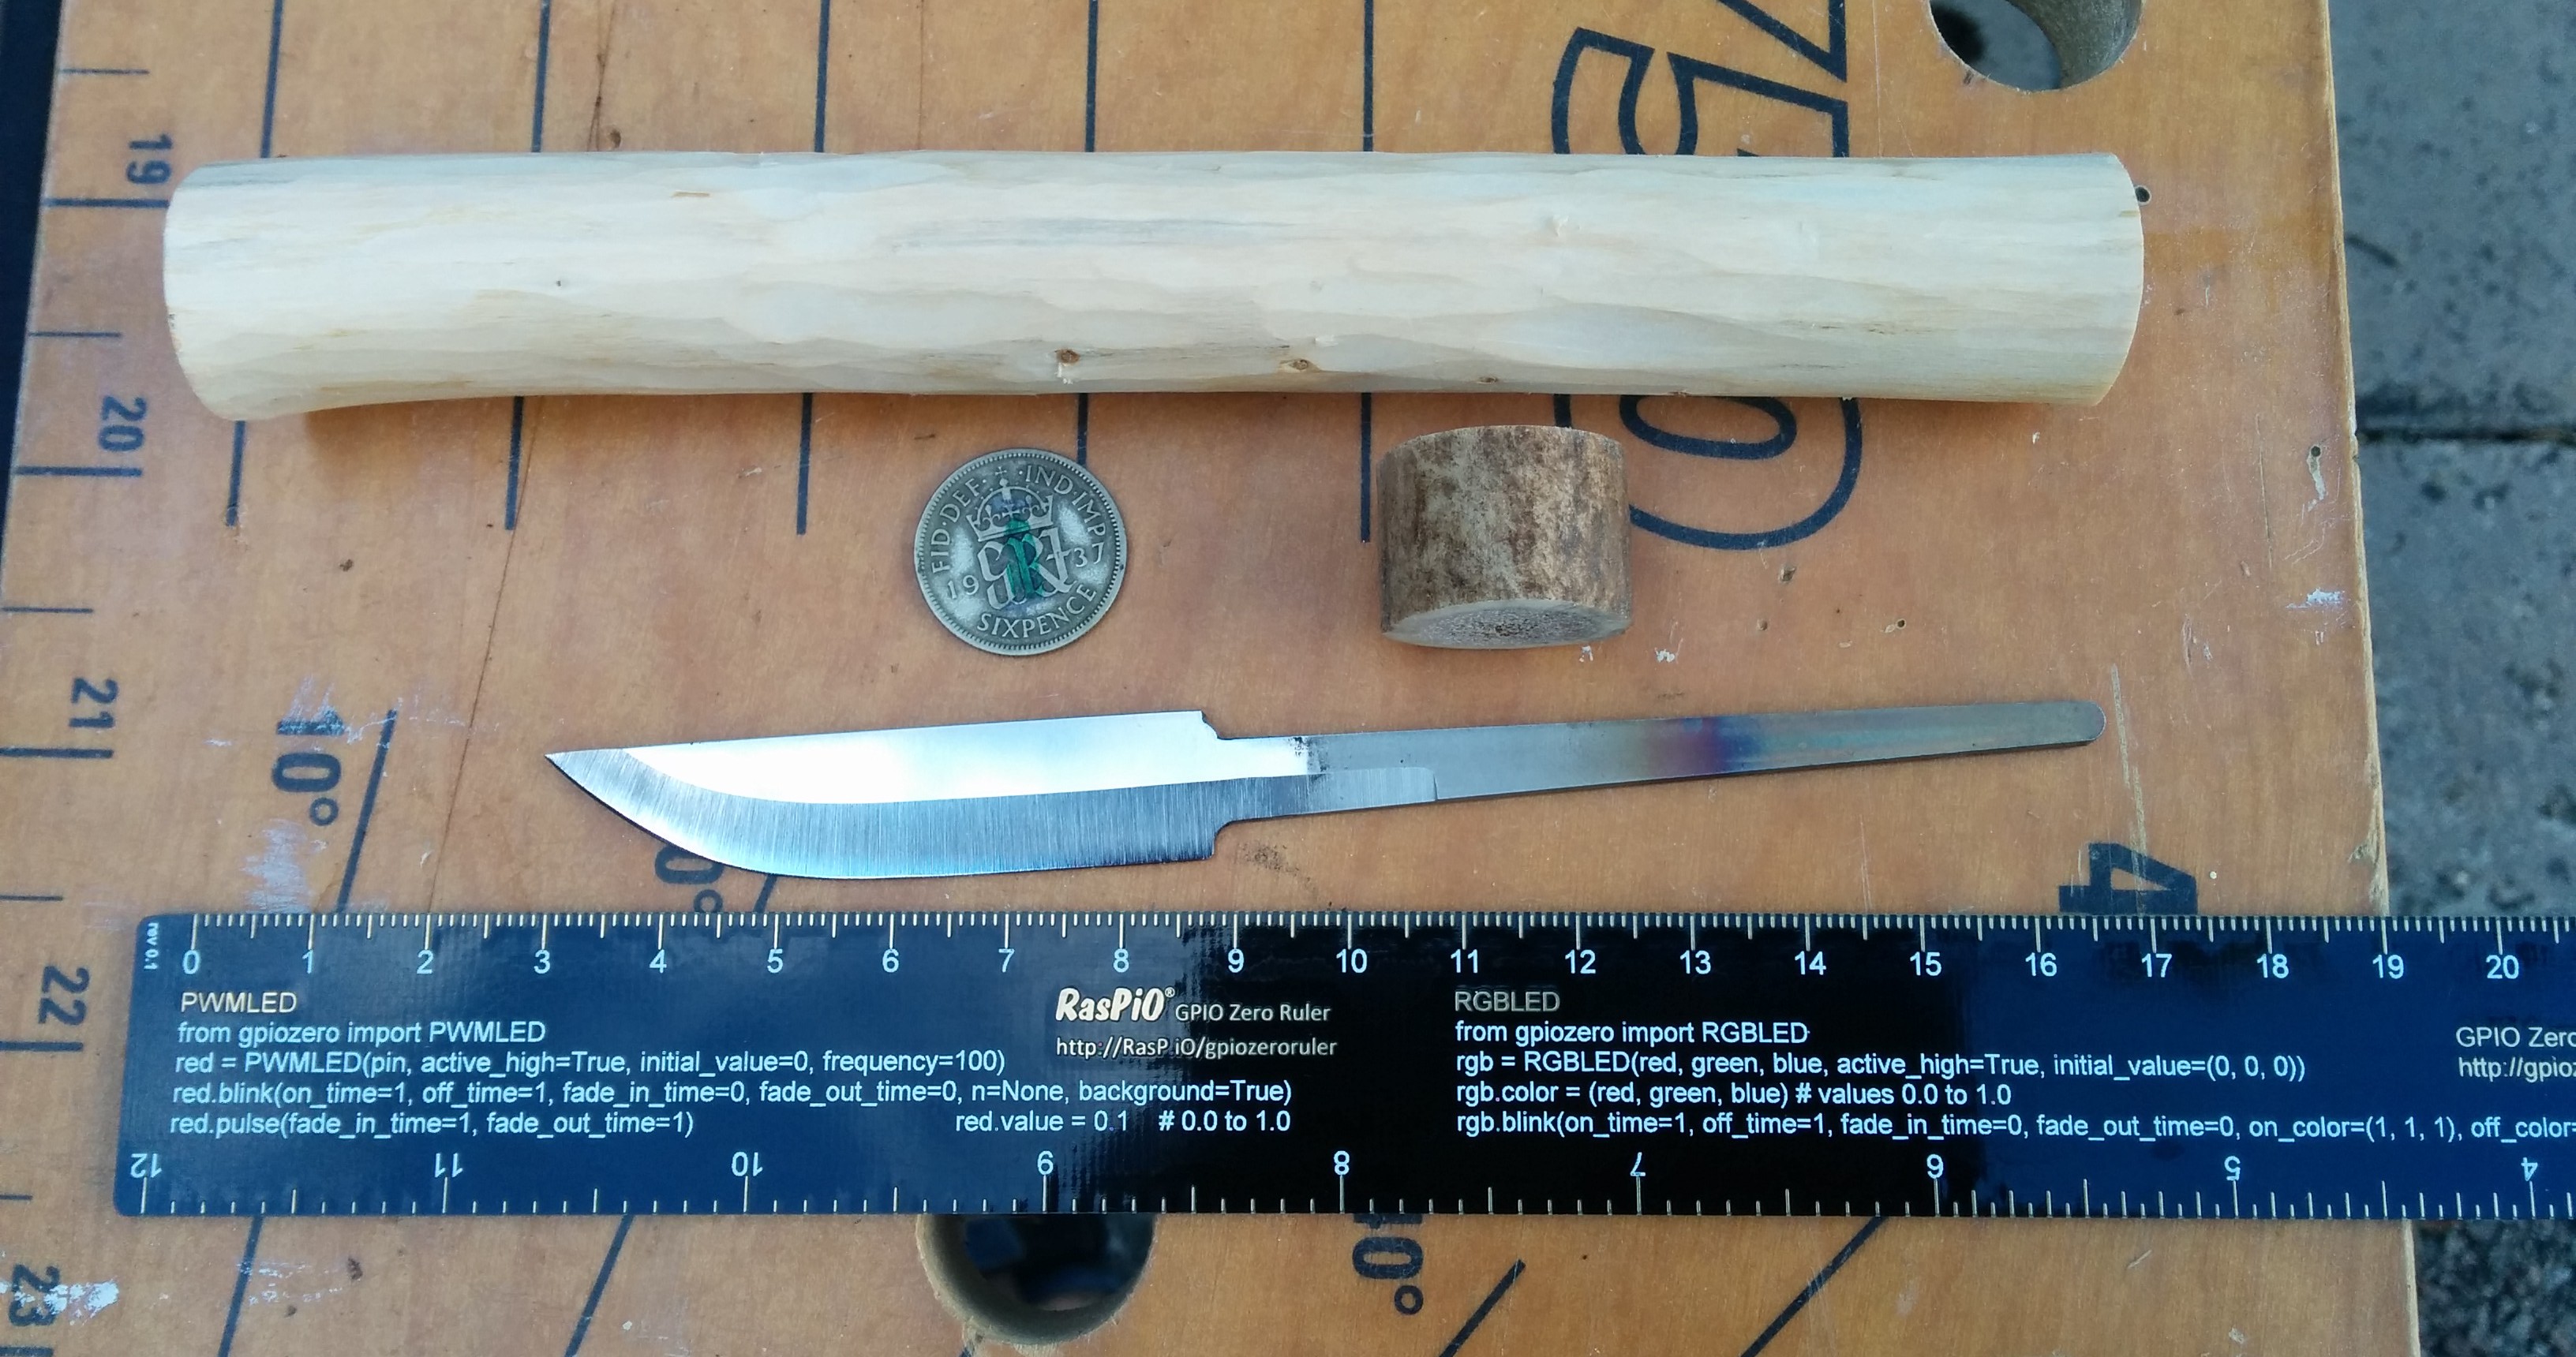
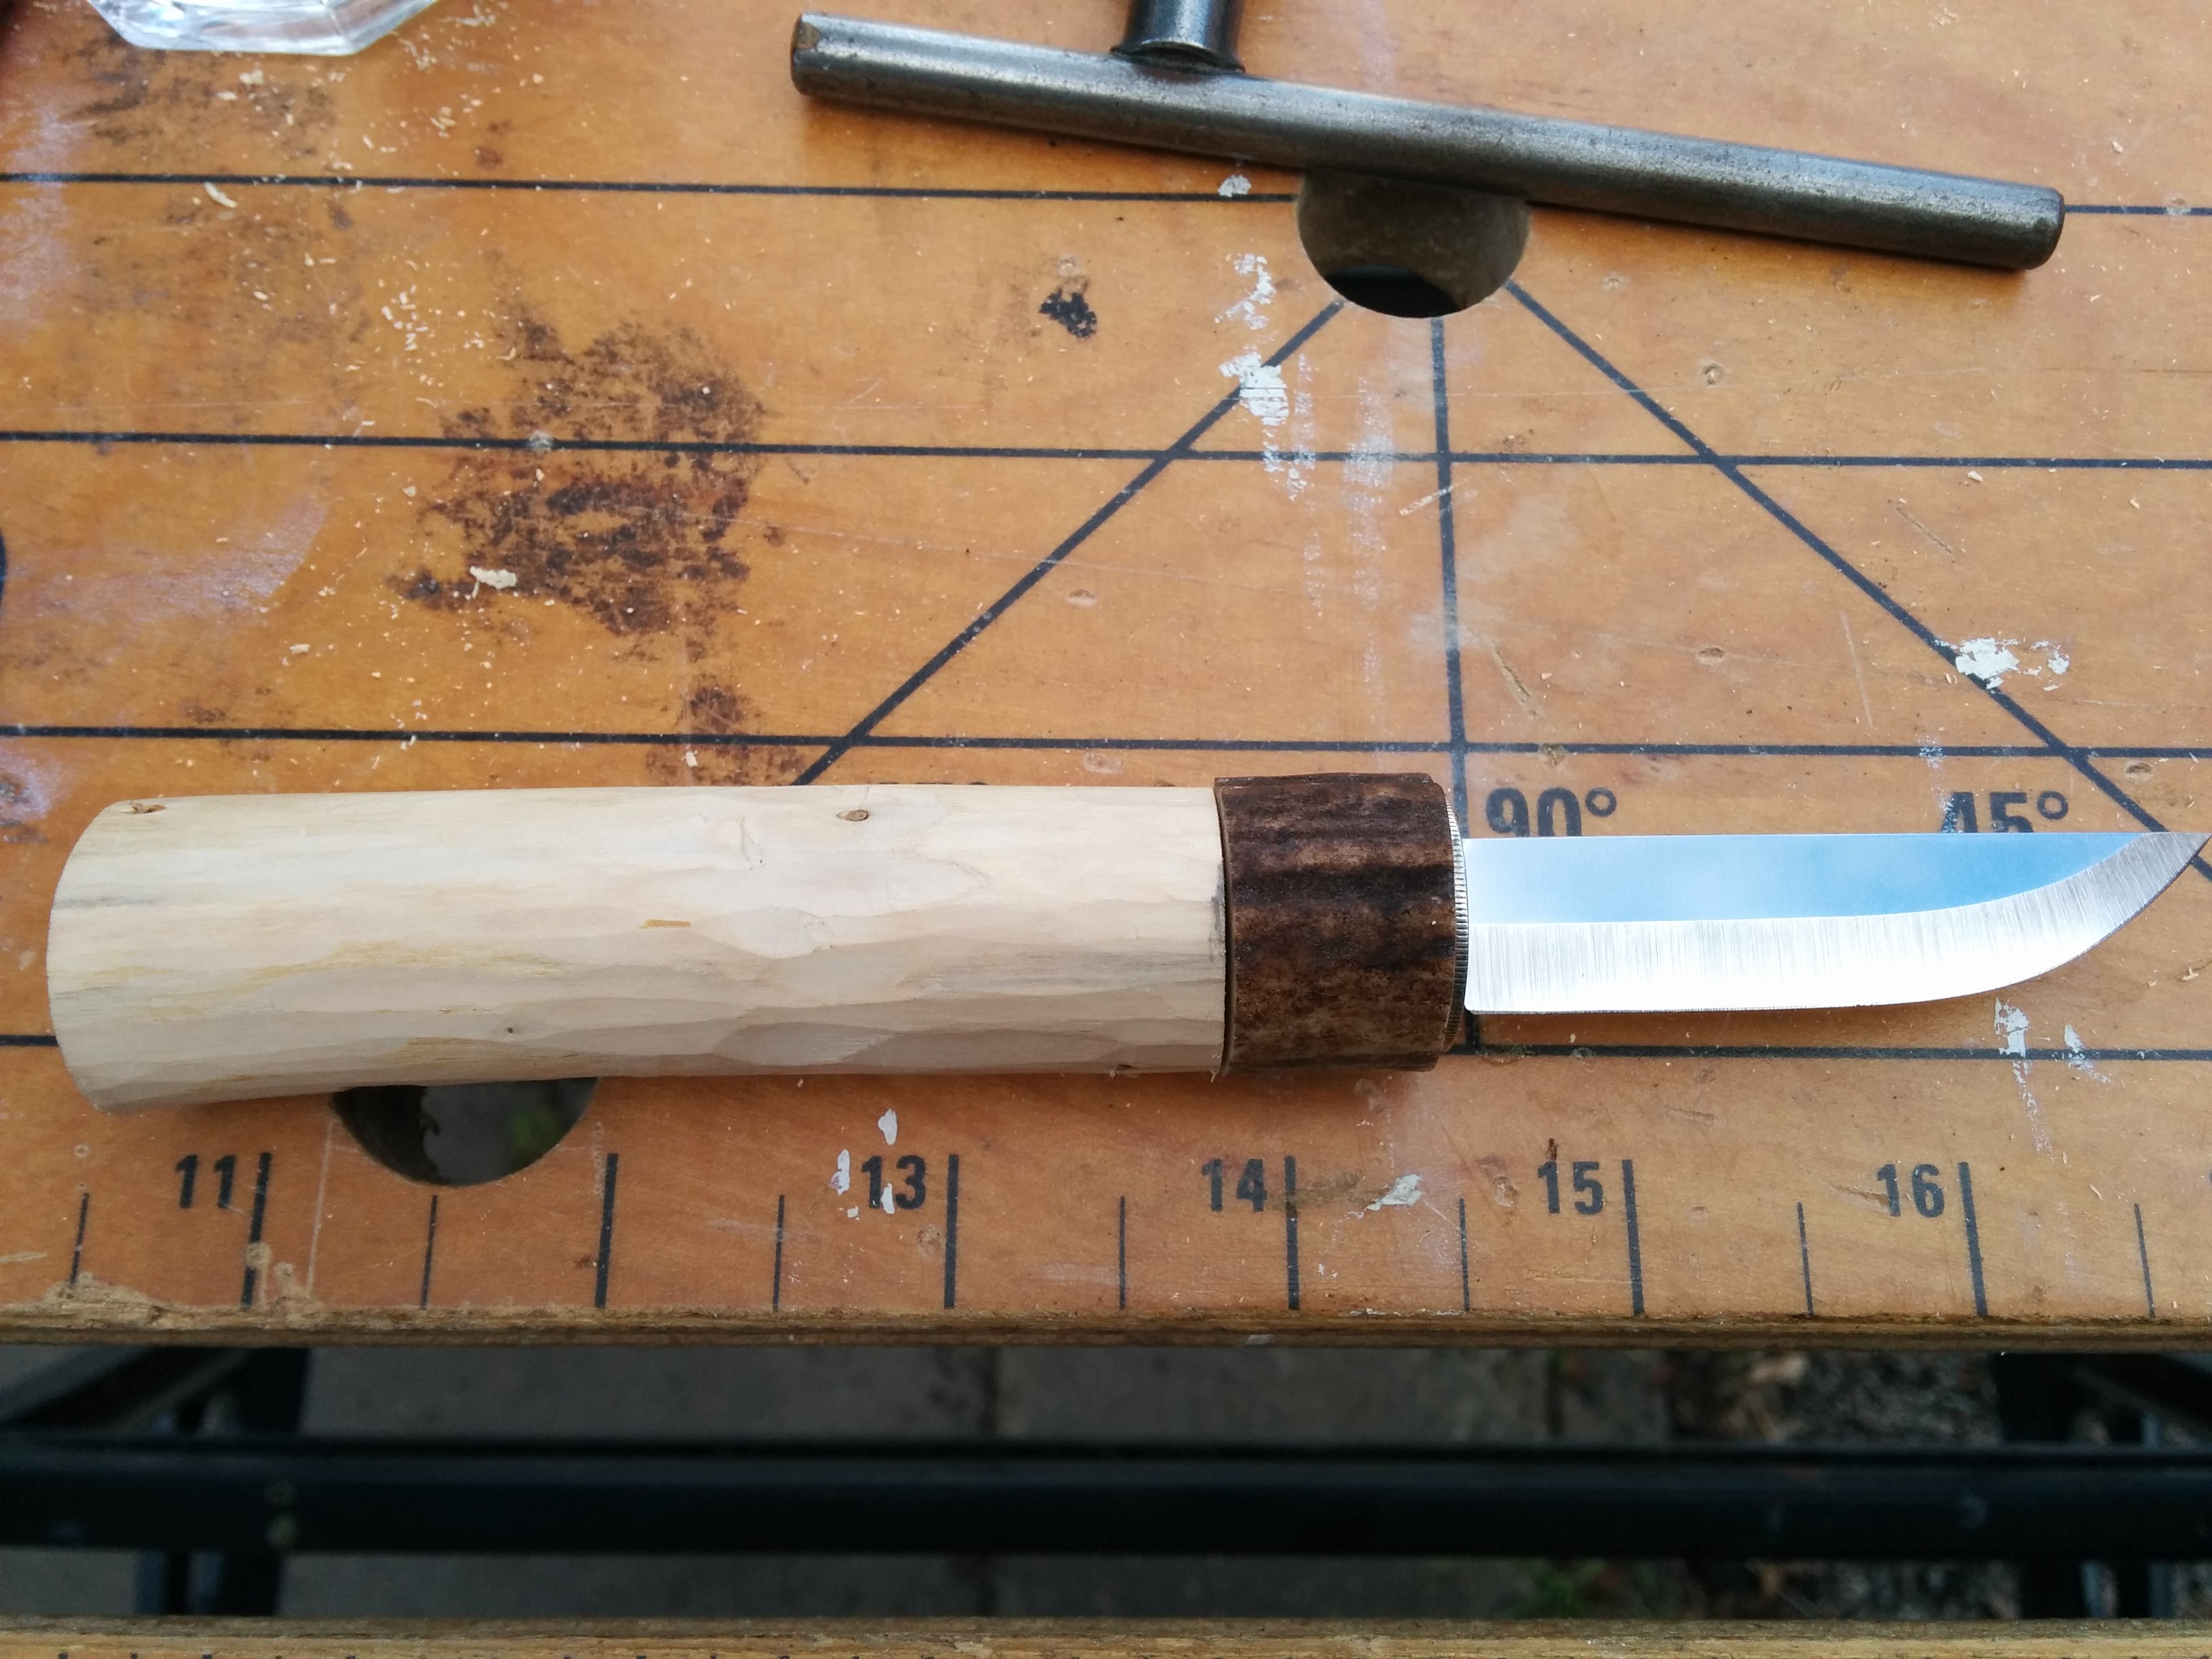
All the pieces needed for this knife
A knife needs a blade and a handle. But you usually have a bolster as well. This helps keep the knife blade from lateral movement and also adds extra gluing area to keep the knife in the handle. Ordinarily the bolster can only fit on the blade from the “blunt end” (tang). I often use silver coins for bolsters because they look nice and are not much different in price to the brass bolsters you can buy. They are also quite easy to machine with a Dremel since silver is a soft metal.
So in the above photo, we have…
- a piece of seasoned conifer wood with the bark stripped off
- a silver sixpence that’s old enough to have some actual silver in
- a piece of Scottish red deer antler
- a Laurin 6cm stainless-steel blade
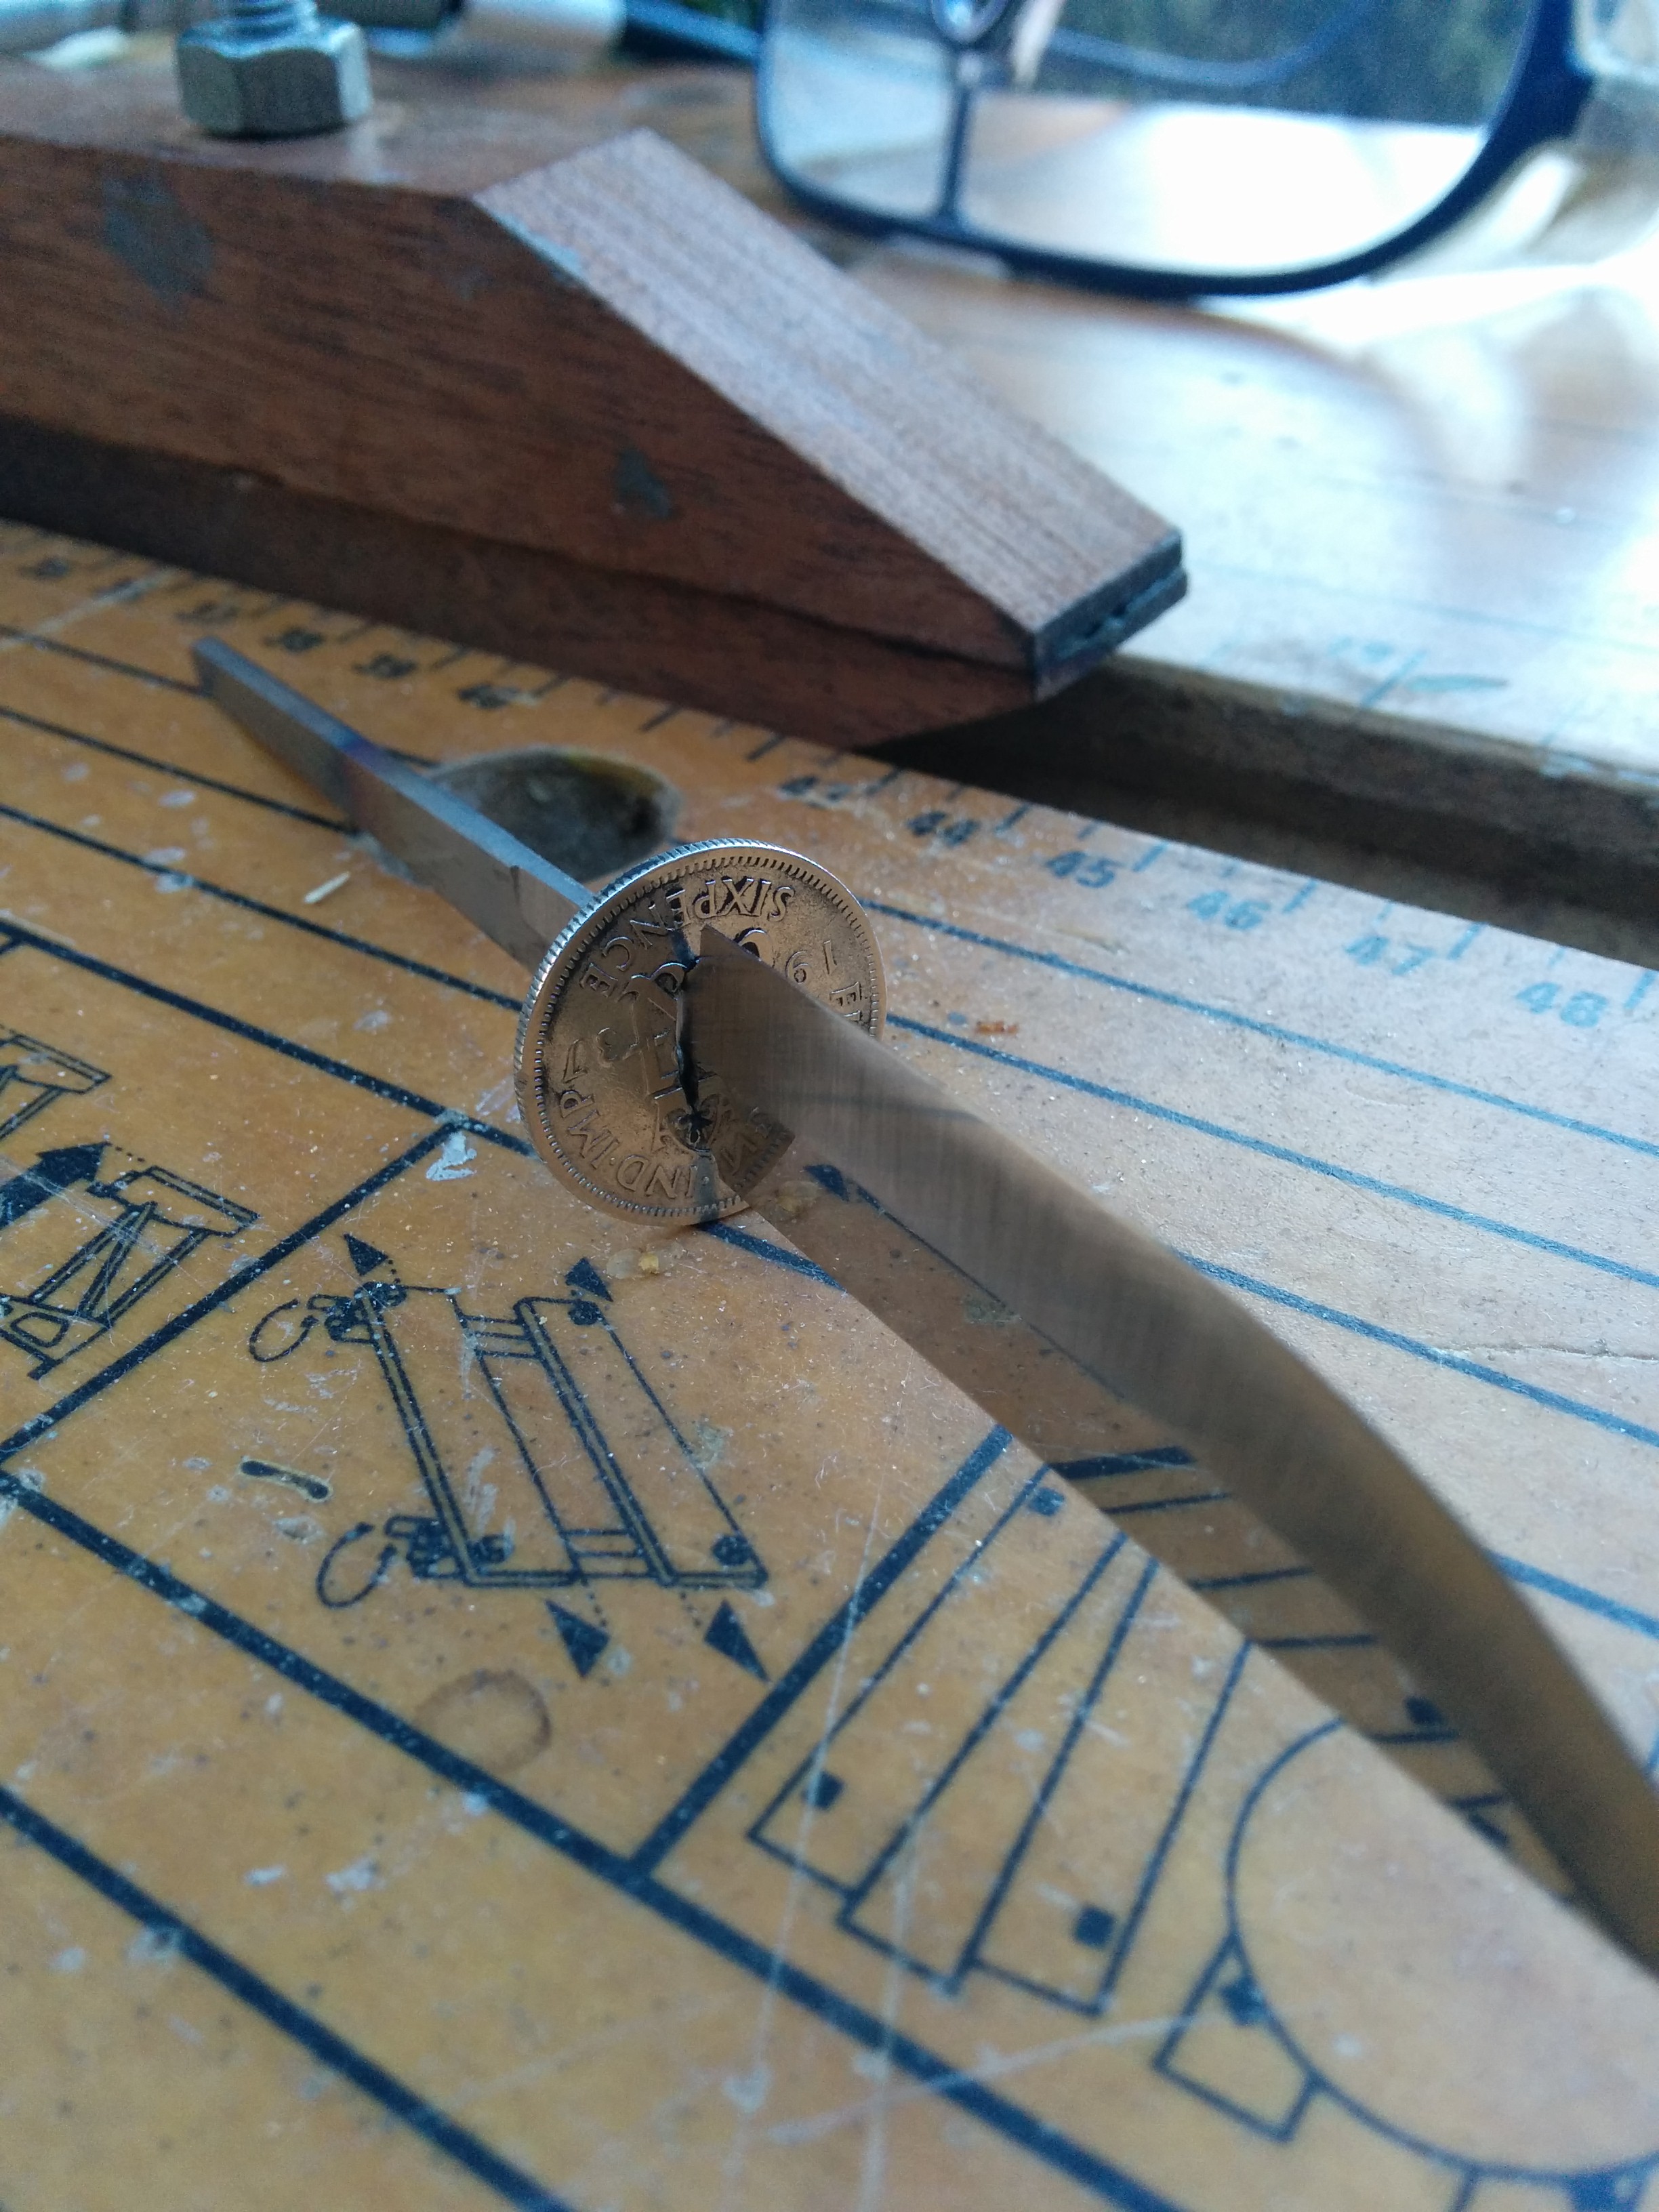
Bolster
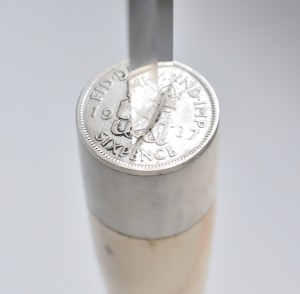
I normally start by marking the coin with the approximate size of hole needed to fit the tang through it. Then hold the coin in a hand-screw (which I made) while Dremeling out the hole using small cutting wheels and/or engraving bits. It needs to be a good fit. It doesn’t have to be perfect, but it does need to be tight. Once the fit is “about right” I polish it with Brasso and a Dremel. This avoids staining your knife handle if you try to do it later on.
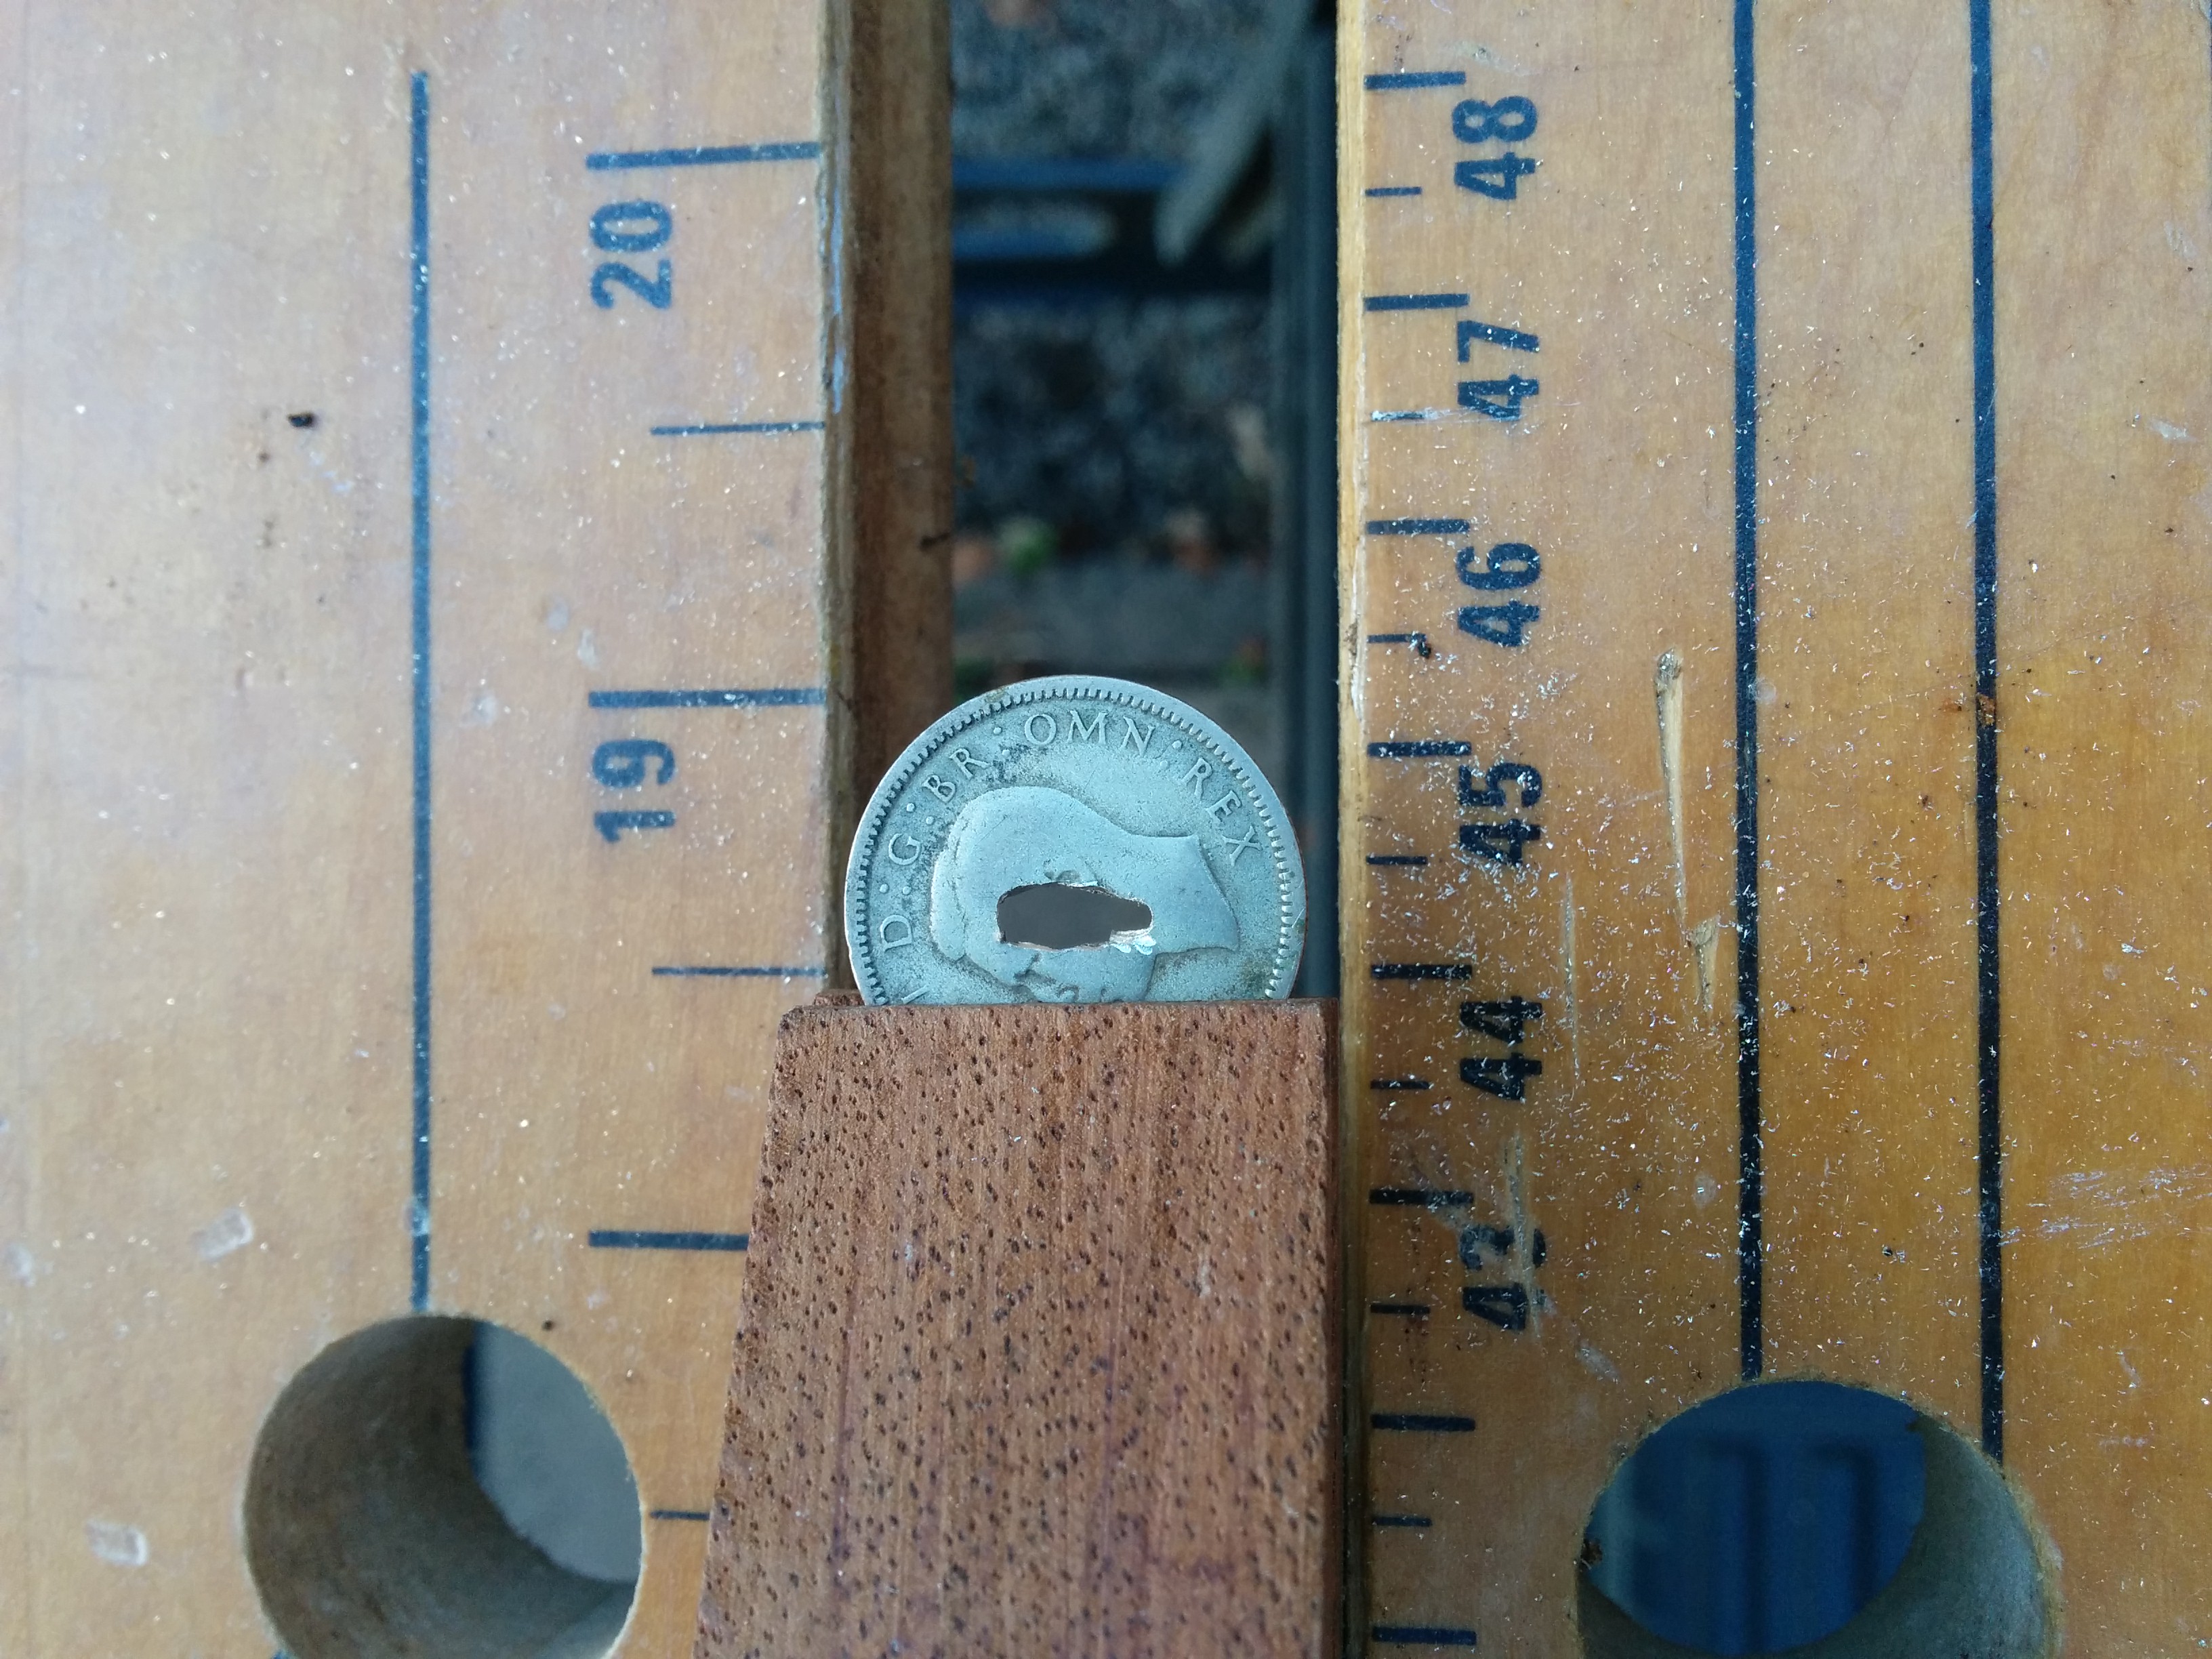
Partially holed sixpence bolster
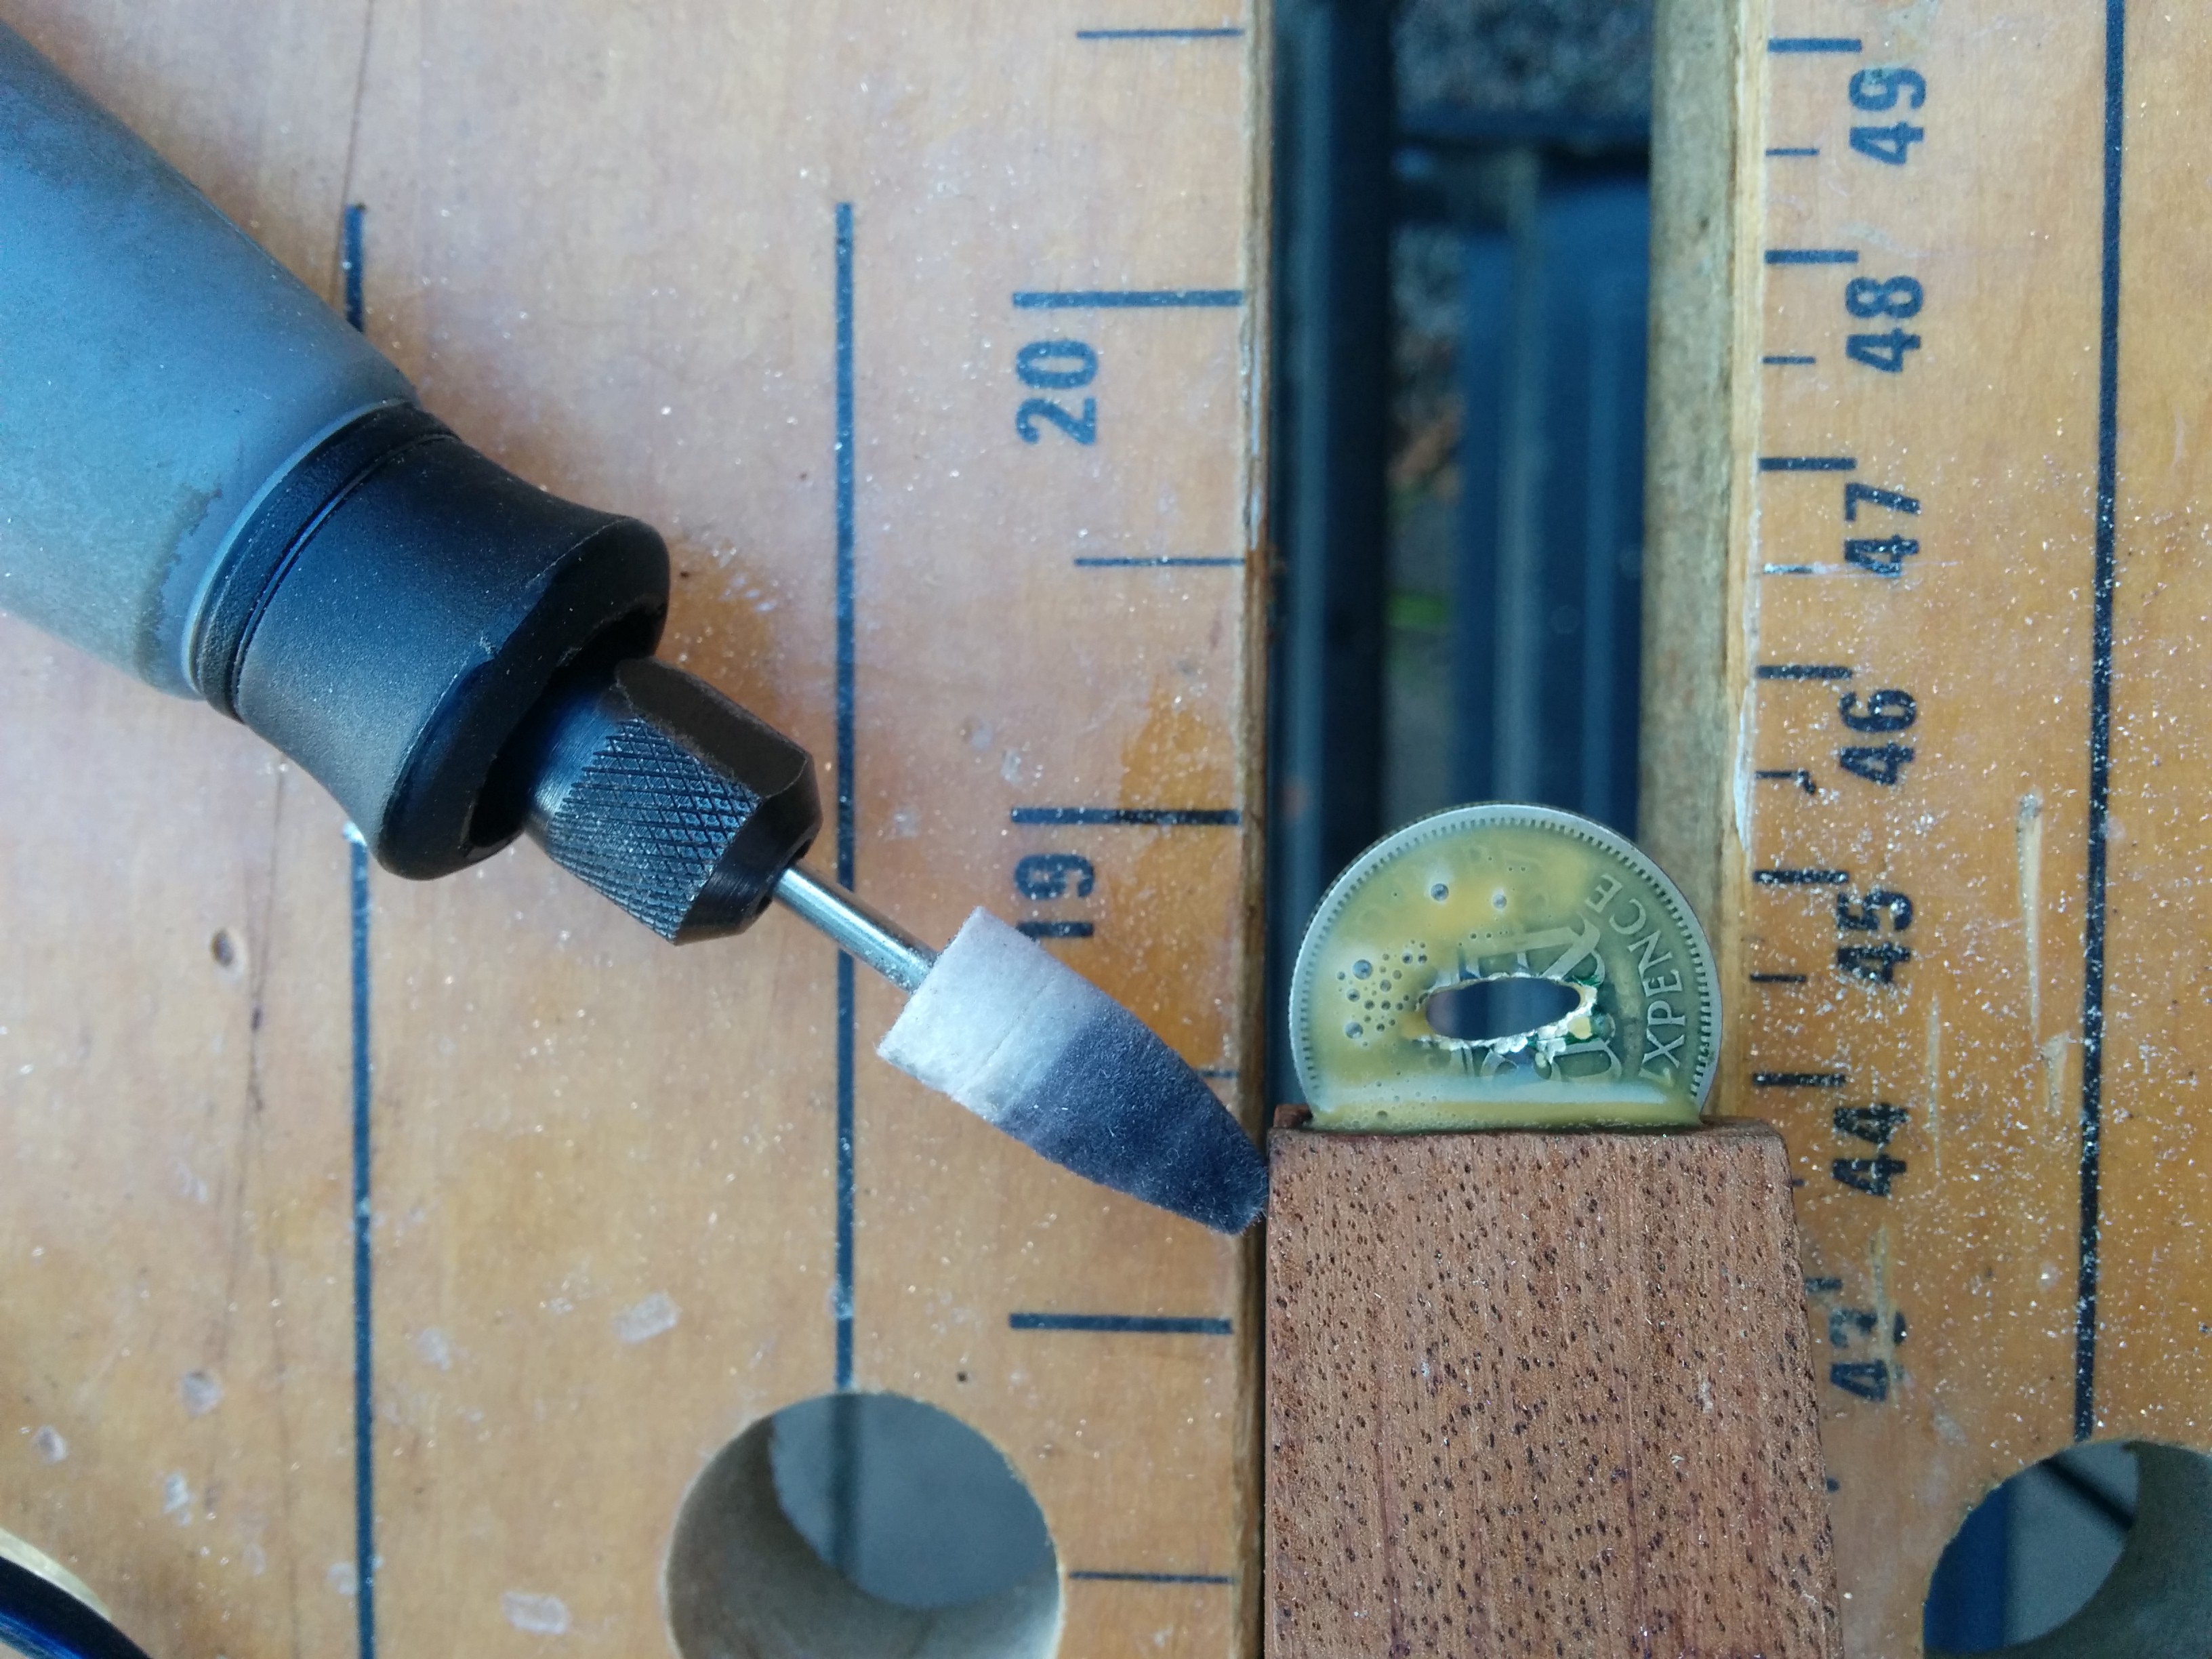
Polish the bolster before assembly (avoids staining the handle)
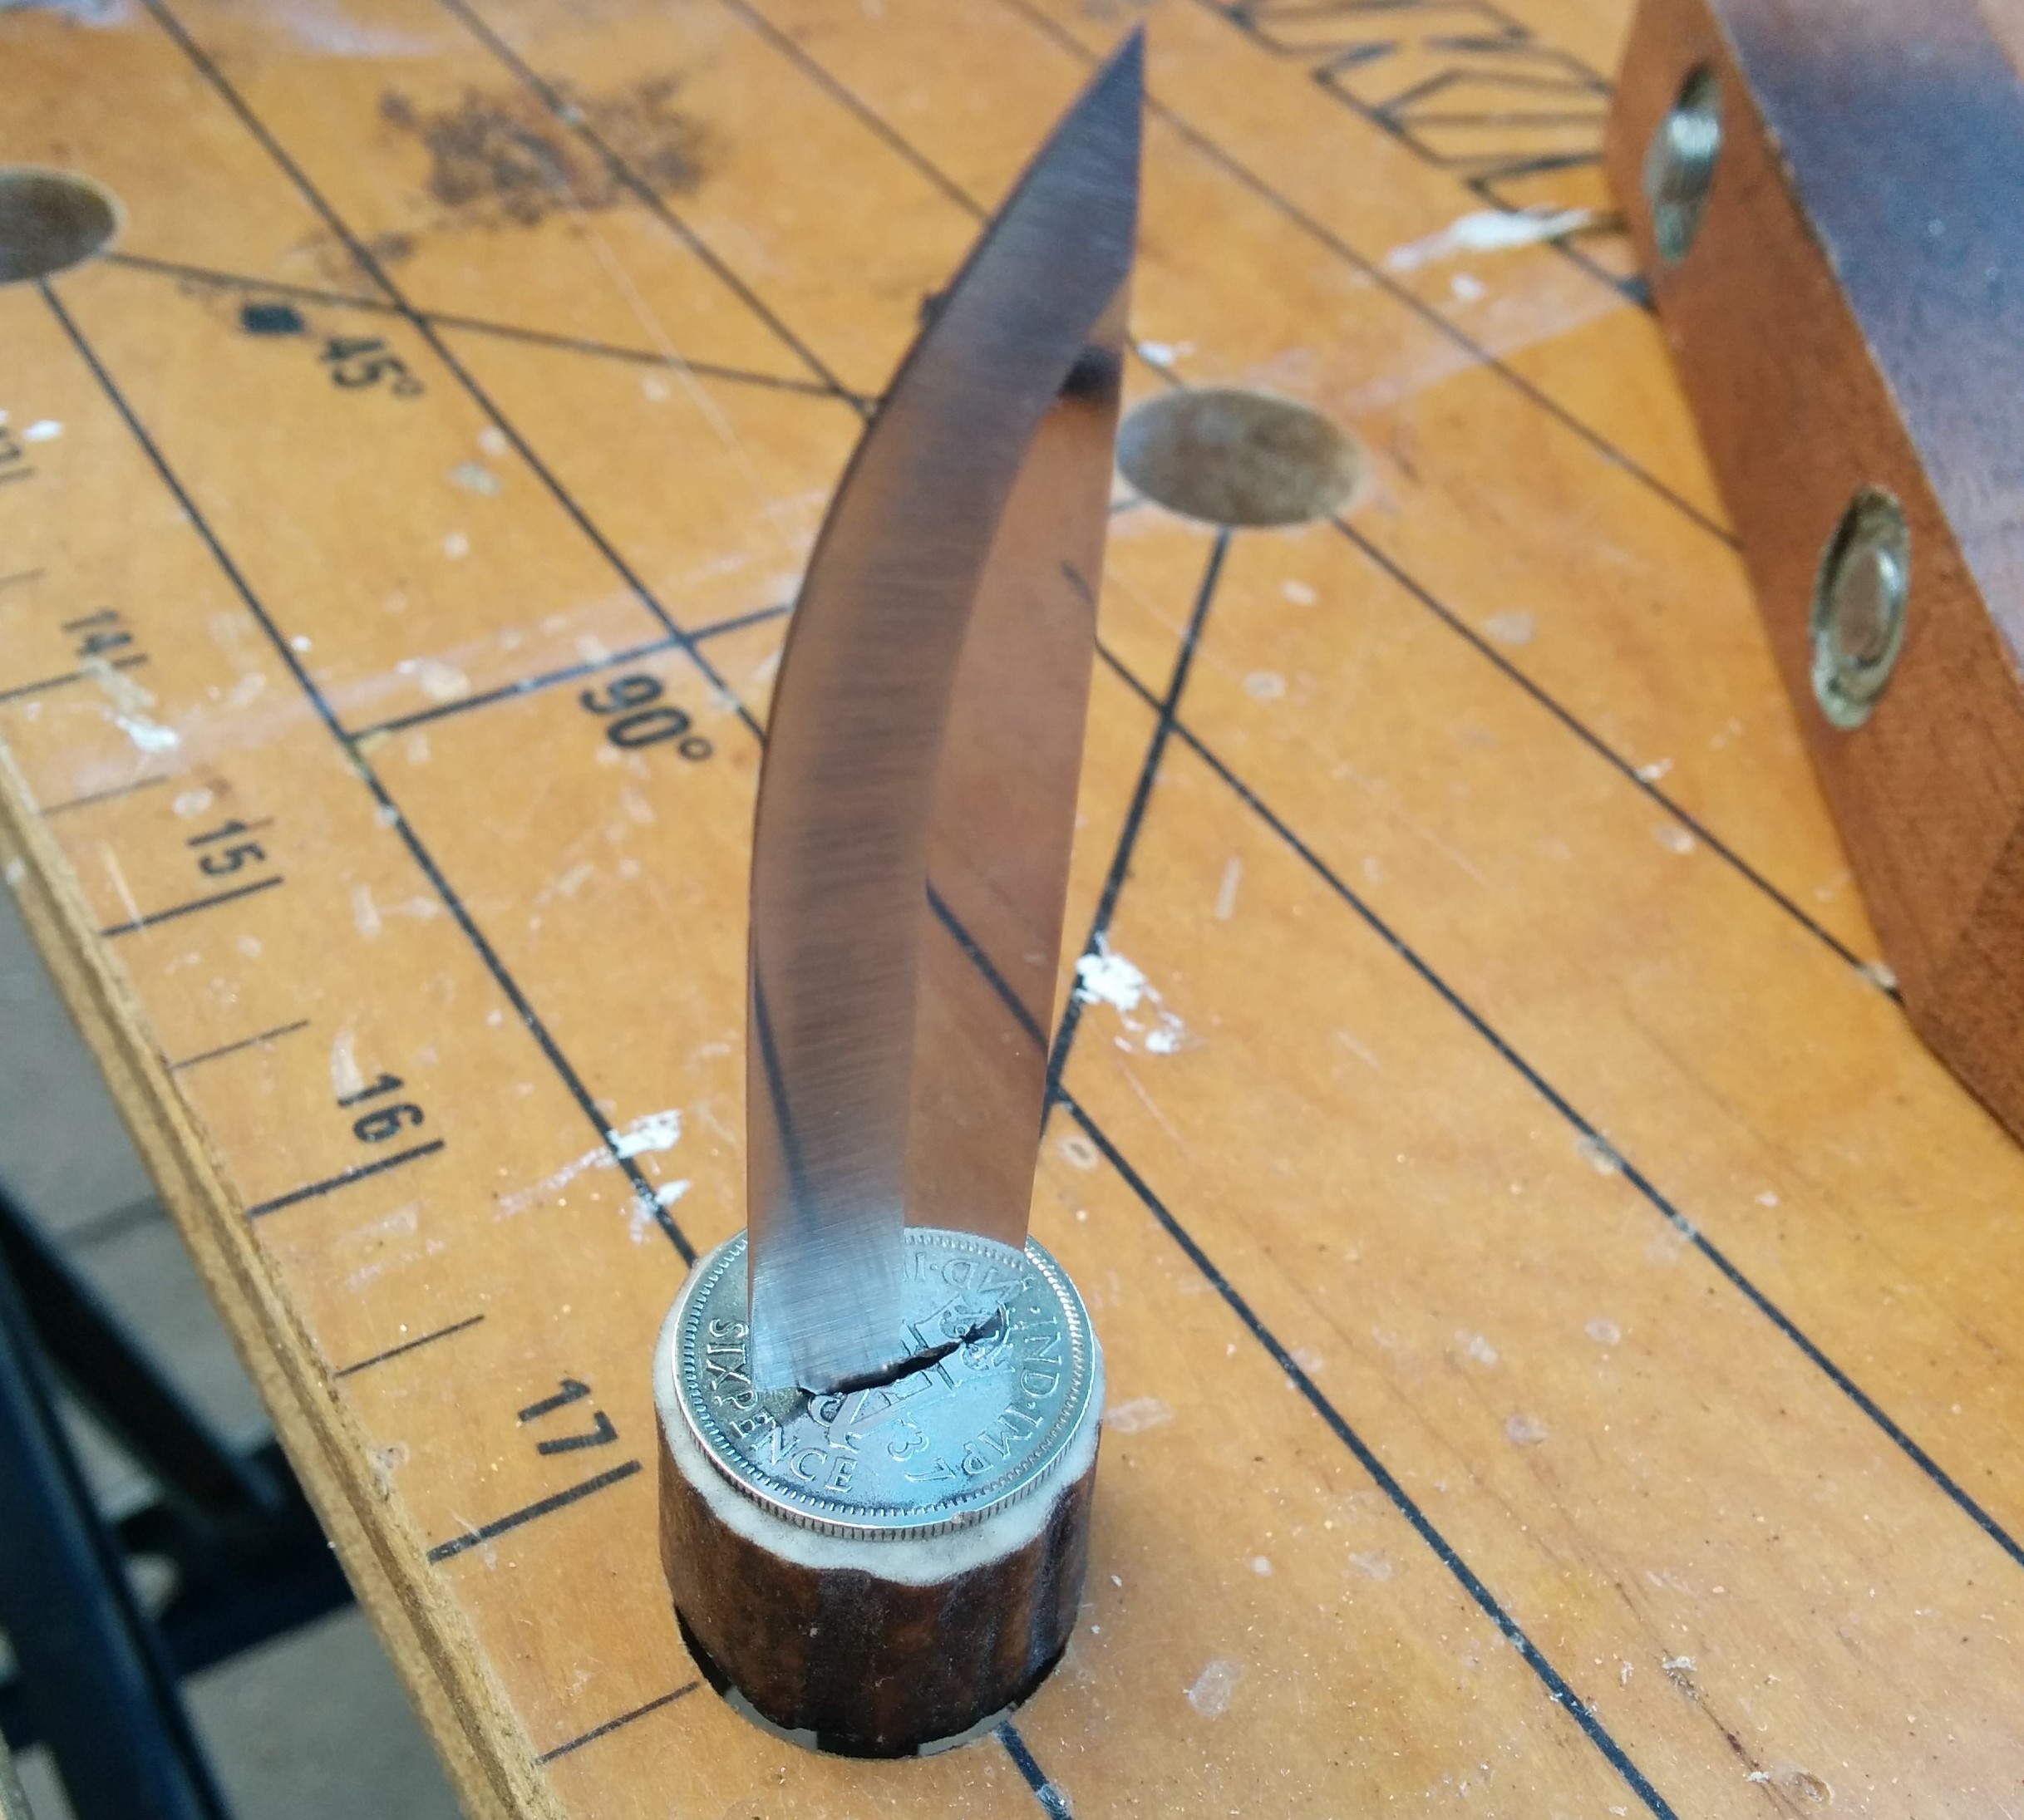
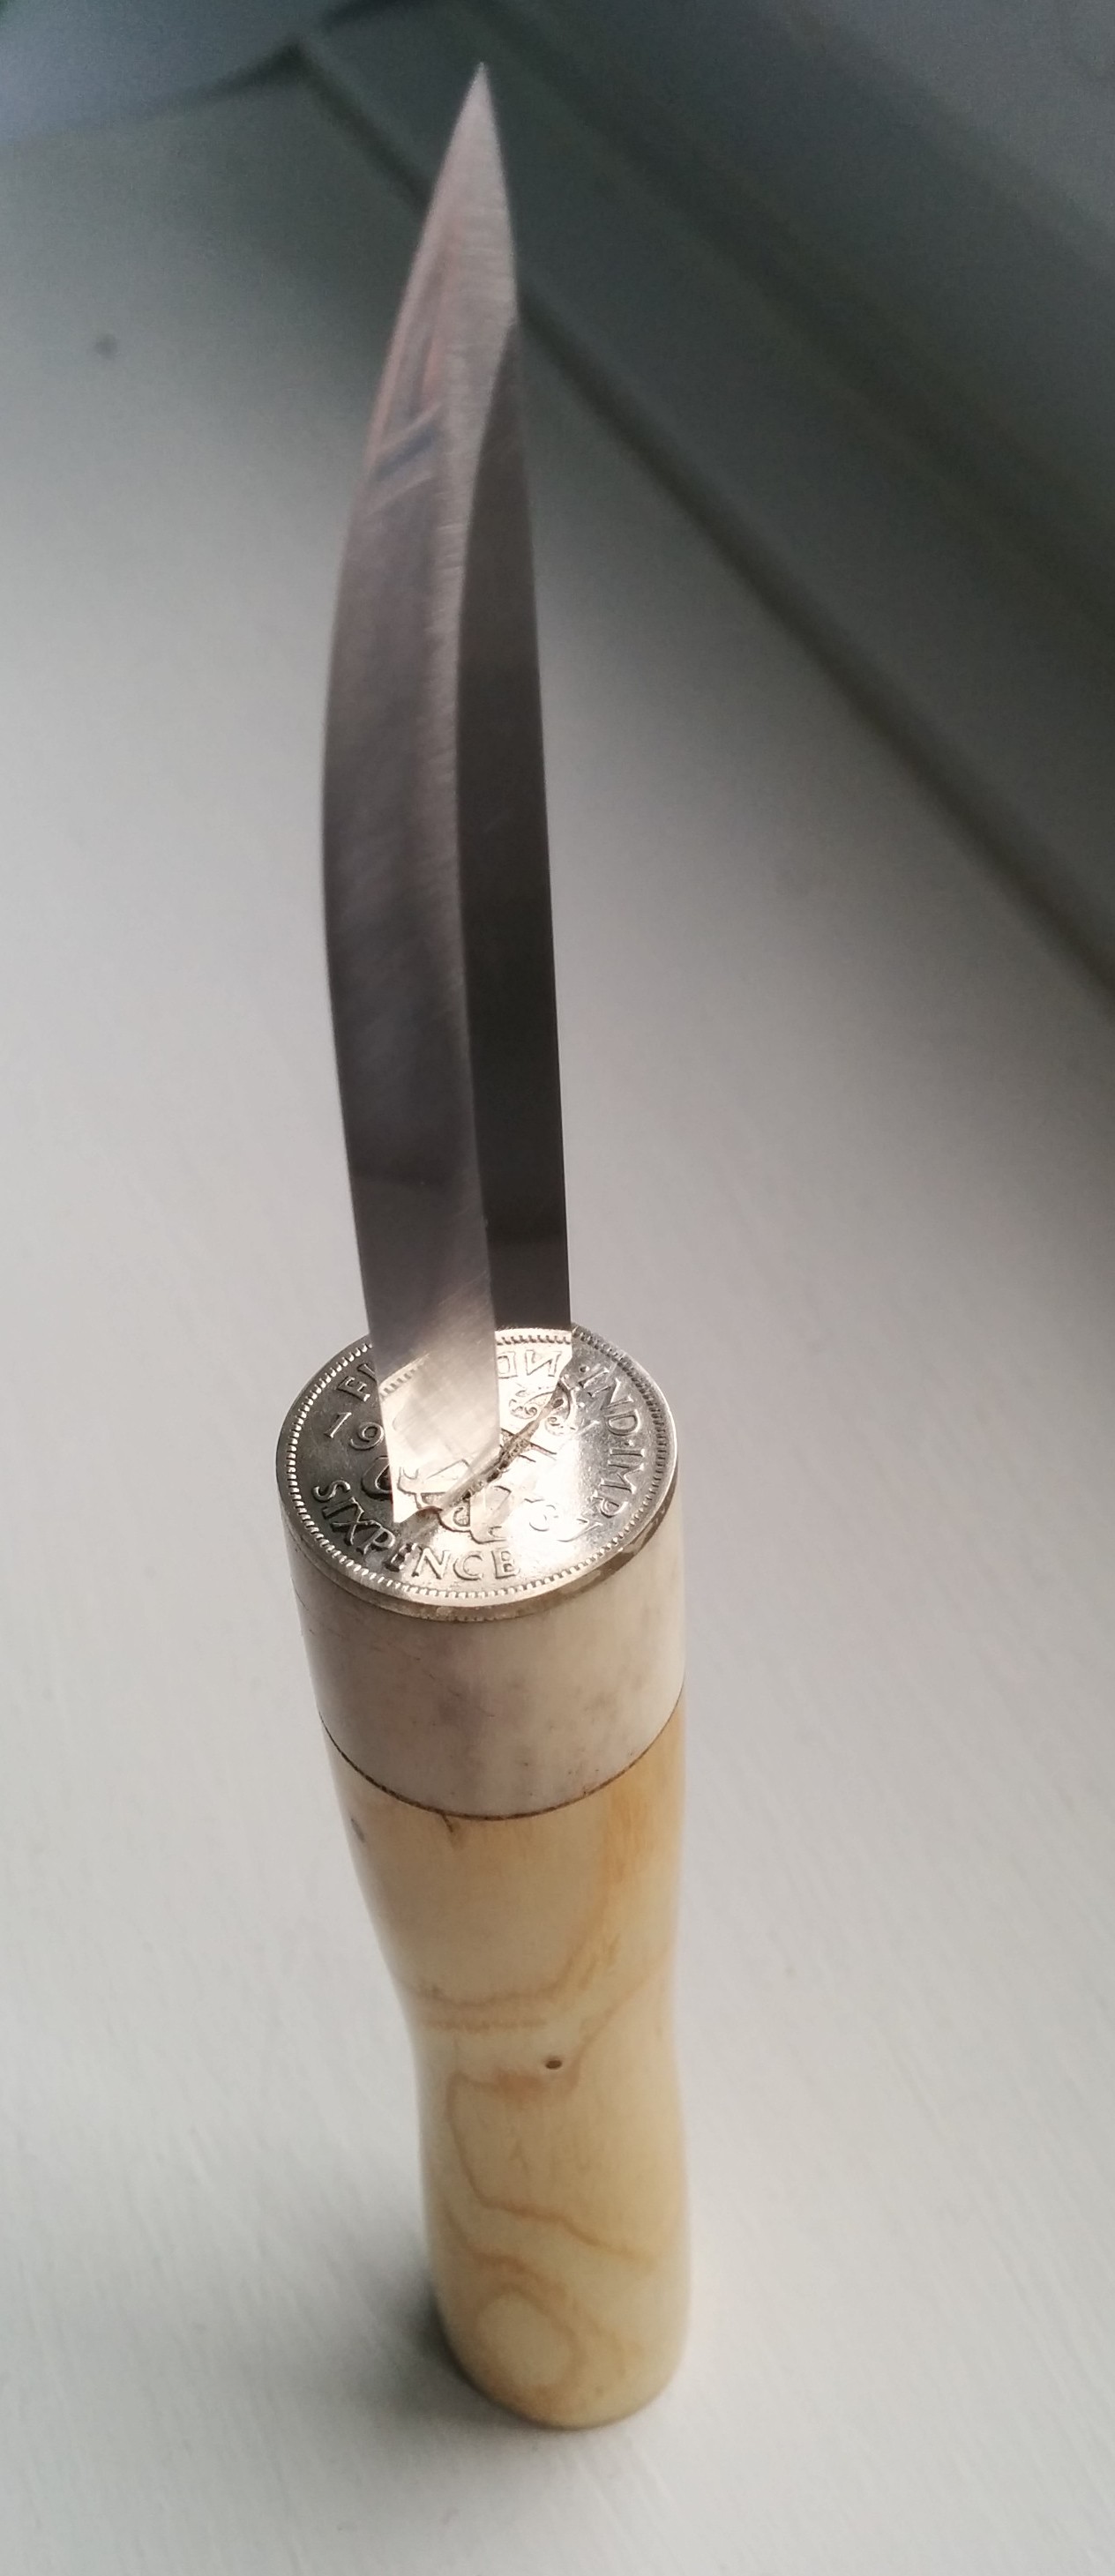
Bolster fitted to blade
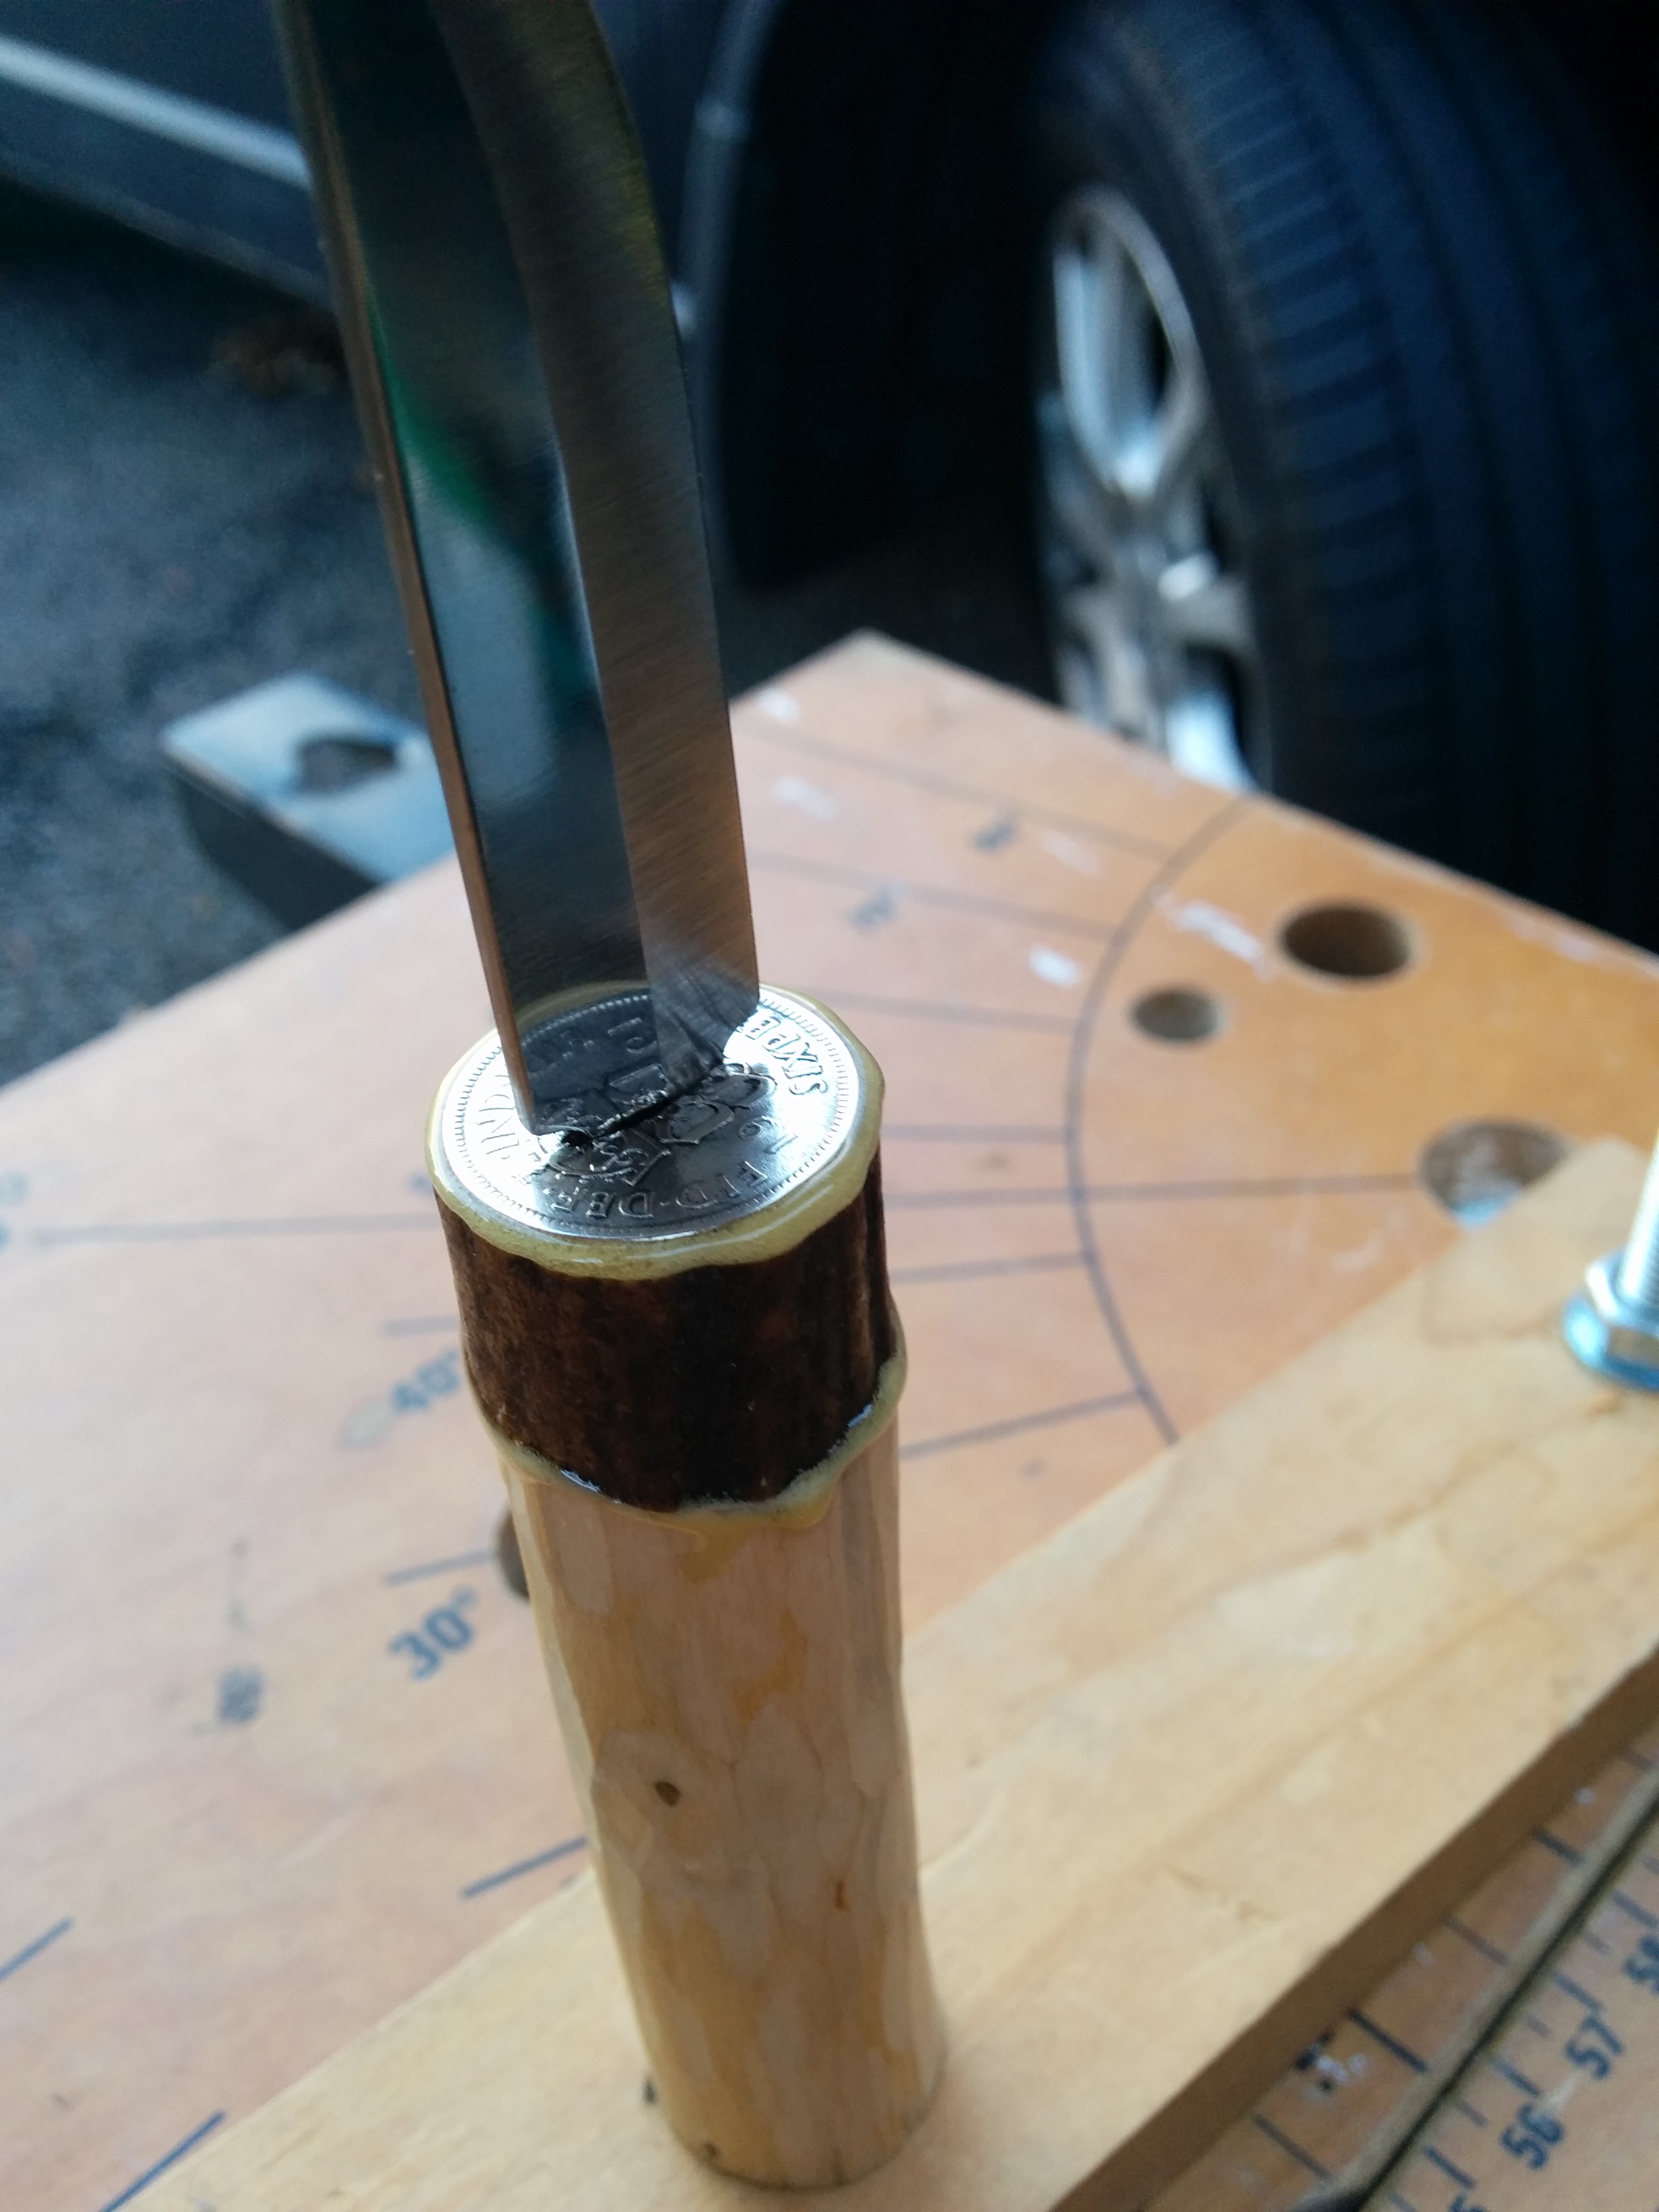
The bolster should require a bit of ‘percussive persuasion’ to reach its final destination. I clamp the blade’s sharp-end in a wooden-jawed vice (which I made) then use a pair of pliers as a load spreader (one element either side of the blade) and hammer the pliers gently to push the bolster home. Once positioned correctly, it should look something like this…
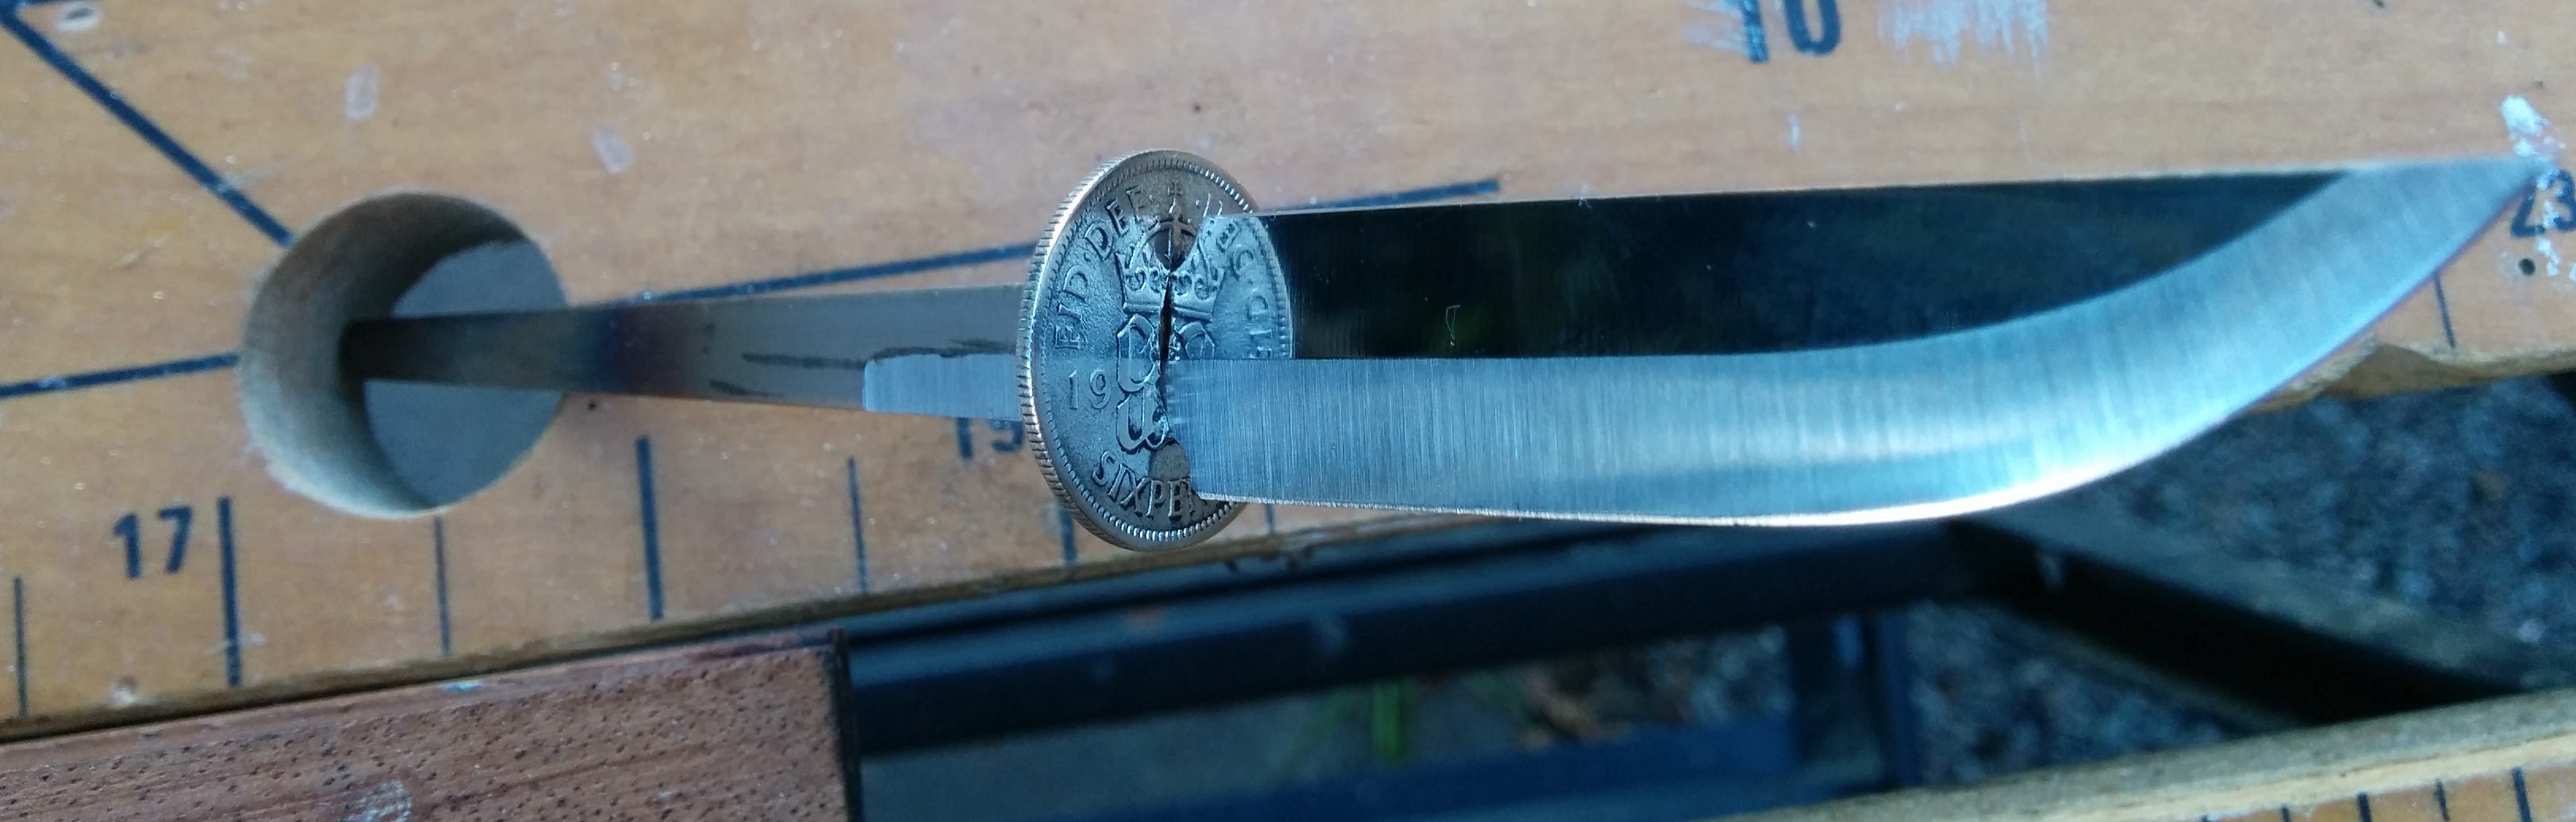
Bolster final position (see scrape marks on the tang)
Deer Antler
Now we’re ready to work on the decorative piece of red deer antler. Its purely optional, decorative only, but it does look rather nice when you use it. You can get these from pet shops. They’re sold as dog chews. They can be cut with a wood saw and sanded to perfection. I bought a whole antler on ebay before I knew about the dog chew thing, so I have enough for about 20 knives. A dog chew for about £6 should give you enough for at least 3 or 4. It’s dark on the outside, but if you size it right, the dark bit will be sanded away and you end up with a nice white/grey ‘ivory-like’ effect.
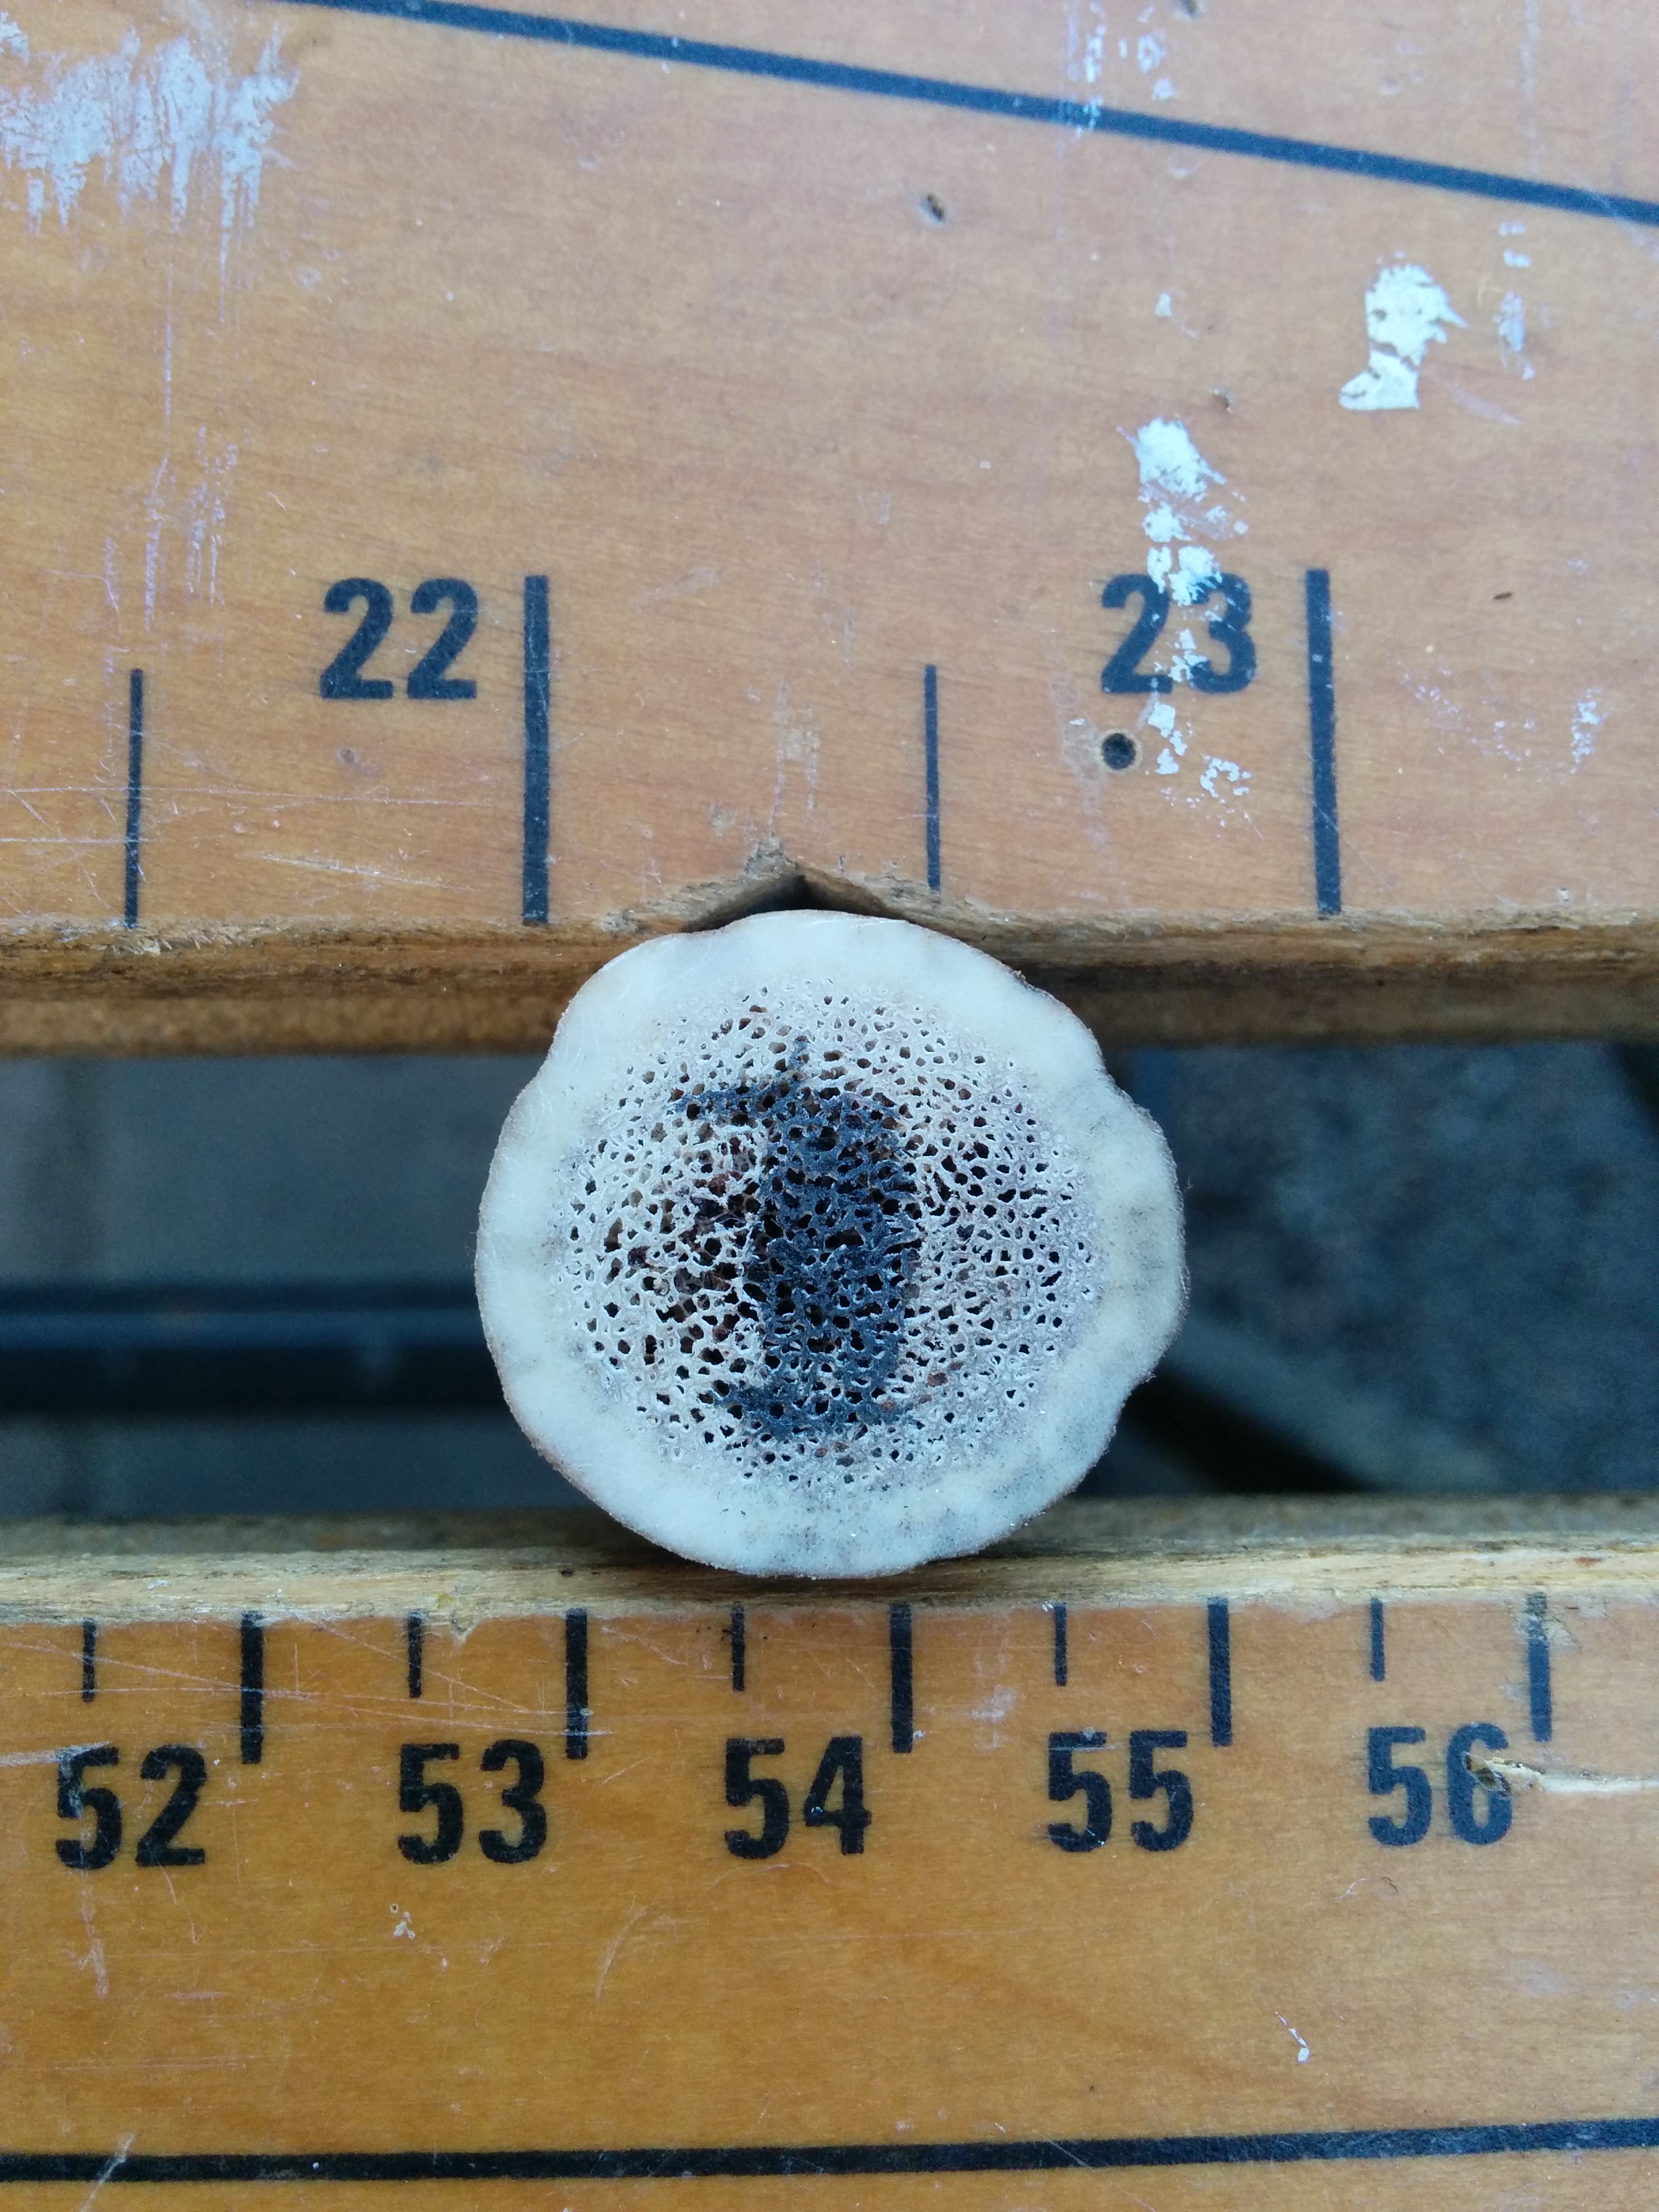
Piece of deer antler, marked up
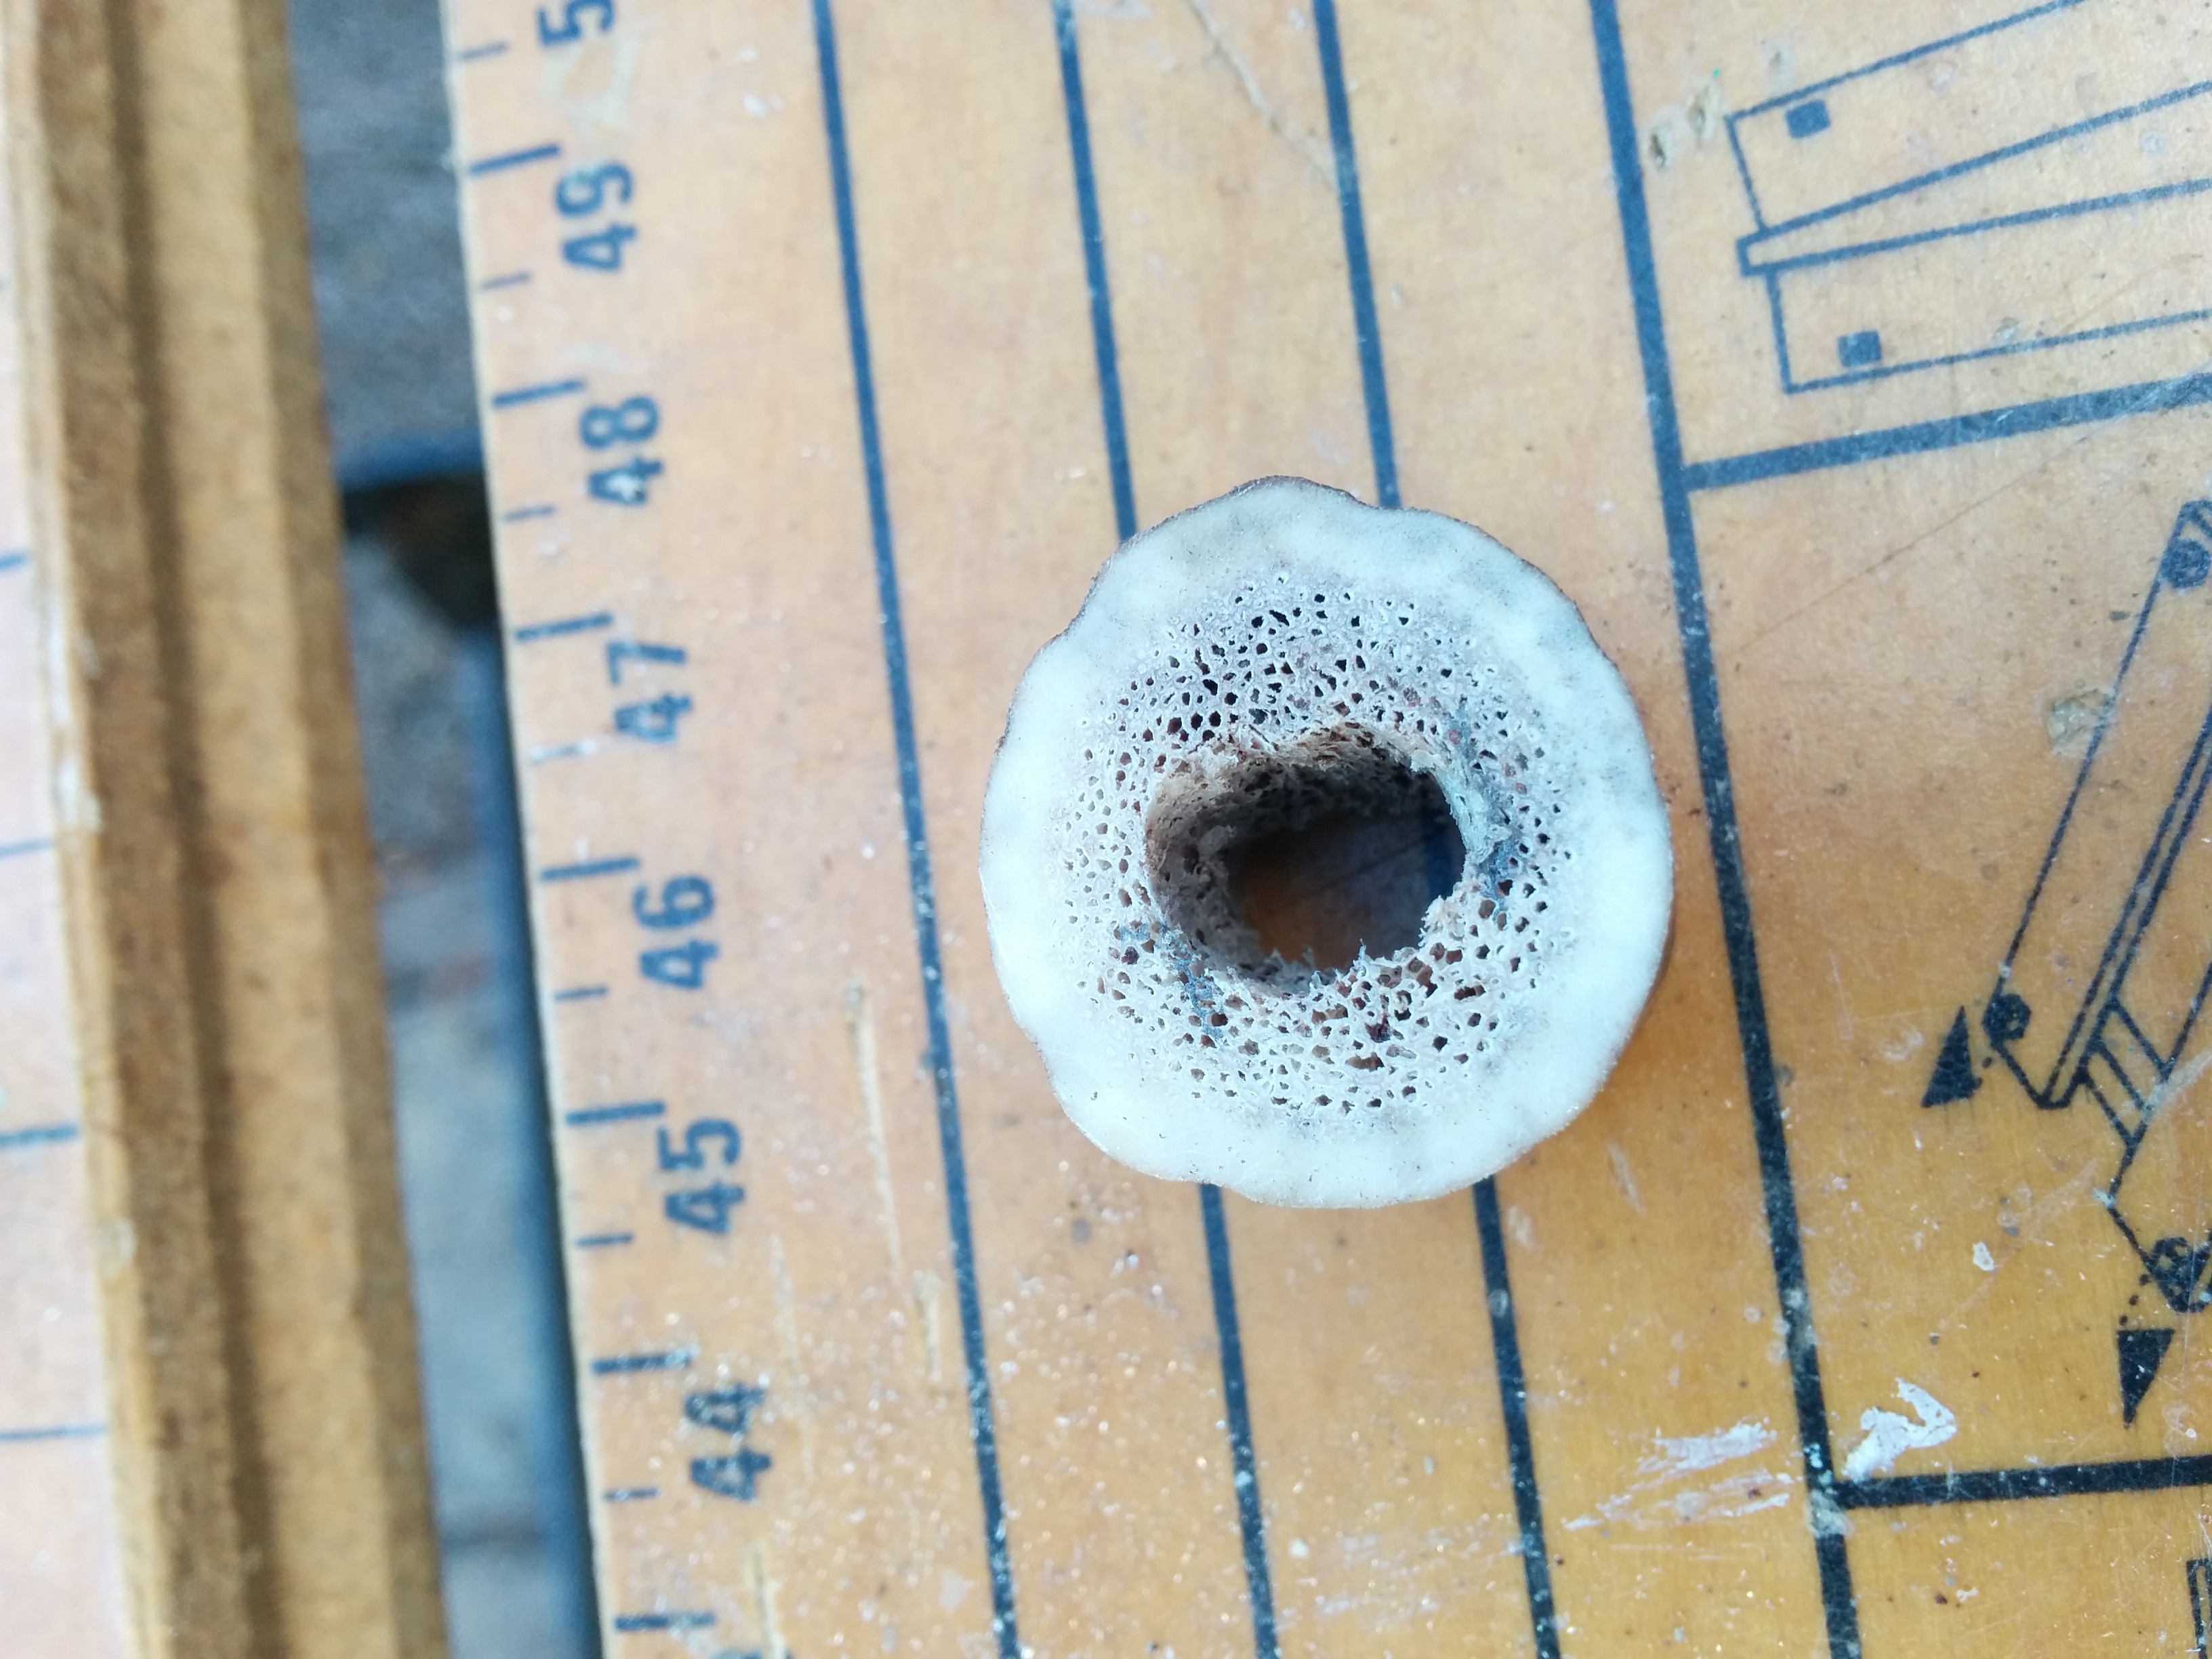
Deer antler after Dremelling
Trial fit. It fits! YAY!
Once this fits to your satisfaction, it’s time to work on the handle.
Woodwork Next
It’s really helpful to get both ends of the wood nicely perpendicular for gluing. That’s a lot easier if you’re using a block of wood with planed edges. I’m using a round “piece of tree” which makes it much harder, but I’m pretty good with a Japanese saw, and you can make minor corrections with sandpaper.
Cut handle material to length ensuring perpendicular ends
Once the ends are square, you need to mark and drill hole(s) for your tang. Depending on the knife, you might need to get some extra long drill bits. A pillar drill can be a real boon here if you have one. I did this one with a hand drill because it’s a small knife.
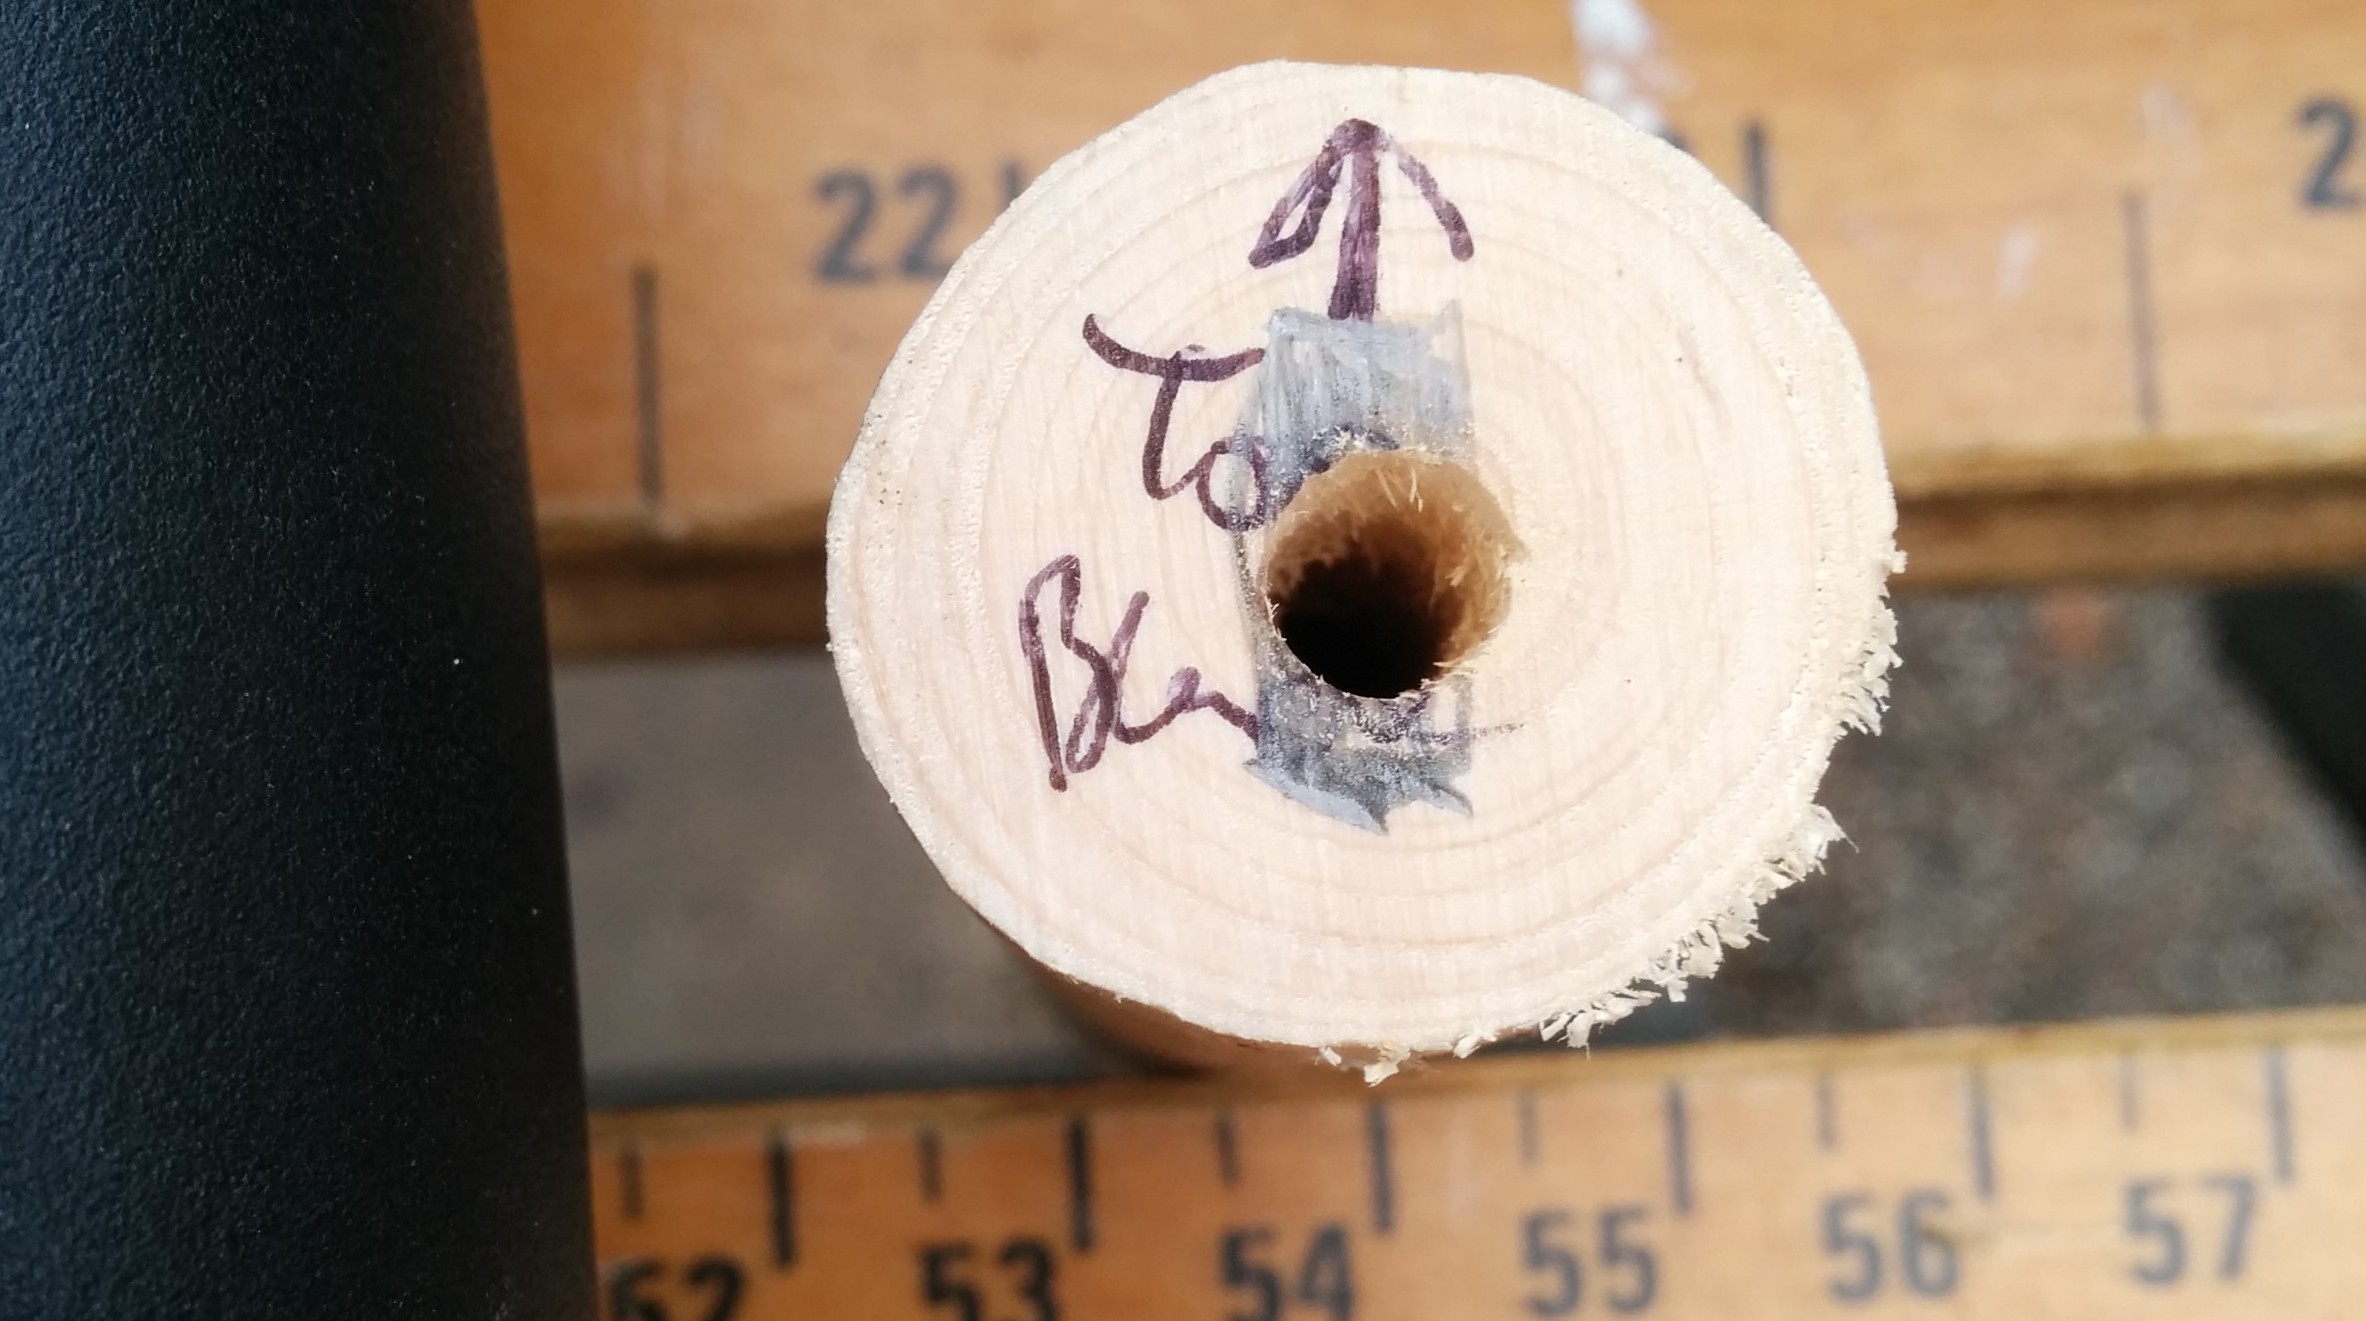
Drill hole for the tang
Once drilled (5mm bit in this case) the hole usually needs enlarging. For a small blade with softish wood you might be able to abuse the drill bit and “mill” the hole bigger. With larger blades and harder wood, you can drill multiple holes and merge them.
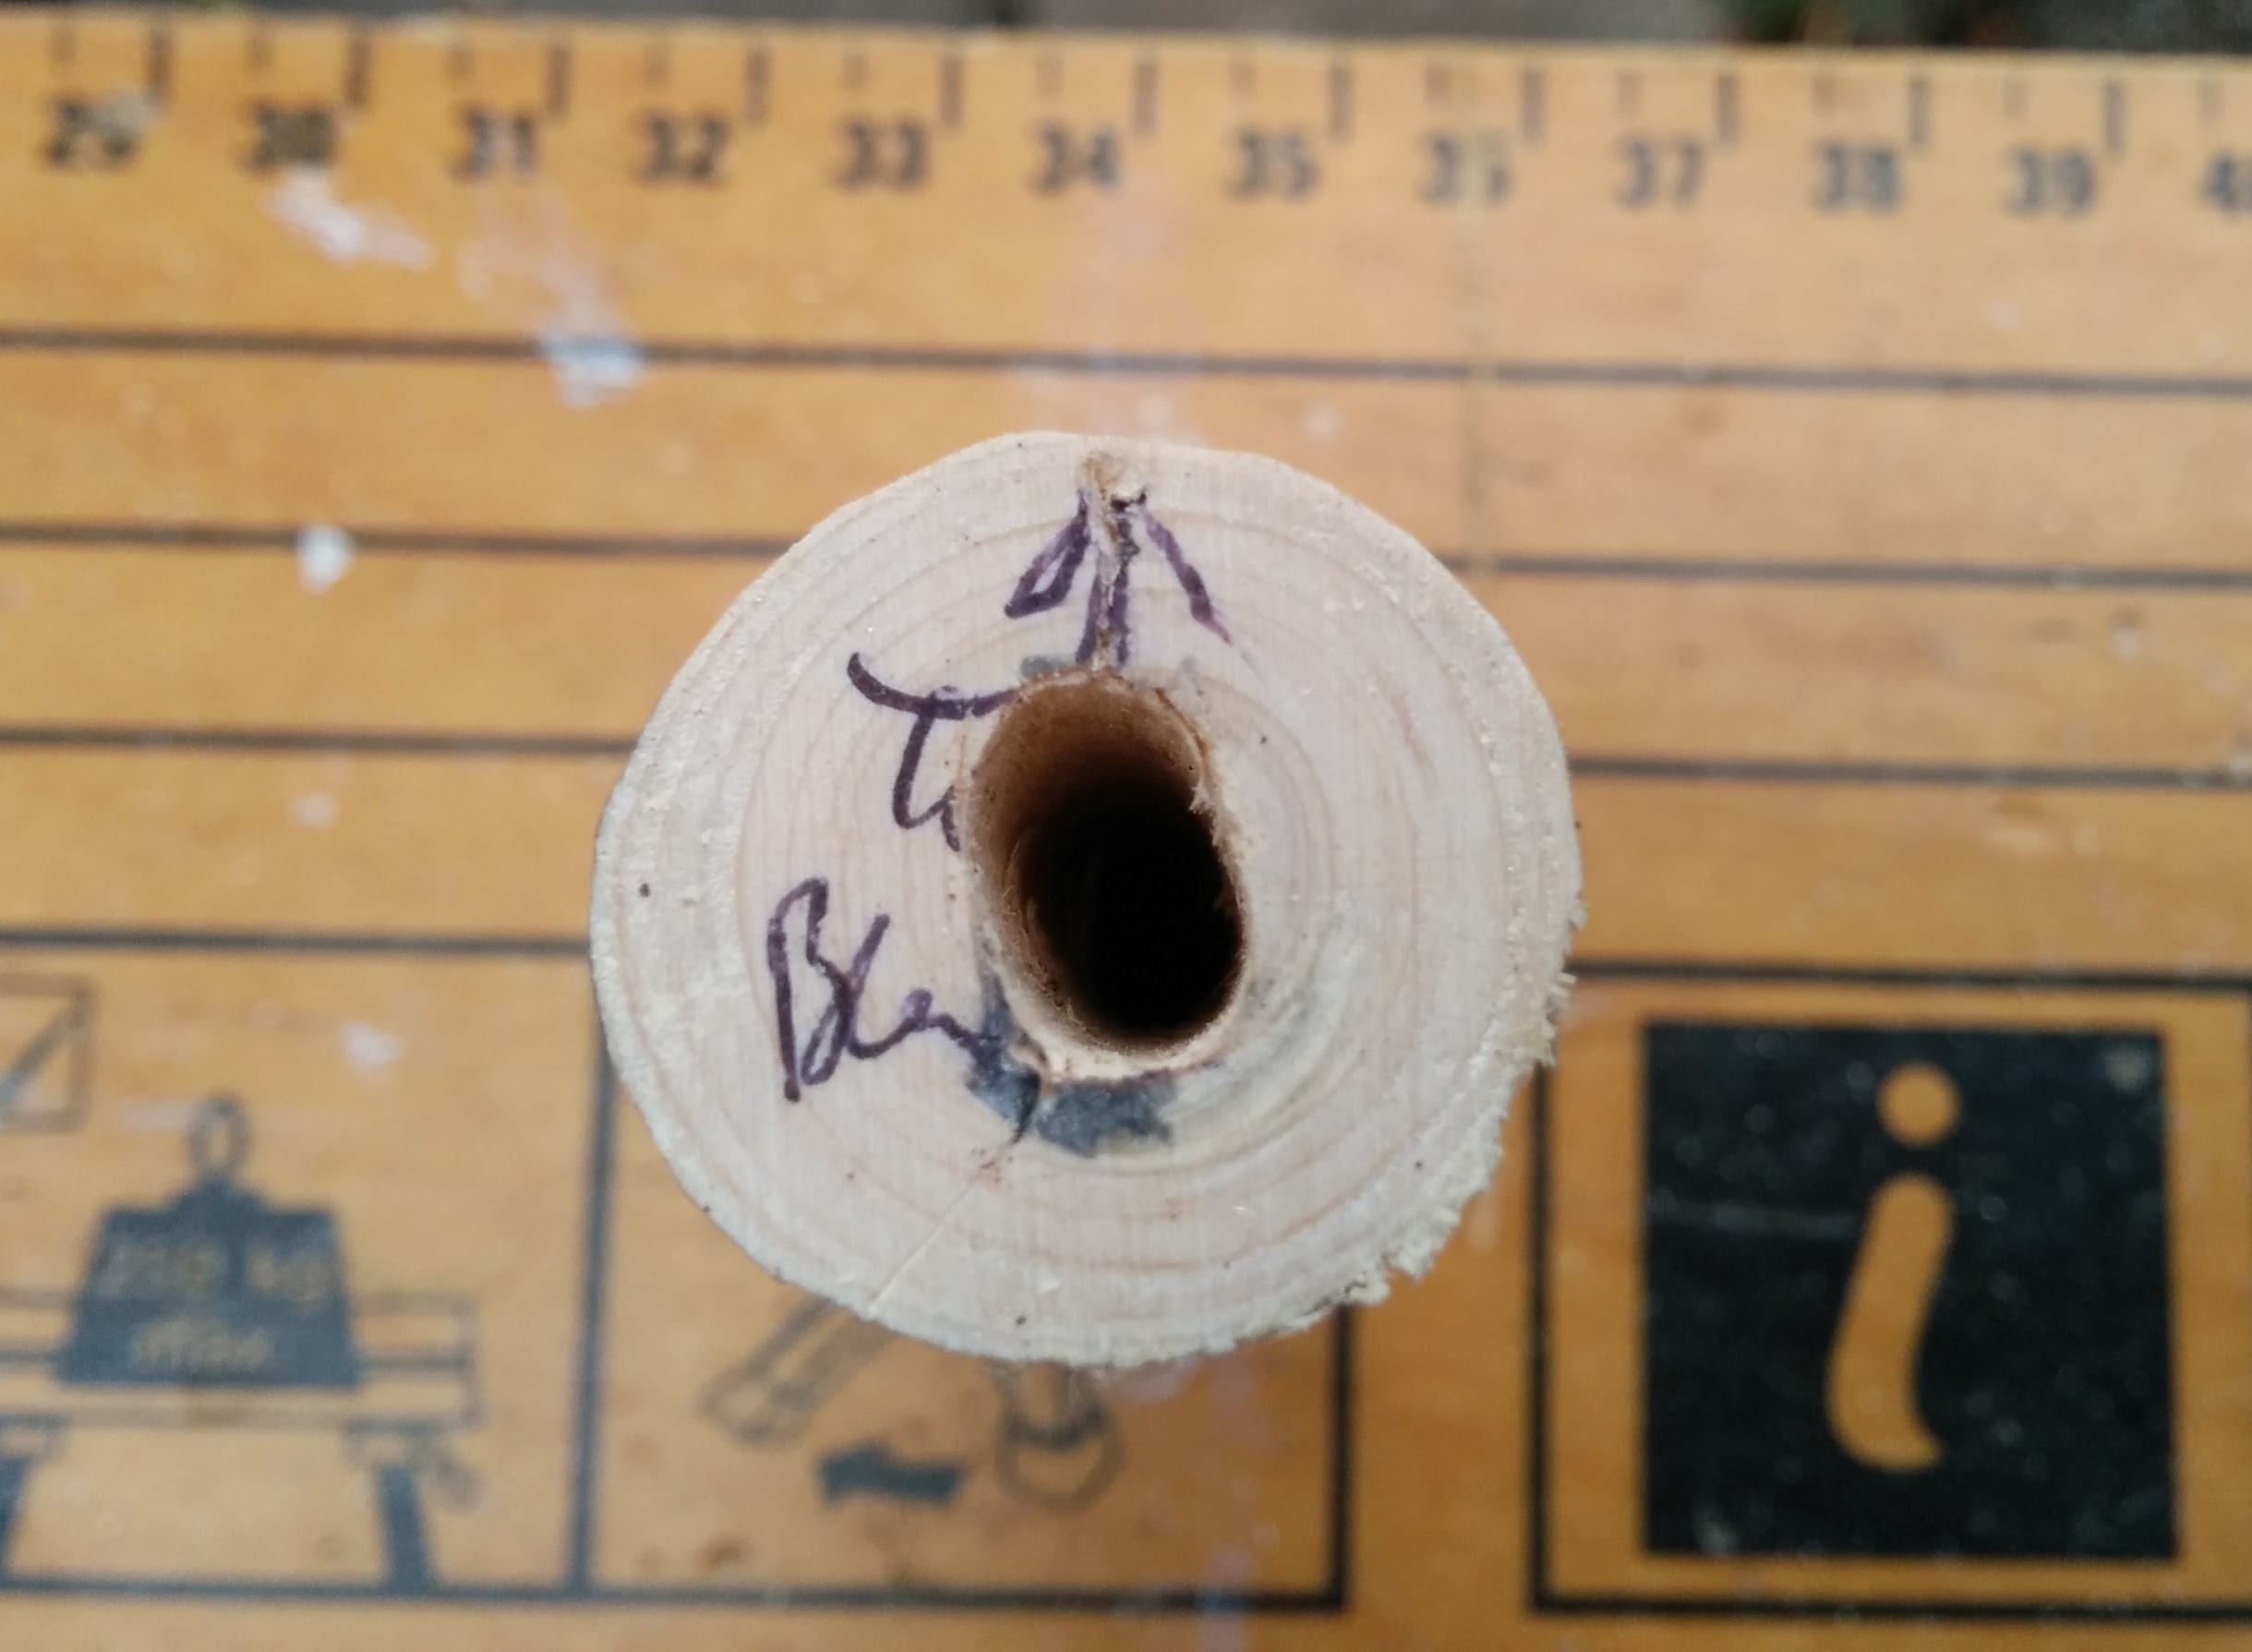
Enlarging the hole to fit the tang
Trial fit

Check orientation and glue up
Glue-up
Then it’s time for the glue-up. I use Gorilla glue which is polyurethane and sticks pretty much anything. It’s also ideal for knife making because it’s water-proof and expands to fill gaps. Keep it off your hands though because it only comes off with petrol, cellulose thinners or pumice. Despite that, it’s my favourite glue. I use a simple homemade knife press, but you can use two bits of wood and two clamps as well. Regardless of the final shape of your handle, having square ends at this point makes it much easier to get everything properly aligned in the press.
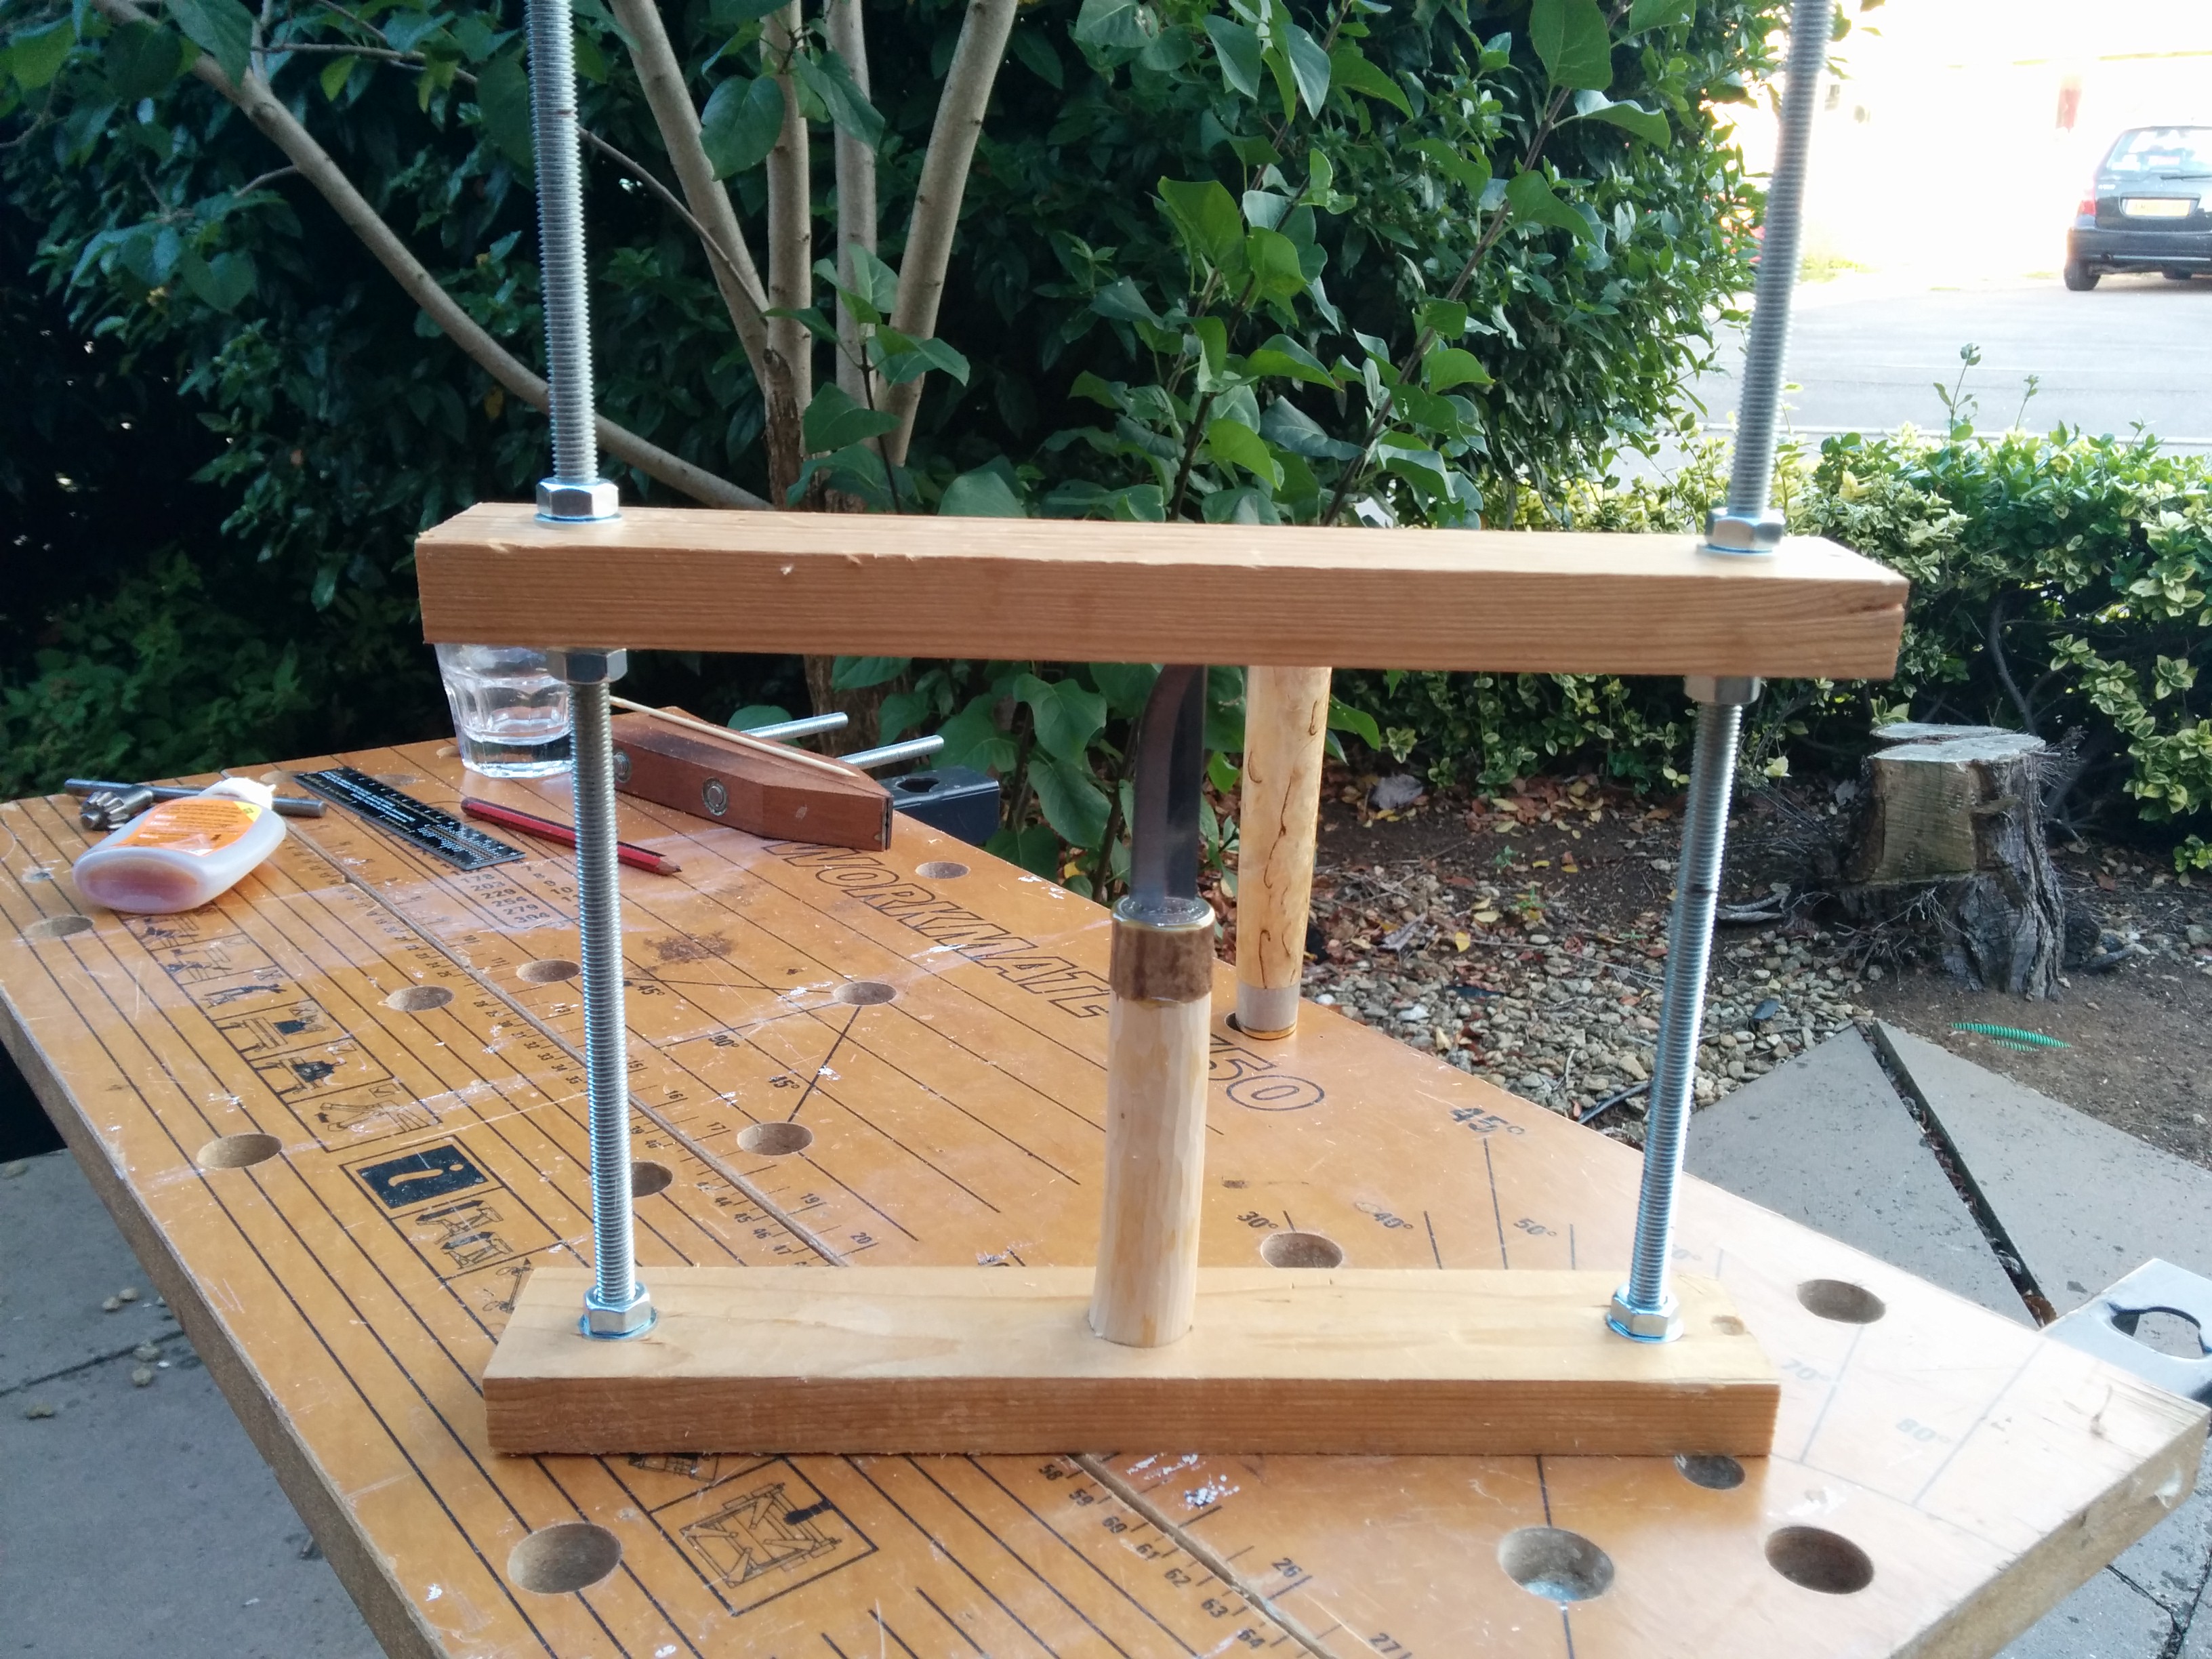
Knife press
The tree stump on the right of the above photo is the remains of the conifer that the handle is cut from (I cut it down ~18 months ago).
Gorilla glue expands quickly
Overnight – full expansion
Glue all set.
Time to Shape the Handle
Peel or cut off the excess glue, then it’s time to start shaping the handle.
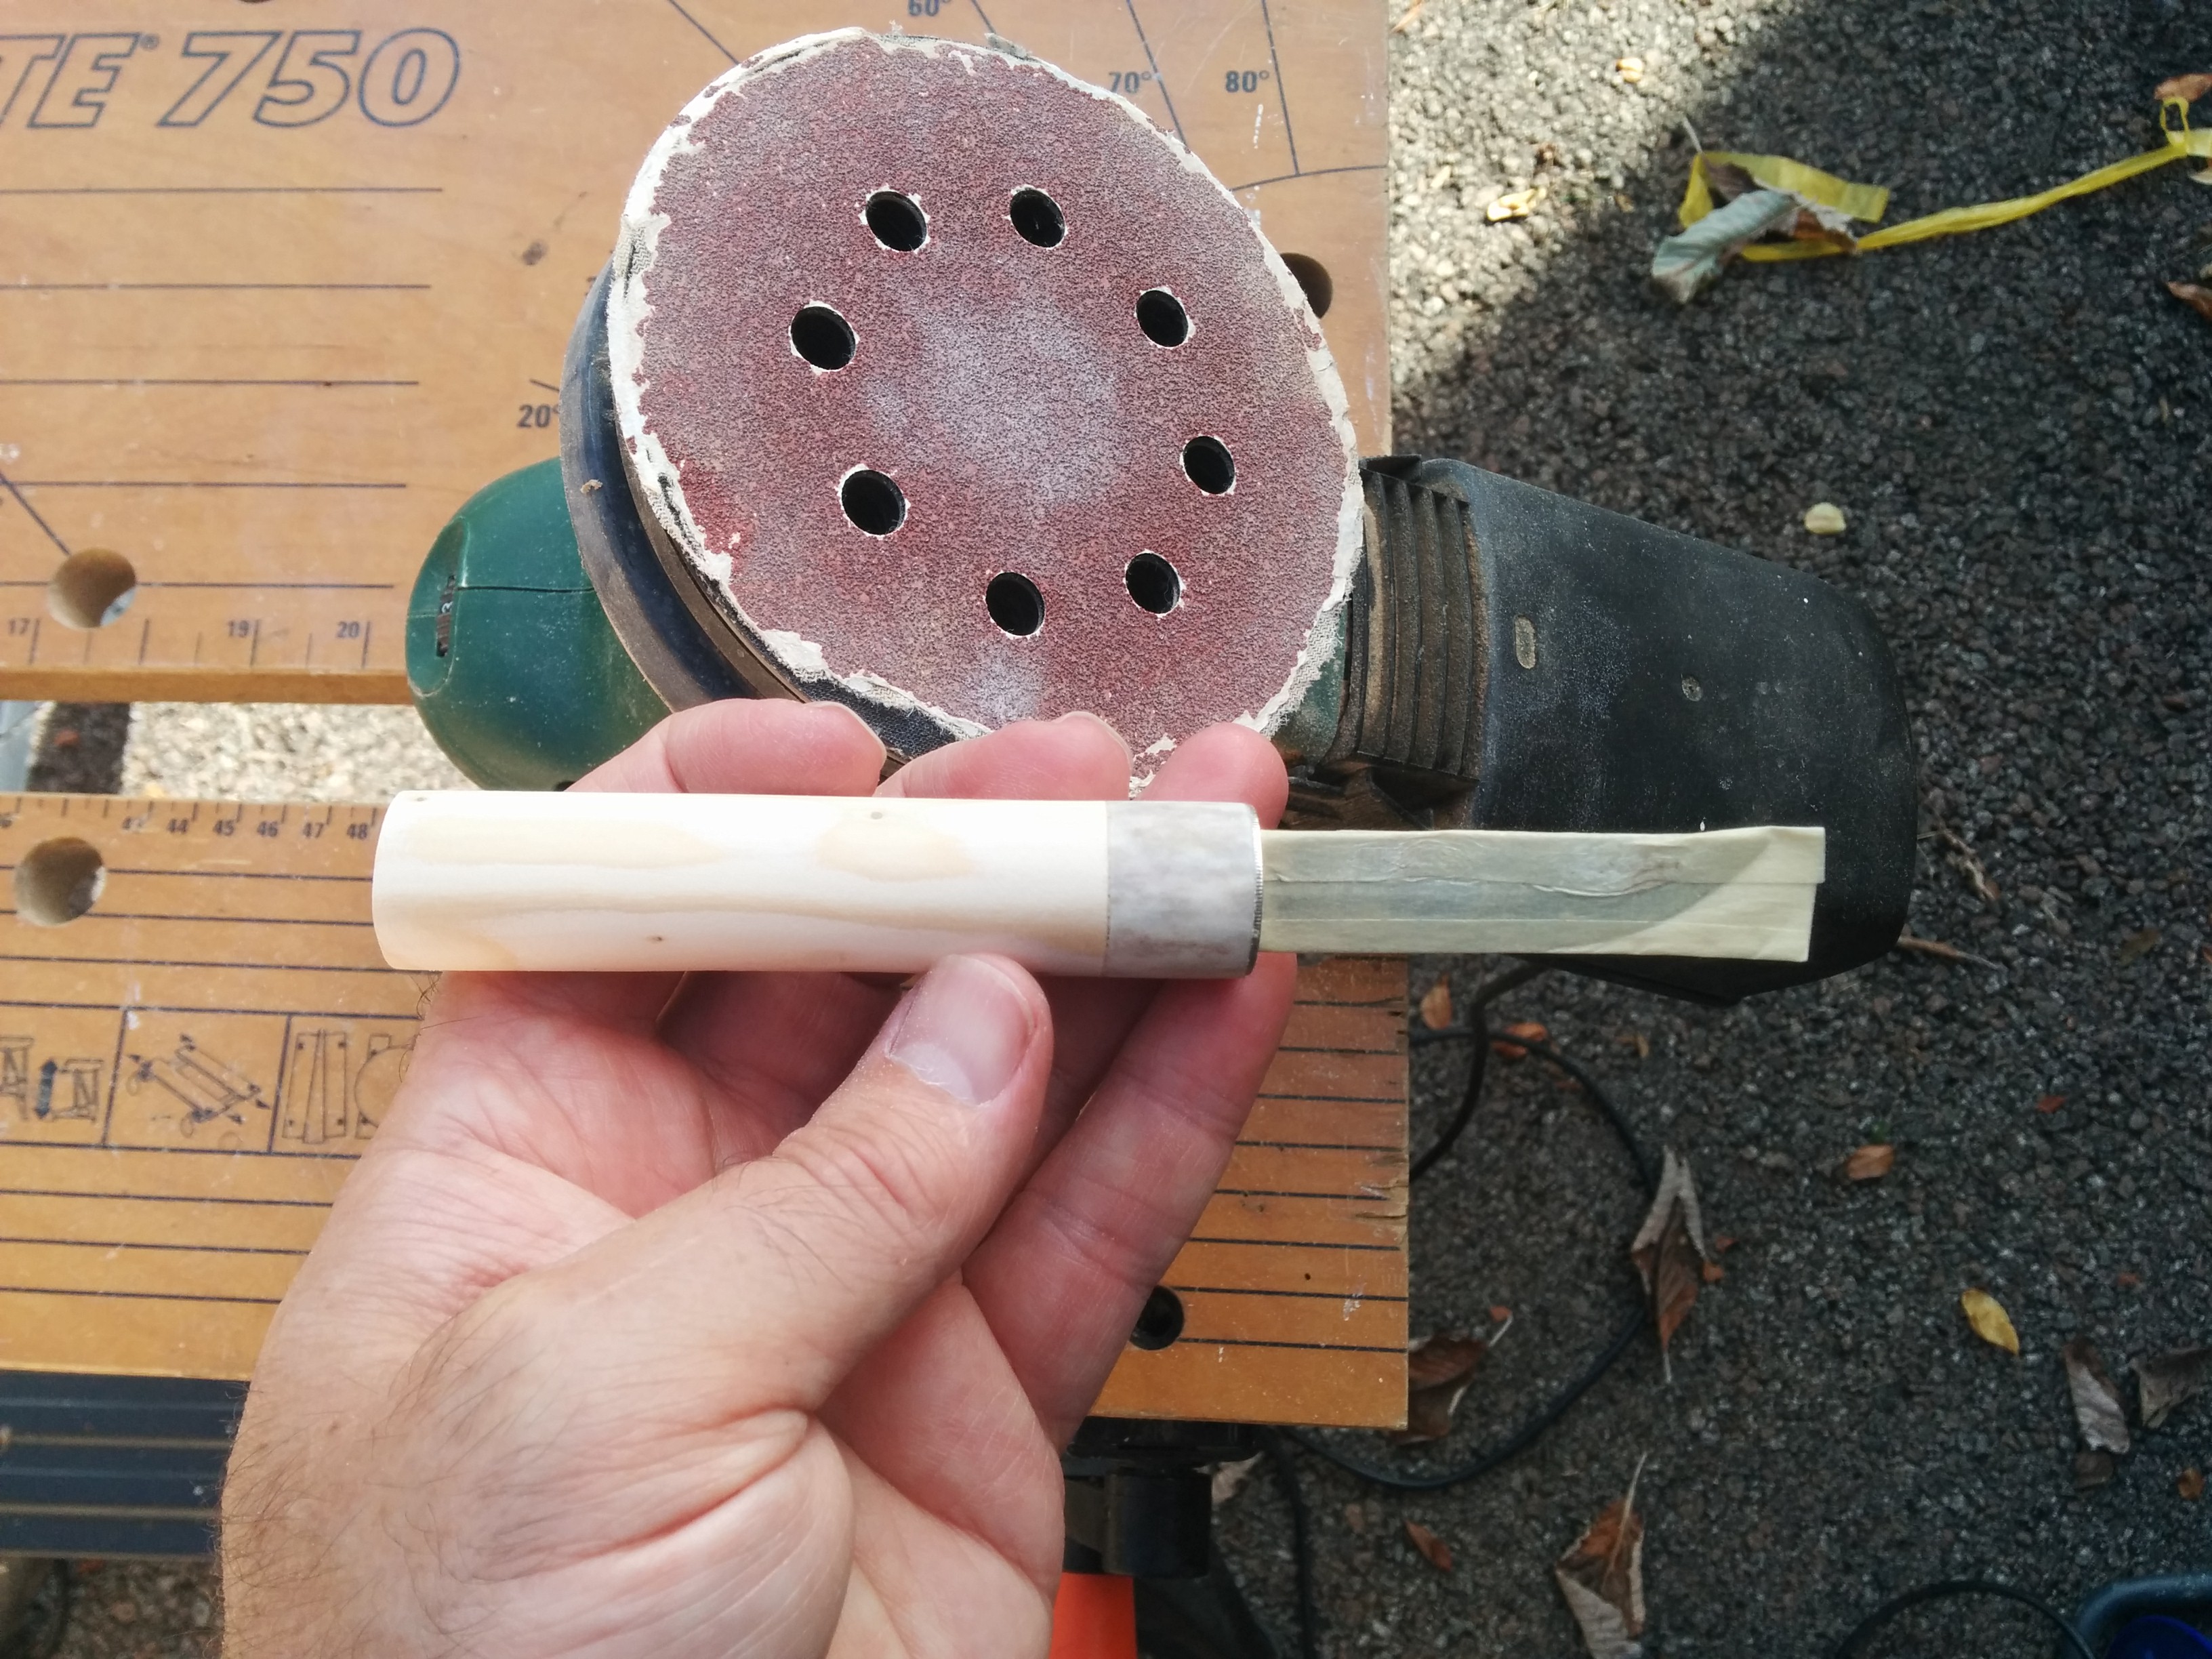
Masking tape on the blade and now lots of sanding/carving to shape
With the blade masked, you will protect both it and yourself from damage. You can clamp the blade and then use a power sander to get the basic shape. I clamped the sander in this case and held the knife as it was easier for me.
I start with 40 or 60 grit to get the basic shape. You can also use chisels or knives if you want. You’ll probably want to sand the antler and bolster flush with the wood at the edges. The bolster gives you a good indication of when you’ve finished. I tend to sand until the grooves on the coin are gone. Then it’s all lovely and flush.
Don’t forget protection…
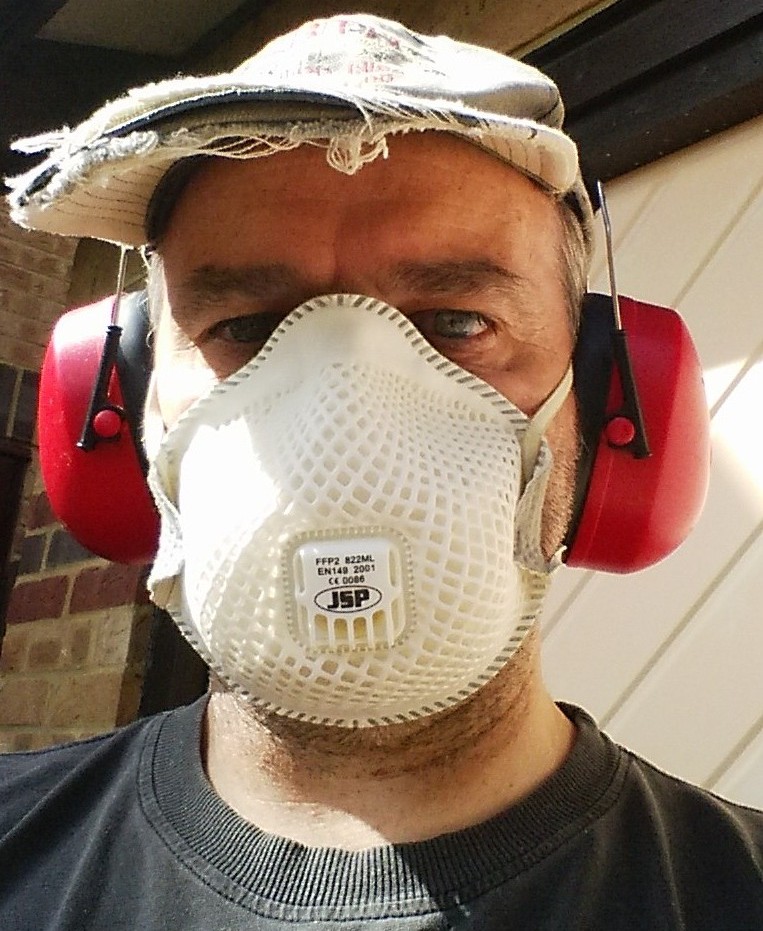
I don’t like wood dust or sander noise
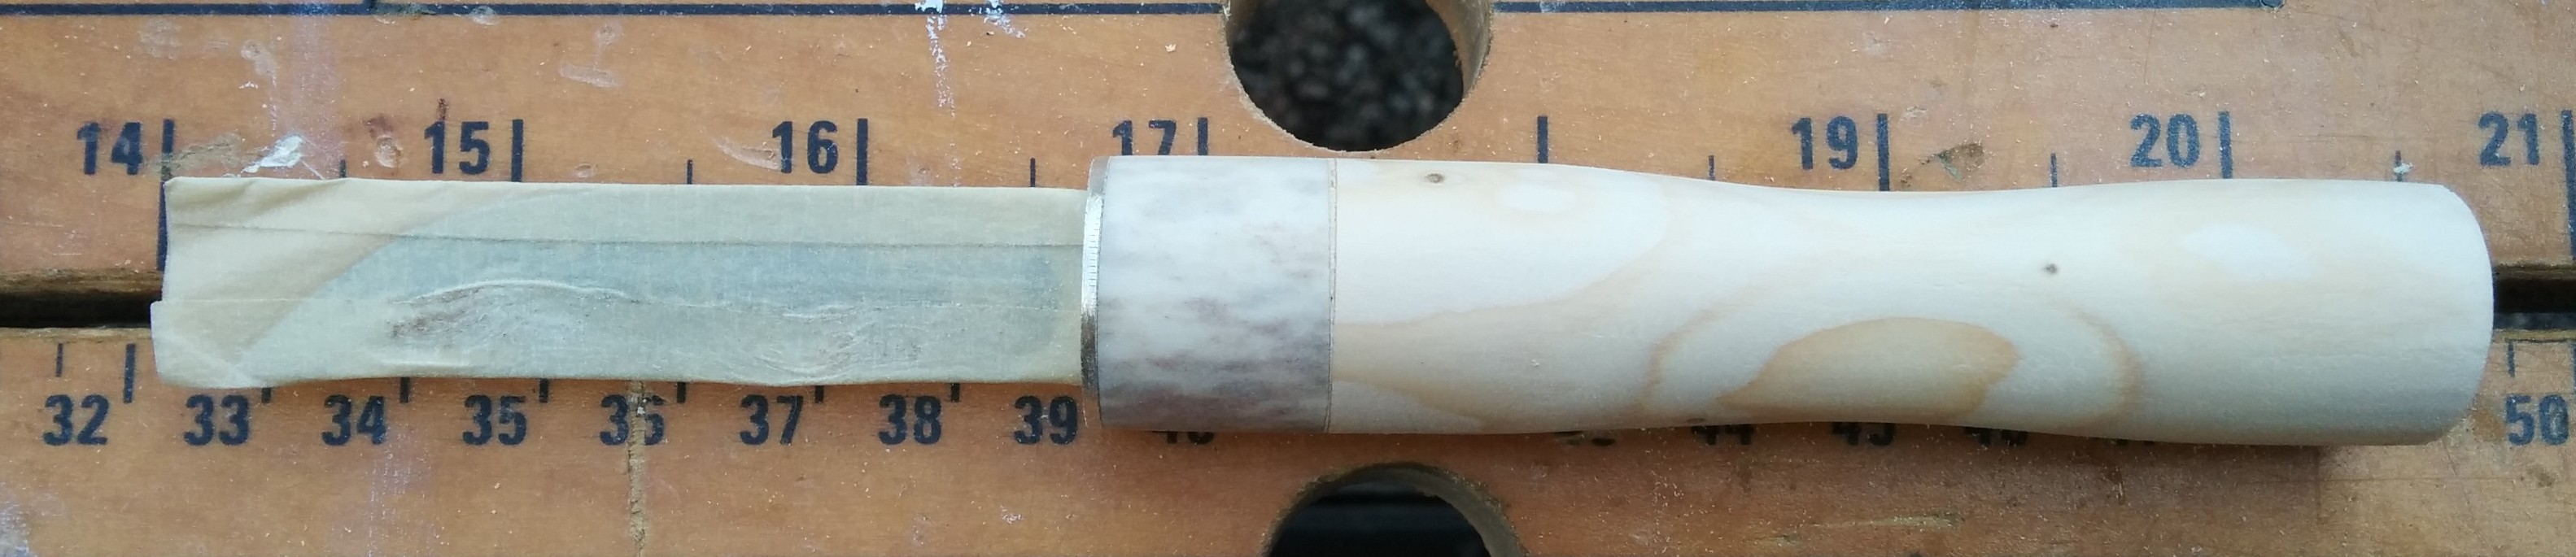
Notice the antler is now white and grey and not the dark brown colour it was before sanding. Once I’d got the basic shape, I decided it was a bit boring.

Basic shape
So I took a risk, marked it and gouged out some of the middle (with a knife). It didn’t look very good until I’d sanded it to blend it in smoothly, but then I was pretty pleased with the outcome. The shape looks more interesting and the wood pattern shows a nice effect from its concentric ring layers…
A bit more interesting
Now the Hand-Sanding
Once I was happy with the shape, I hand sanded through progressive grades of wet and dry paper (used dry) 120, 400, 800, 1200, 1500, 1800, 2000, 2500
This might seem extreme, but it gives you a wonderfully smooth surface which has to be seen and touched to be believed…

Sanded to 2500 grit
After that, 5 coats of Birchwood Casey’s Tru-oil, with 2 hours drying time between each coat and it’s all over bar the sharpening.
Oiled and ready for sharpening
Shaving Sharp
This blade is usable as it arrives, but it has a micro-bevel on and I don’t really like micro-bevels. I find them difficult to sharpen and get better results carving wood without. So I generally remove them.
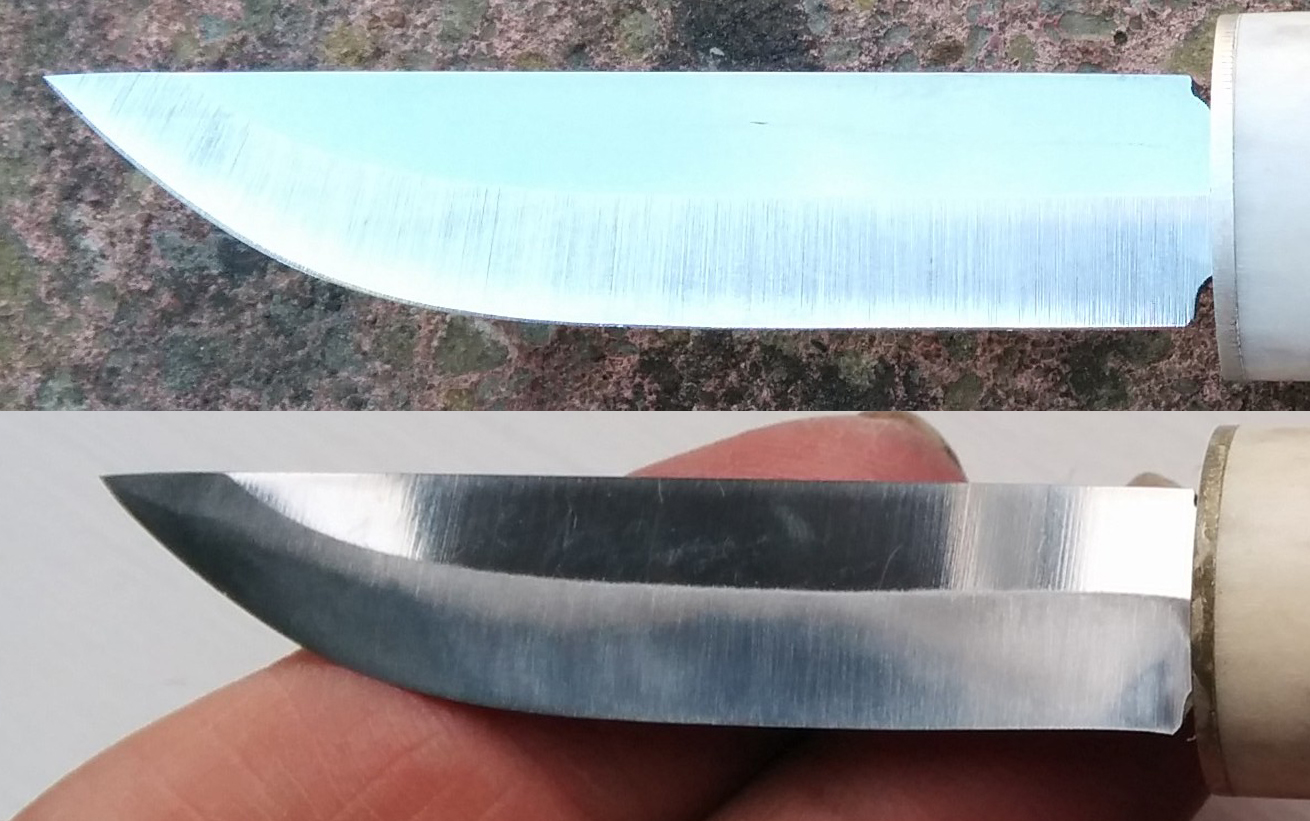
Top – micro-bevel, bottom fully sharpened to remove micro-bevel. Click to enlarge
So I spent an hour with a coarse Japanese waterstone grinding off enough metal to remove the micro-bevel. Then I spent another hour going through three other grades of waterstone in order to get it mirrored and ‘shaving sharp’. I completed it by stropping on the back of a leather belt (the ‘suedey’ side).

The finished, polished, oiled, sharpened knife
All in it was about 9 hours over 3 days. I usually do day 1 glue-up, day 2 shaping and oiling, day 3 sharpening. I had fun. I hope you do too.
More Photos
Click any photo to enlarge
-

- The finished knife
-
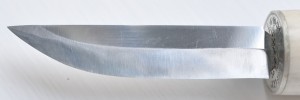
- Sharpened blade
-
- Deer antler
-
- Sixpence bolster
-
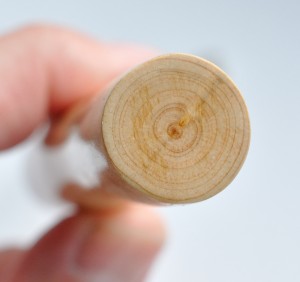
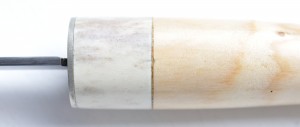
- The end of the handle
-
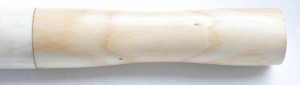
- Conifer handle
-
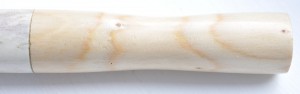
- Conifer handle rotated