I’ve met or exceeded most of the cycling and fitness related goals I set for myself for 2019. I had goals for…
- total distance ridden in 12 months (July-June)
- weight (reach 70kg by 50th birthday)
- body fat (get under 20%)
- range expansion (build up to a ton)
- time-trialling (beat 28 minutes for 10 miles)
…but I didn’t set them all at the same time. All these were met or exceeded during the year.
But one still hadn’t been attempted by the start of December. I wanted to ride a fully self-sufficient, solo ton. One hundred miles on my own with no external help.
I’ve never attempted 100 miles in one go before. This time last year, the furthest I’d ridden was 34 miles. I’ve been gradually growing that over the last 12 months, building up to the ton and trying to build a solid base level of fitness and stamina.
I managed to ride a 76-miler in October. The conditions on that day were great (7°C, sunshine and low wind). I finished well (16.7mph) and felt I could have ridden further. I planned to attempt ‘the ton’ in November, but perineum pain completely thwarted that and I ended up spending that week lying down instead. (My riding posture had gradually slid further and further forward on the saddle, such that I was resting on the thin part and exerting too much pressure. Shoving the saddle forward another 6mm and consciously sitting back on the wide part seems to have sorted that problem out, thankfully.)
Whether the Weather or Not!
Looking at the 10-day advance weather forecast, Saturday 7th December looked like a possibility. Having recently encountered ice (enough said about that – and definitely no bruise photos), the predicted overnight minimum temperature of 5-6°C was a big plus. Wind was forecast to be WSW 9-14mph, building throughout the day. Watching those numbers all week, they didn’t change much. So I had two rest days (from cycling and physical activity) Thursday and Friday, while getting my stuff ready.
I needed to ensure I had all necessary provisions, equipment, clothing etc. and that the bike was in tip-top shape.
Bike Check
I’d put a new chain on about 45 miles ago. It still had the factory lube on it and hadn’t been ridden in the wet – so, tested, but still nice and shiny. More importantly, the gears were shifting beautifully. Brake pads were tweaked slightly to ensure no irritating rubbing sound or loss of efficiency. Tyre condition and pressures checked and any flint fragments picked out with tweezers.
Clothing
The weather forecast was overcast 6-9°C (feels like 3-6°C) and 9-14mph WSW wind.
For a 30 mile ride in those conditions, I’d probably go with a long-sleeved jersey and jacket. But I figured, if I’m going to be out in it for 6-7 hours (based on a 15mph average speed), then an extra layer would be a good idea. So I added a decent windproof long-sleeved base layer under the jersey and jacket.
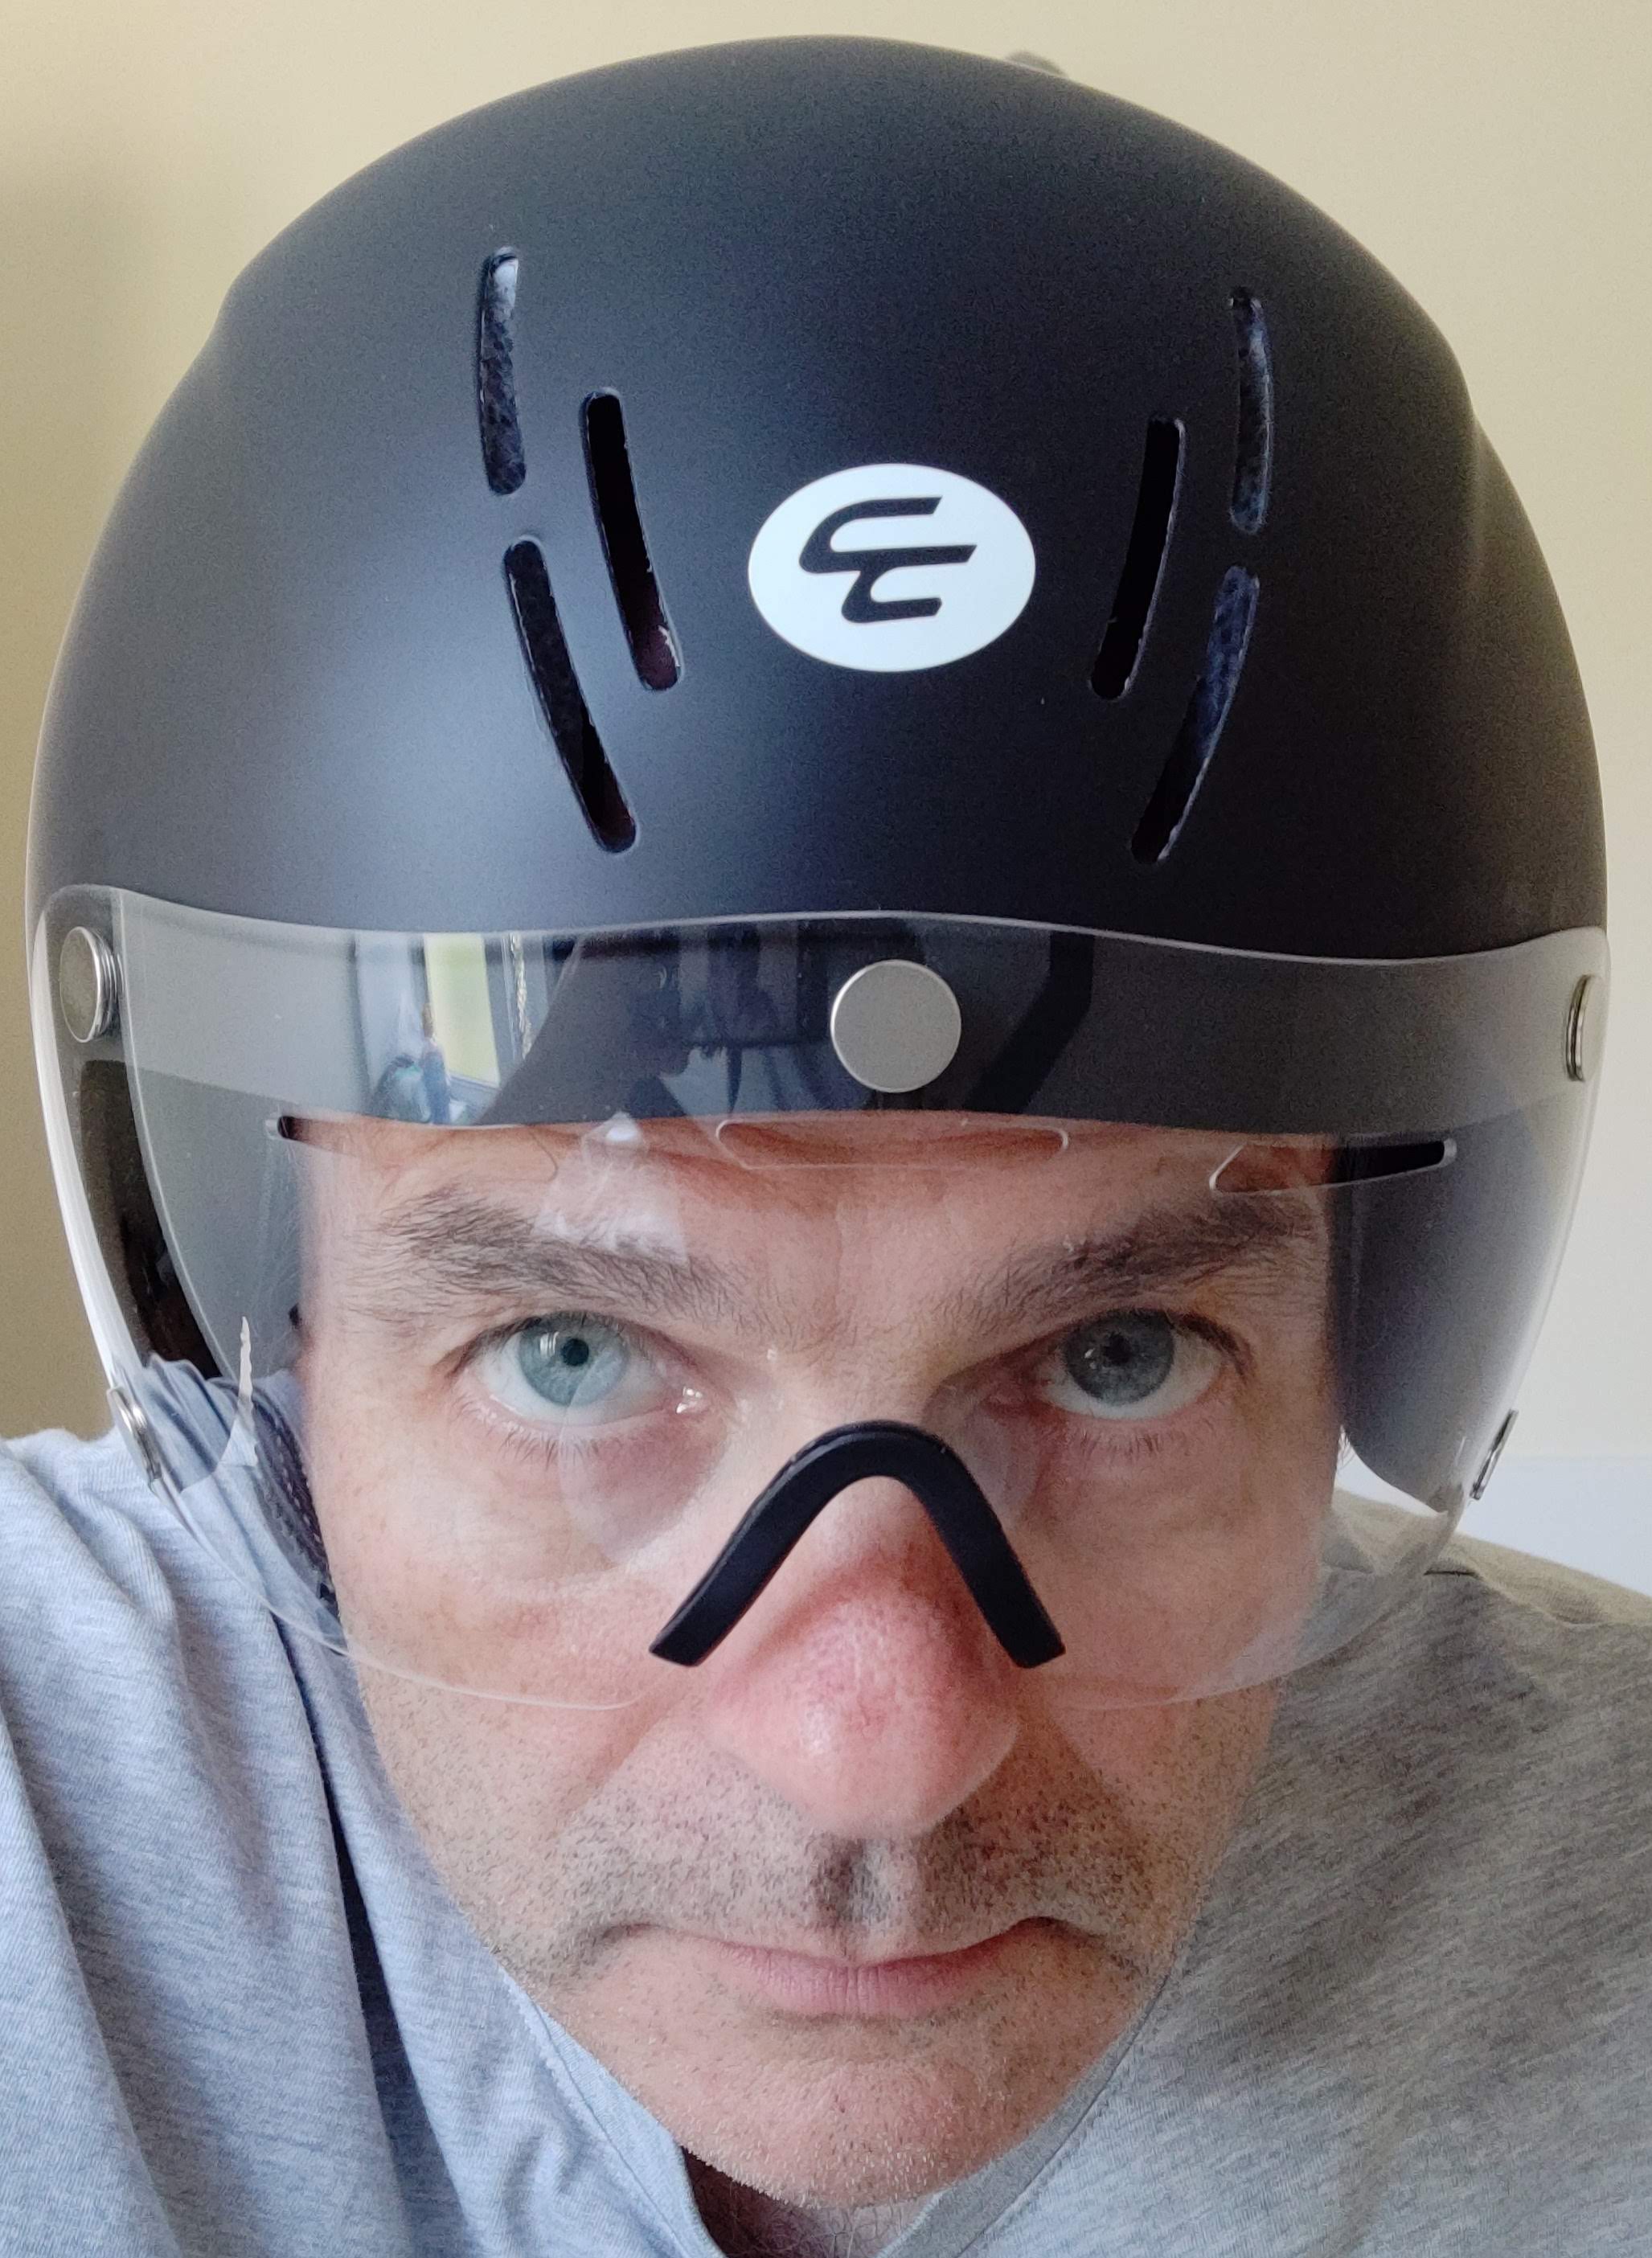
Tights, merino wool socks and shoe covers for the bottom half and Sealskinz winter gloves and a helmet liner completed the wardrobe. I usually carry a rainproof helmet cover, which went in a jacket pocket (more on that later).
Provisions
I gathered together this little lot. Kabanos sausage – I call these ‘protein bars’. I think the protein bars you buy taste like crap. Kabanosy are nice. Also almonds are good for protein intake.
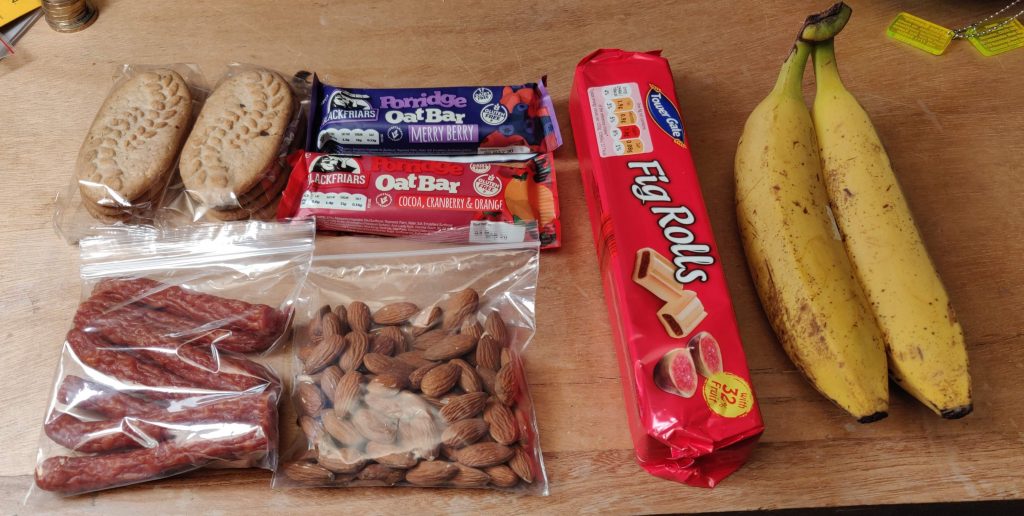
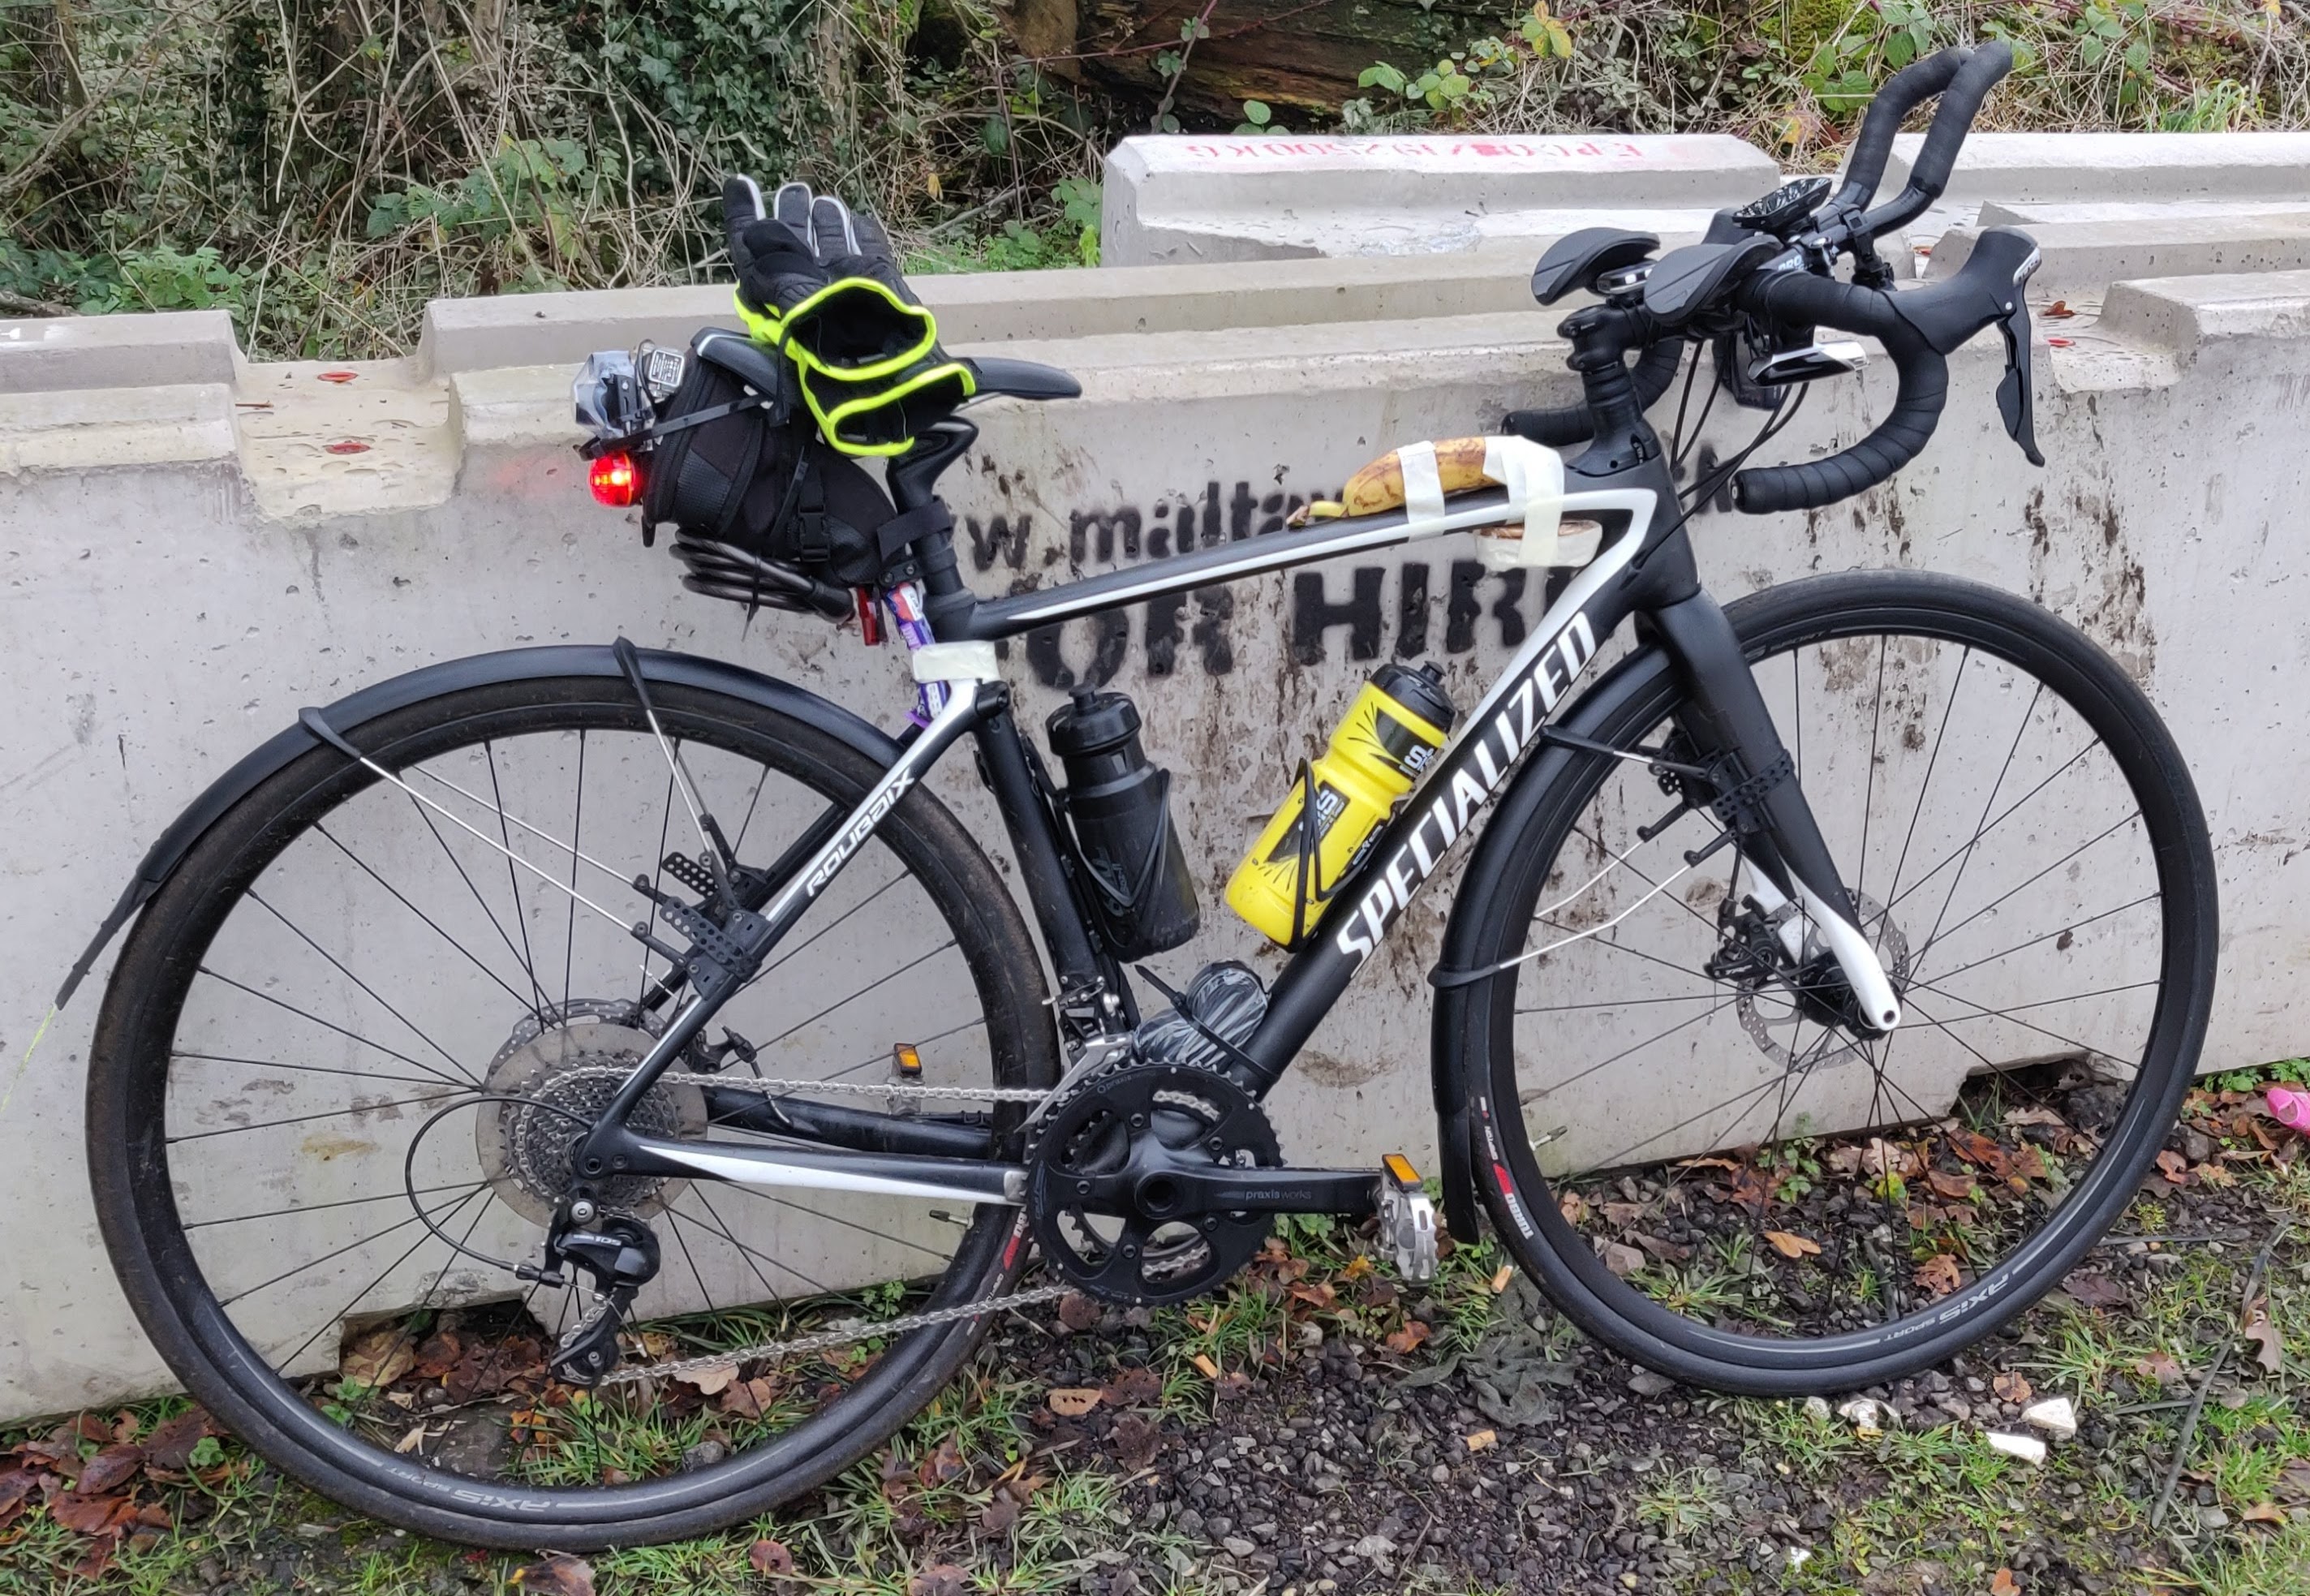
I managed to get all this lot packed or taped to the bike
Although it is said to reduce muscle cannibalisation and soreness, I don’t think you massively benefit from protein intake during the effort, but these things are nice to eat. You regularly hear audax riders saying that the main thing they crave during long rides is ‘real food’. Sausages are real food.
Various cereal bars, biscuits and fig rolls are there really mostly for their carbohydrates (energy). I managed to rebag and cram all the fig rolls into my saddlebag minus three which I had to eat the night before. Bananas are great energy food, contain vitamins and are easy to digest. Also, the packaging is fully biodegradable. Banana skins are the only thing I permit myself to discard (under a hedge) during a ride. All other waste goes in a pocket.
Liquid fuel was two bidons (1.3L) full of 50:50 water:orange juice plus a pinch of salt. For the last few months I’ve been using this instead of purchased isotonic sports drinks and I’ve found it very effective, refreshing, tastier and cheaper – and you know exactly what goes into it too.
Got it Taped
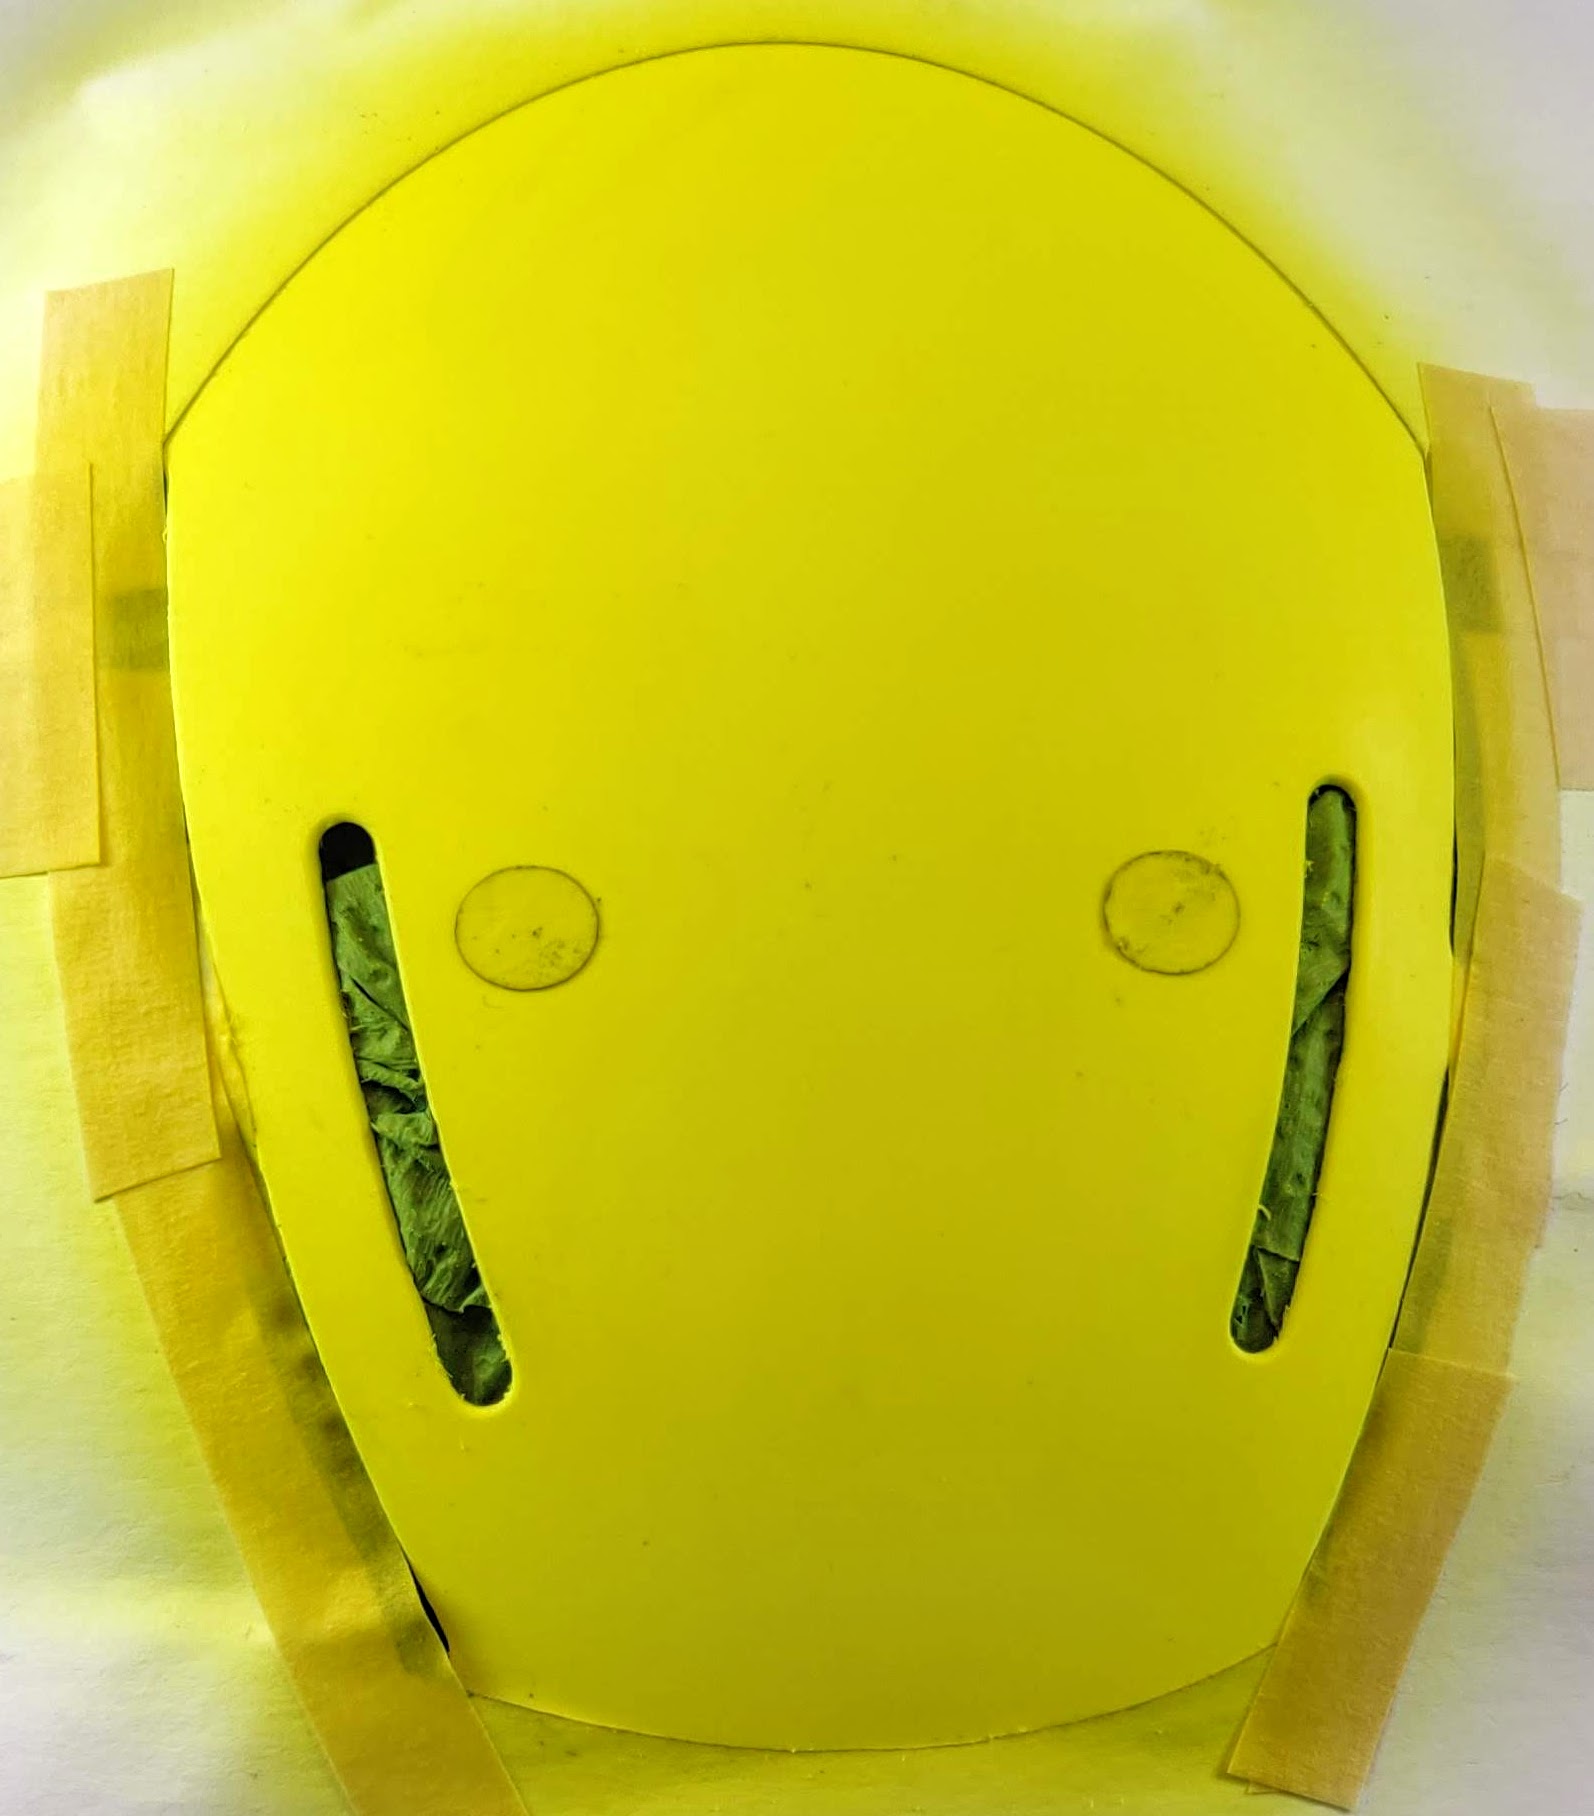
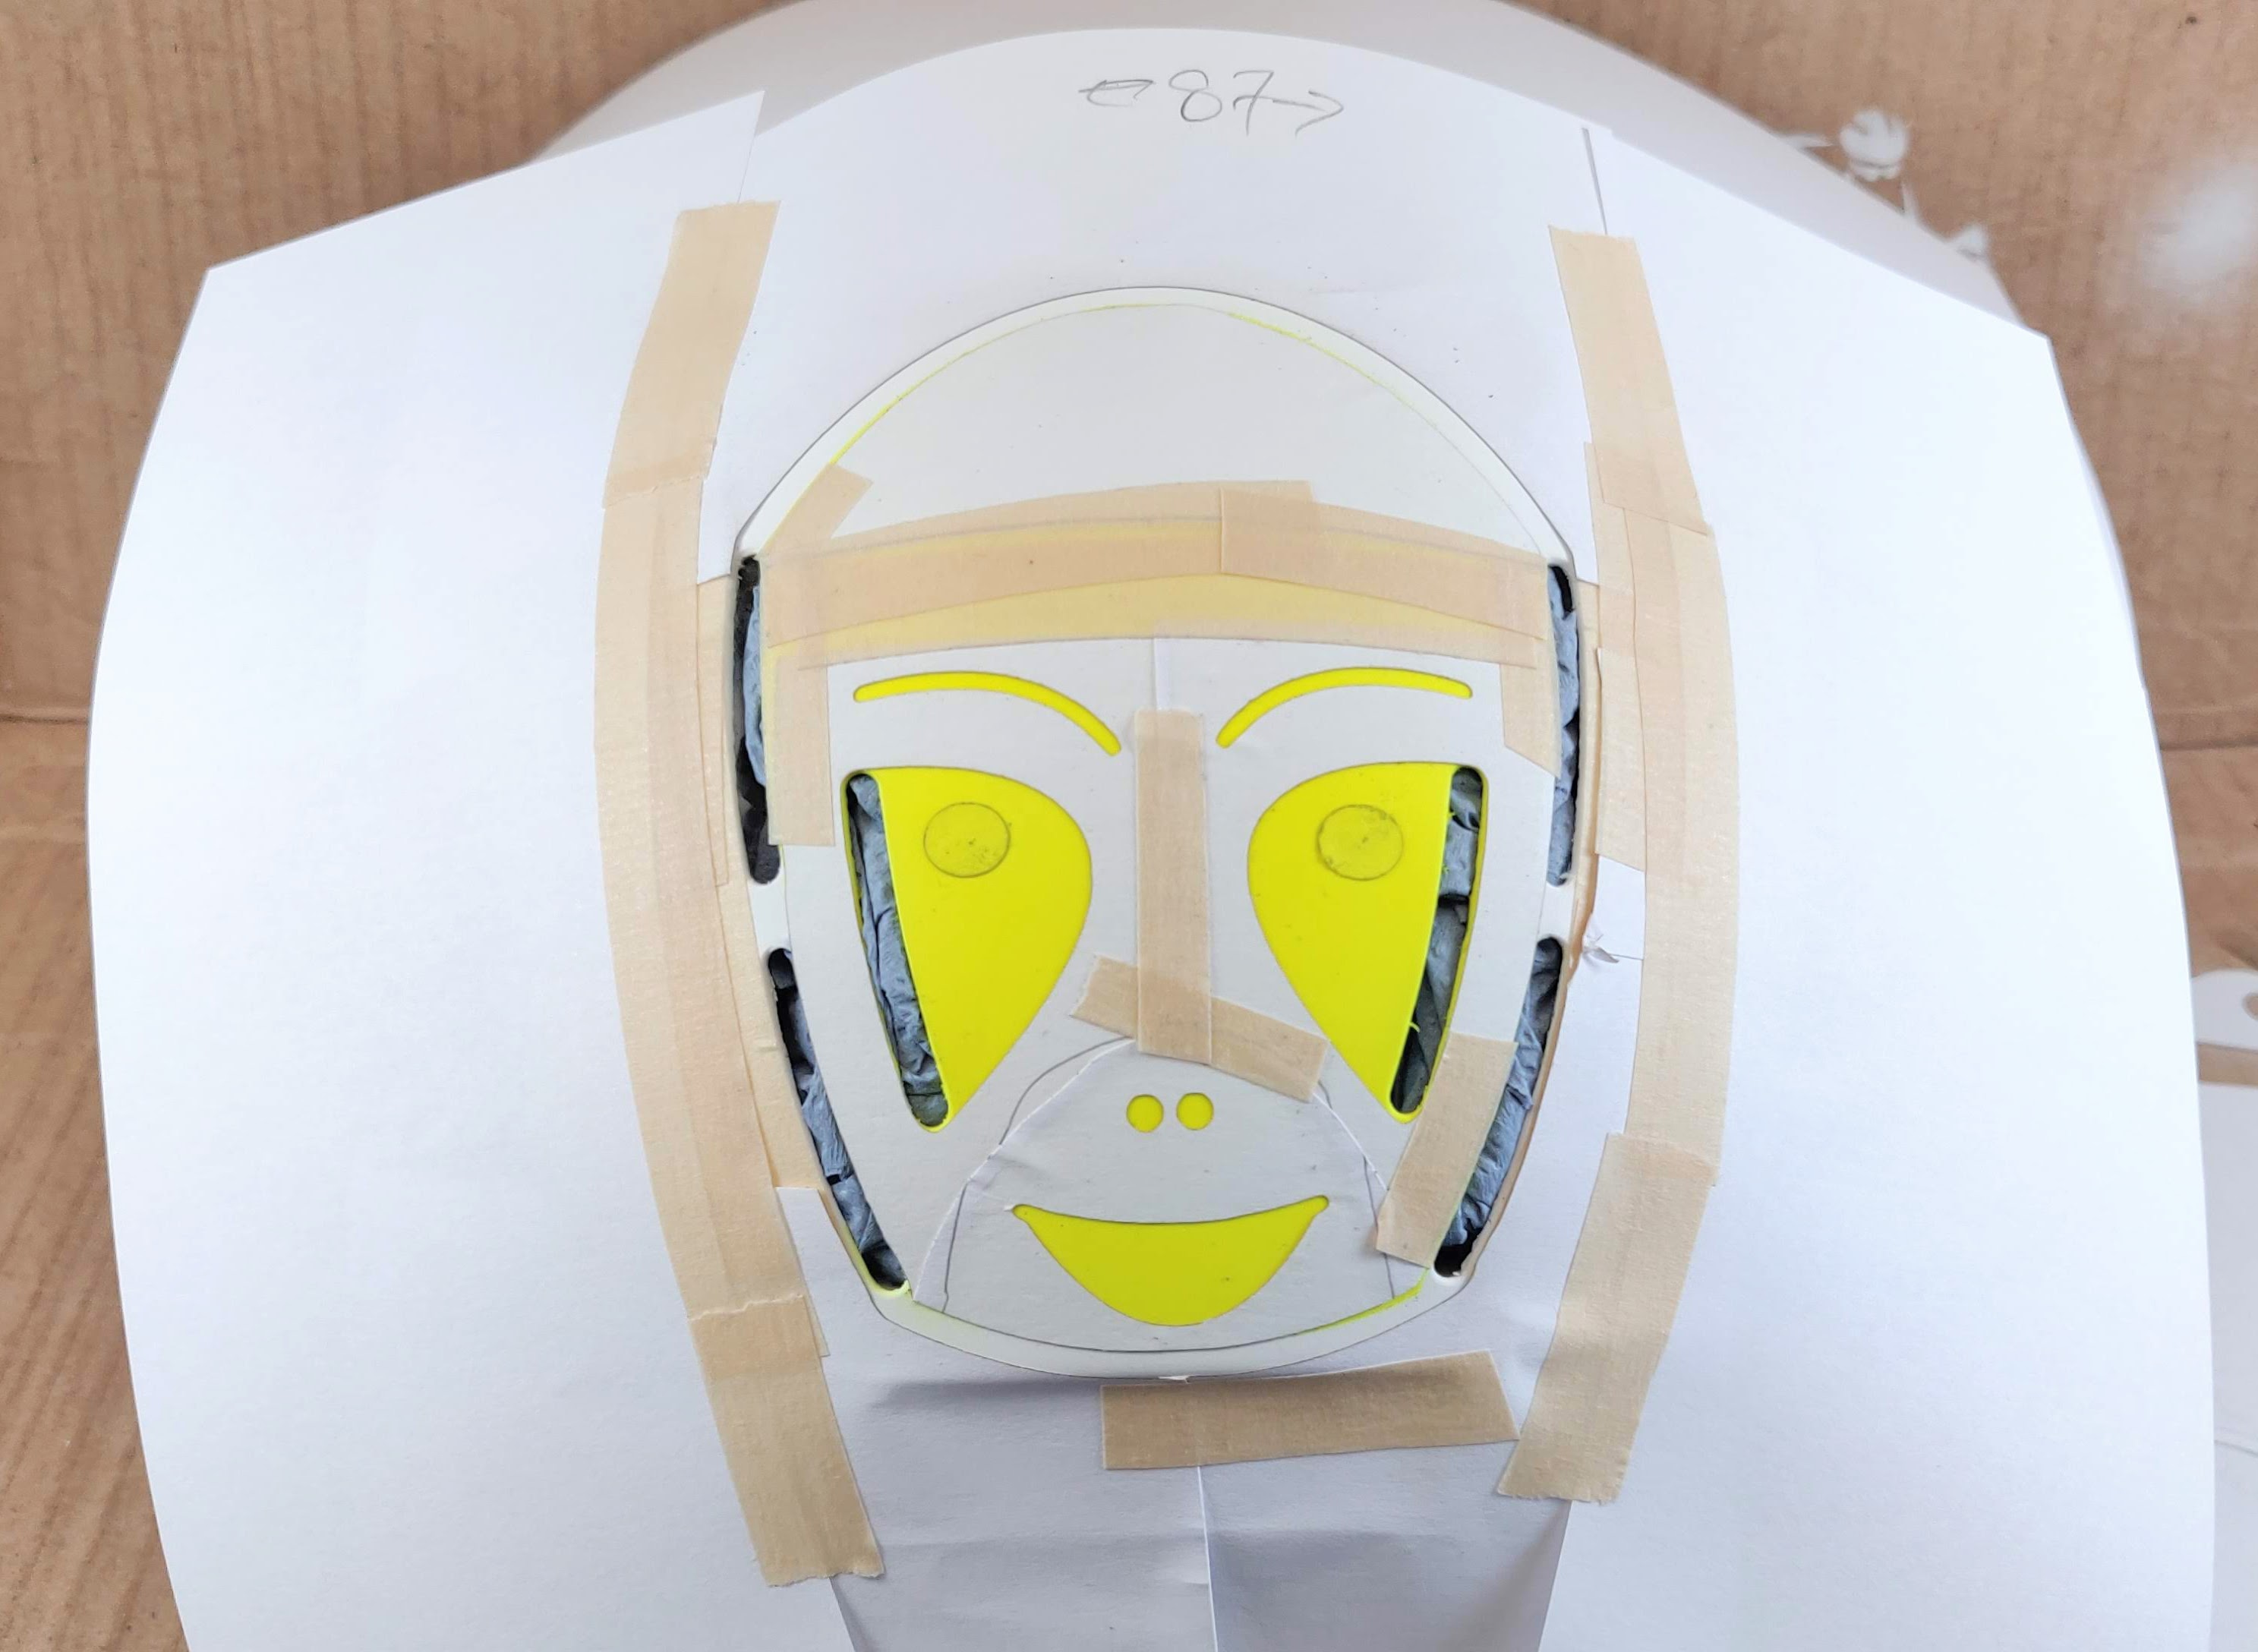
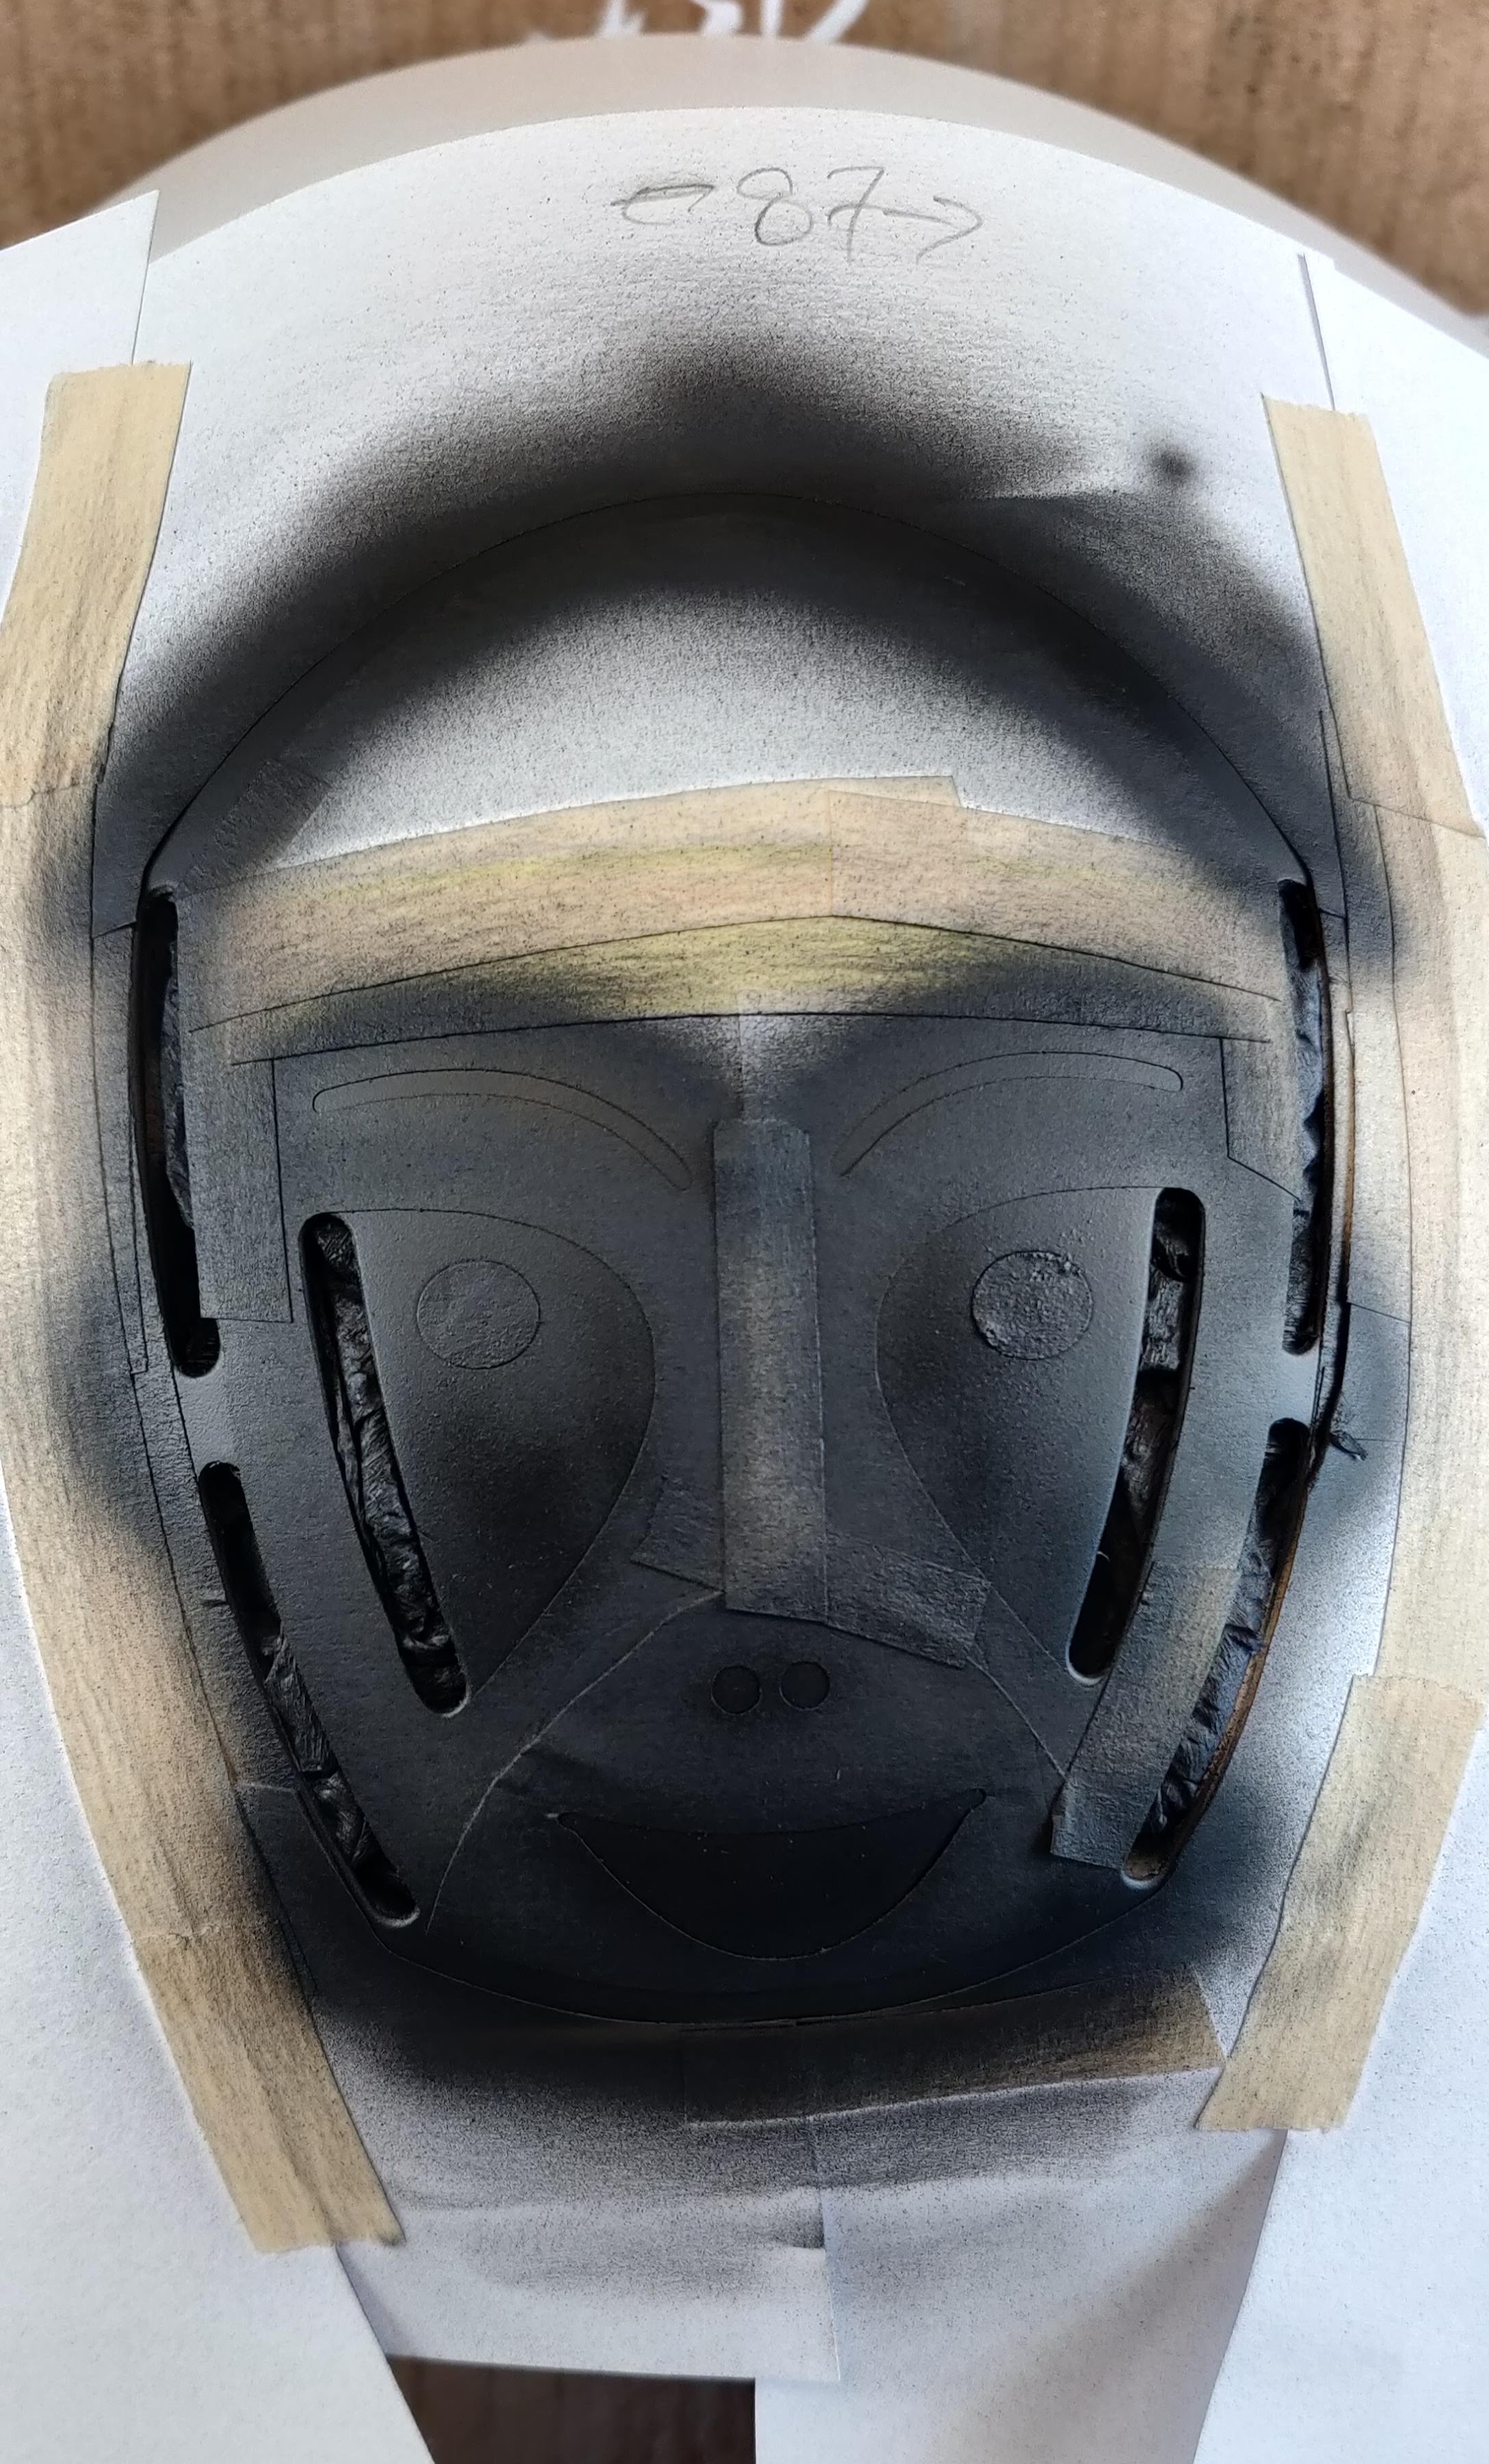
I packed most of the food into jacket pockets and then tried the jacket on and decided I didn’t want to carry all that weight for 100 miles when the bike could do it for me. So I rearranged things and ended up taping some items to the bike frame with masking tape. It looks total crap, but who cares? It won’t be there for long. I’ve found on long rides that it’s good to minimise things that irritate you, as their impact can grow as you tire. So getting extra weight off my back matters much more than what it looks like.
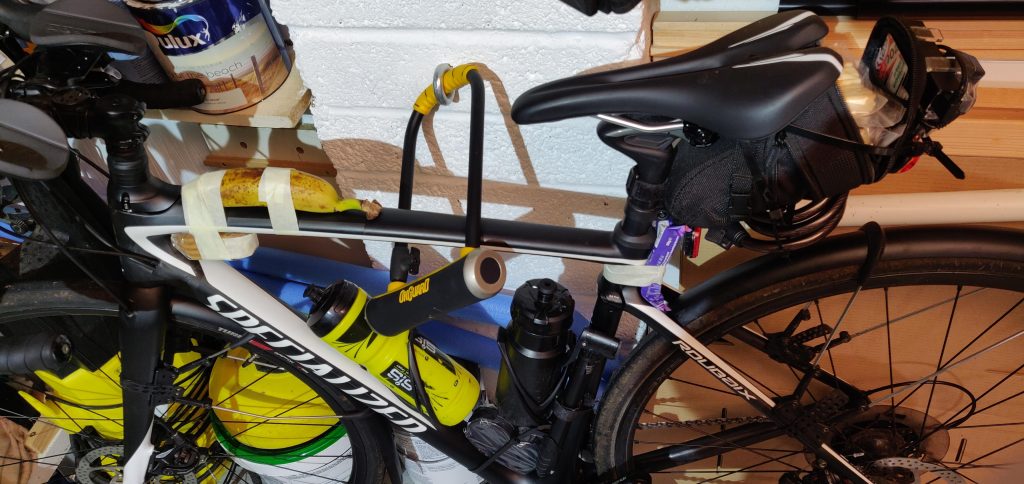
Aeronana. Taped some food items to the frame whilst trying to not ruin the aerodynamics of the bike
Equipment
Other people sometimes take the piss out of my 1kg saddlebag, but I routinely carry the tools and spares needed to fix most common mechanicals.
- spare tube
- patches
- tyre levers
- ziplock bag with a few wet wipes
- spare mech hanger
- chain splitter
- chain quicklinks
- CO2 inflator and cylinder
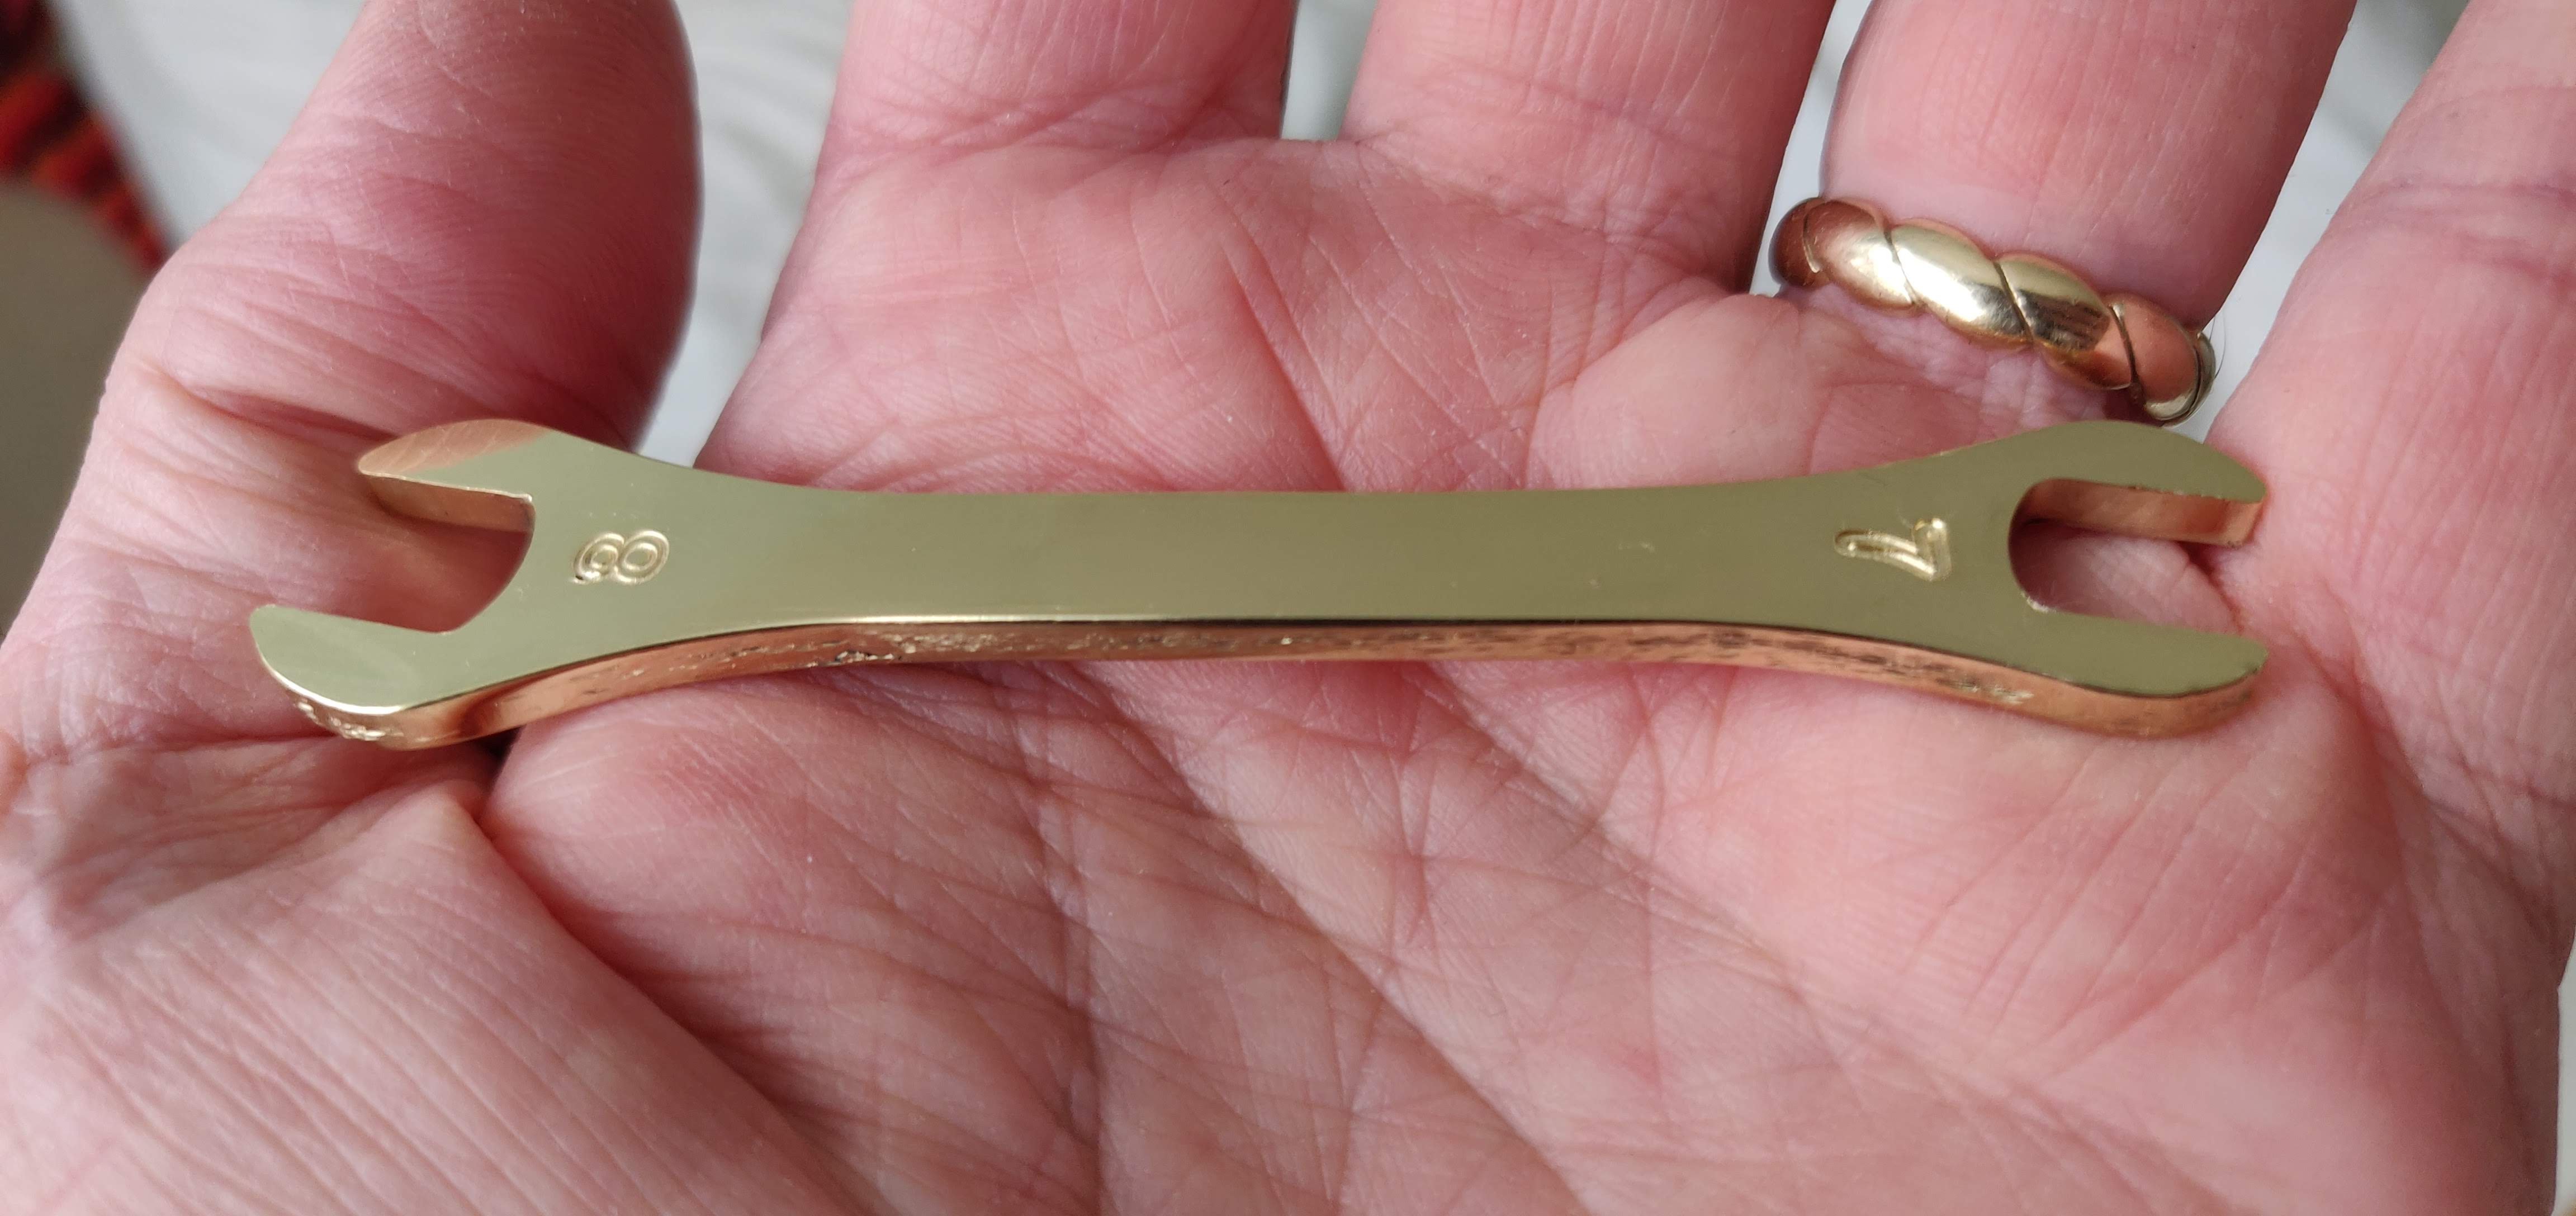
- small flat pedal wrench
- allen keys
- small bit driver and screwdriver bits
- reusable cable ties
- emergency cereal bar
- money & a credit card
- British Cycling & club membership cards
- small sports towel
- spoke key slot cut into my garage door key
If you want to ride self-sufficiently, it’s the only way to go, in my opinion.
To me, 1kg seems like nothing when this time last year I was riding a bike that’s 5kg heavier and I’ve lost 5kg bodyweight in that time. That usually shuts up the weight weenies.
My regular kit was supplemented with…
- An extra tube, ziplock bagged, taped up and cable-tied to the frame
- A bike lock cable-tied under the saddlebag
- A pump attached to the seatpost
For fun, I picked up the bike and weighed myself and all equipment before the ride. All-up weight was 88.8kg. Without fully laden bike, I was 73.7kg.
The Route
I have a whole bunch of circular rides of varying distances around Bicester. The concept is simple. Nice quiet(ish) roads where possible, and you’re never too far from home because there’s a lot of different ways to bail out if you have a problem or run out of steam (although I’ve never yet bailed out on a ride).
For my first ‘ton’ attempt I wanted to use a course that I knew well. 2 laps of my 50-mile circuit fitted the bill perfectly. It’s not too hilly and I know I can ride the route. So all I have to get my head around is covering the distance.
I’ve done this circuit in 3 hours before, but that was on a perfect day. Surely I can do it twice at a slightly easier pace?
The Ride
My predicted average speed of 15mph (in these conditions) would need 6hrs 40 minutes of ride time. I figured on about an hour of breaks, and planned to stop roughly every 20 miles. With 8 hours of daylight, that should leave a spare 20 minutes. I always ride with lights on anyway, so it wouldn’t be the end of the world if I needed a bit more time. But I wanted to get round in daylight.
Planning to leave at sun-up (0800) I happened to be ready about 15 minutes early. So I left at 0744. The wind was low and behind me. There were very few cars about. A nice easy start. I was planning to spend most of my time in heart zone 3, with maybe 25% of the time in zone 4. And I didn’t want to go into the red of zone 5 at all. Well that was the plan. No plan survives first contact with the enemy intact, but it’s good to have a plan.
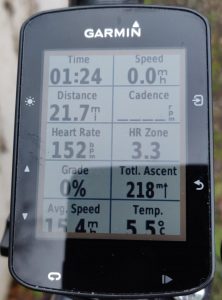
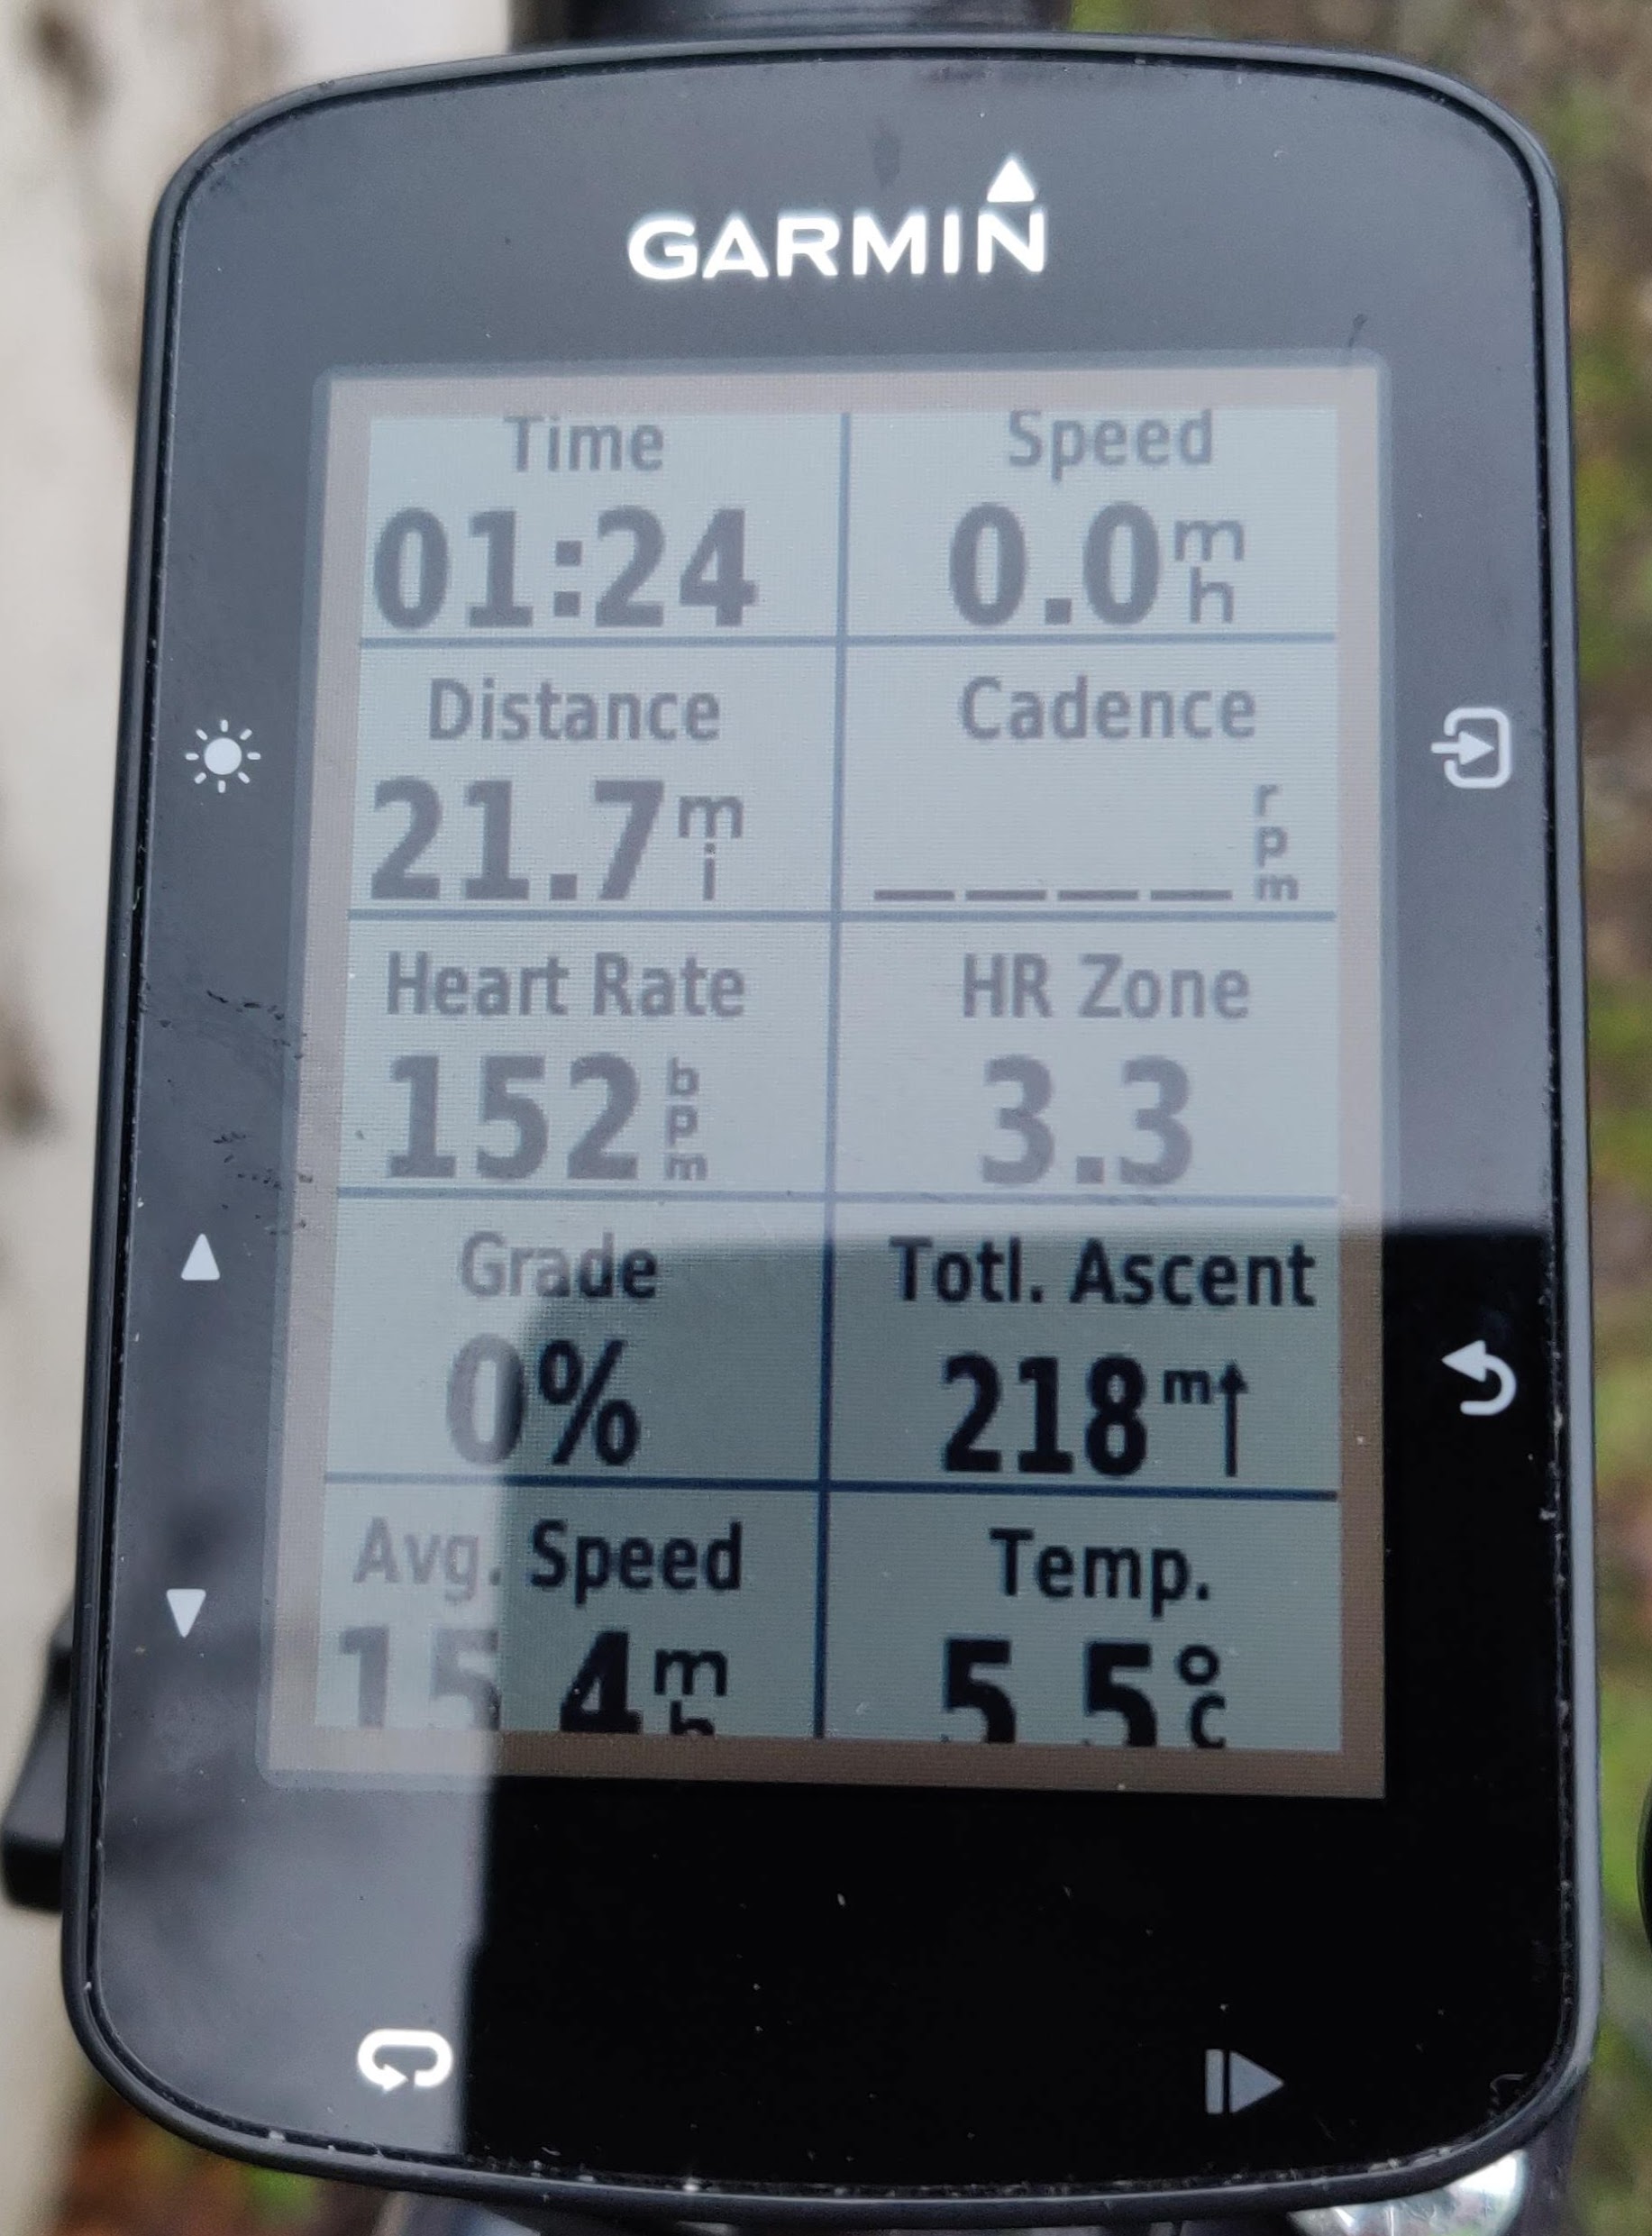
Break 1: Calvert
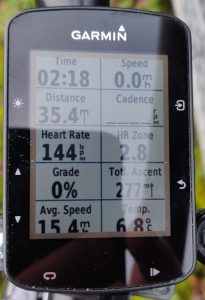
After a straightforward 1hr 24m and 21.7 miles (15.4 mph) I stopped for my first break. It was at this point that I noticed one of my jacket’s side pockets was not zipped up. Furthermore, the kabanosy and helmet cover that should have been in it were absent. They must have fallen out somewhere in that first 21.7 miles. ‘Dammit!’ But it’s not a show-stopper. I’ve still got the almonds and it’s not forecast to rain. I also figured there was a slim chance of finding at least the fluoro yellow helmet cover on the second lap (but I didn’t).
Break 1: Calvert – aeronana still holding up
A quick snack and I was on my way again on the southbound section into a headwind (although it was fairly light and I was fairly fresh). At around 25 miles – between Edgcott and Marsh Gibbon – hunched over my aero bars, I spotted a group of riders coming the other way. It was the BMCC (my club) D-ride on their way to The George and Dragon at Quainton for mince pies and beer. We exchanged shouted hellos and they probably thought “what’s that mad fool doing a solo ride for when he could be going for mince pies and beer?” I still had 75 miles left to ride and a goal to achieve. I was expecting to cross paths with at least one of the BMCC rides today. I speculated whether or not I’d see any of them on lap 2, three-and-a-bit hours hence.
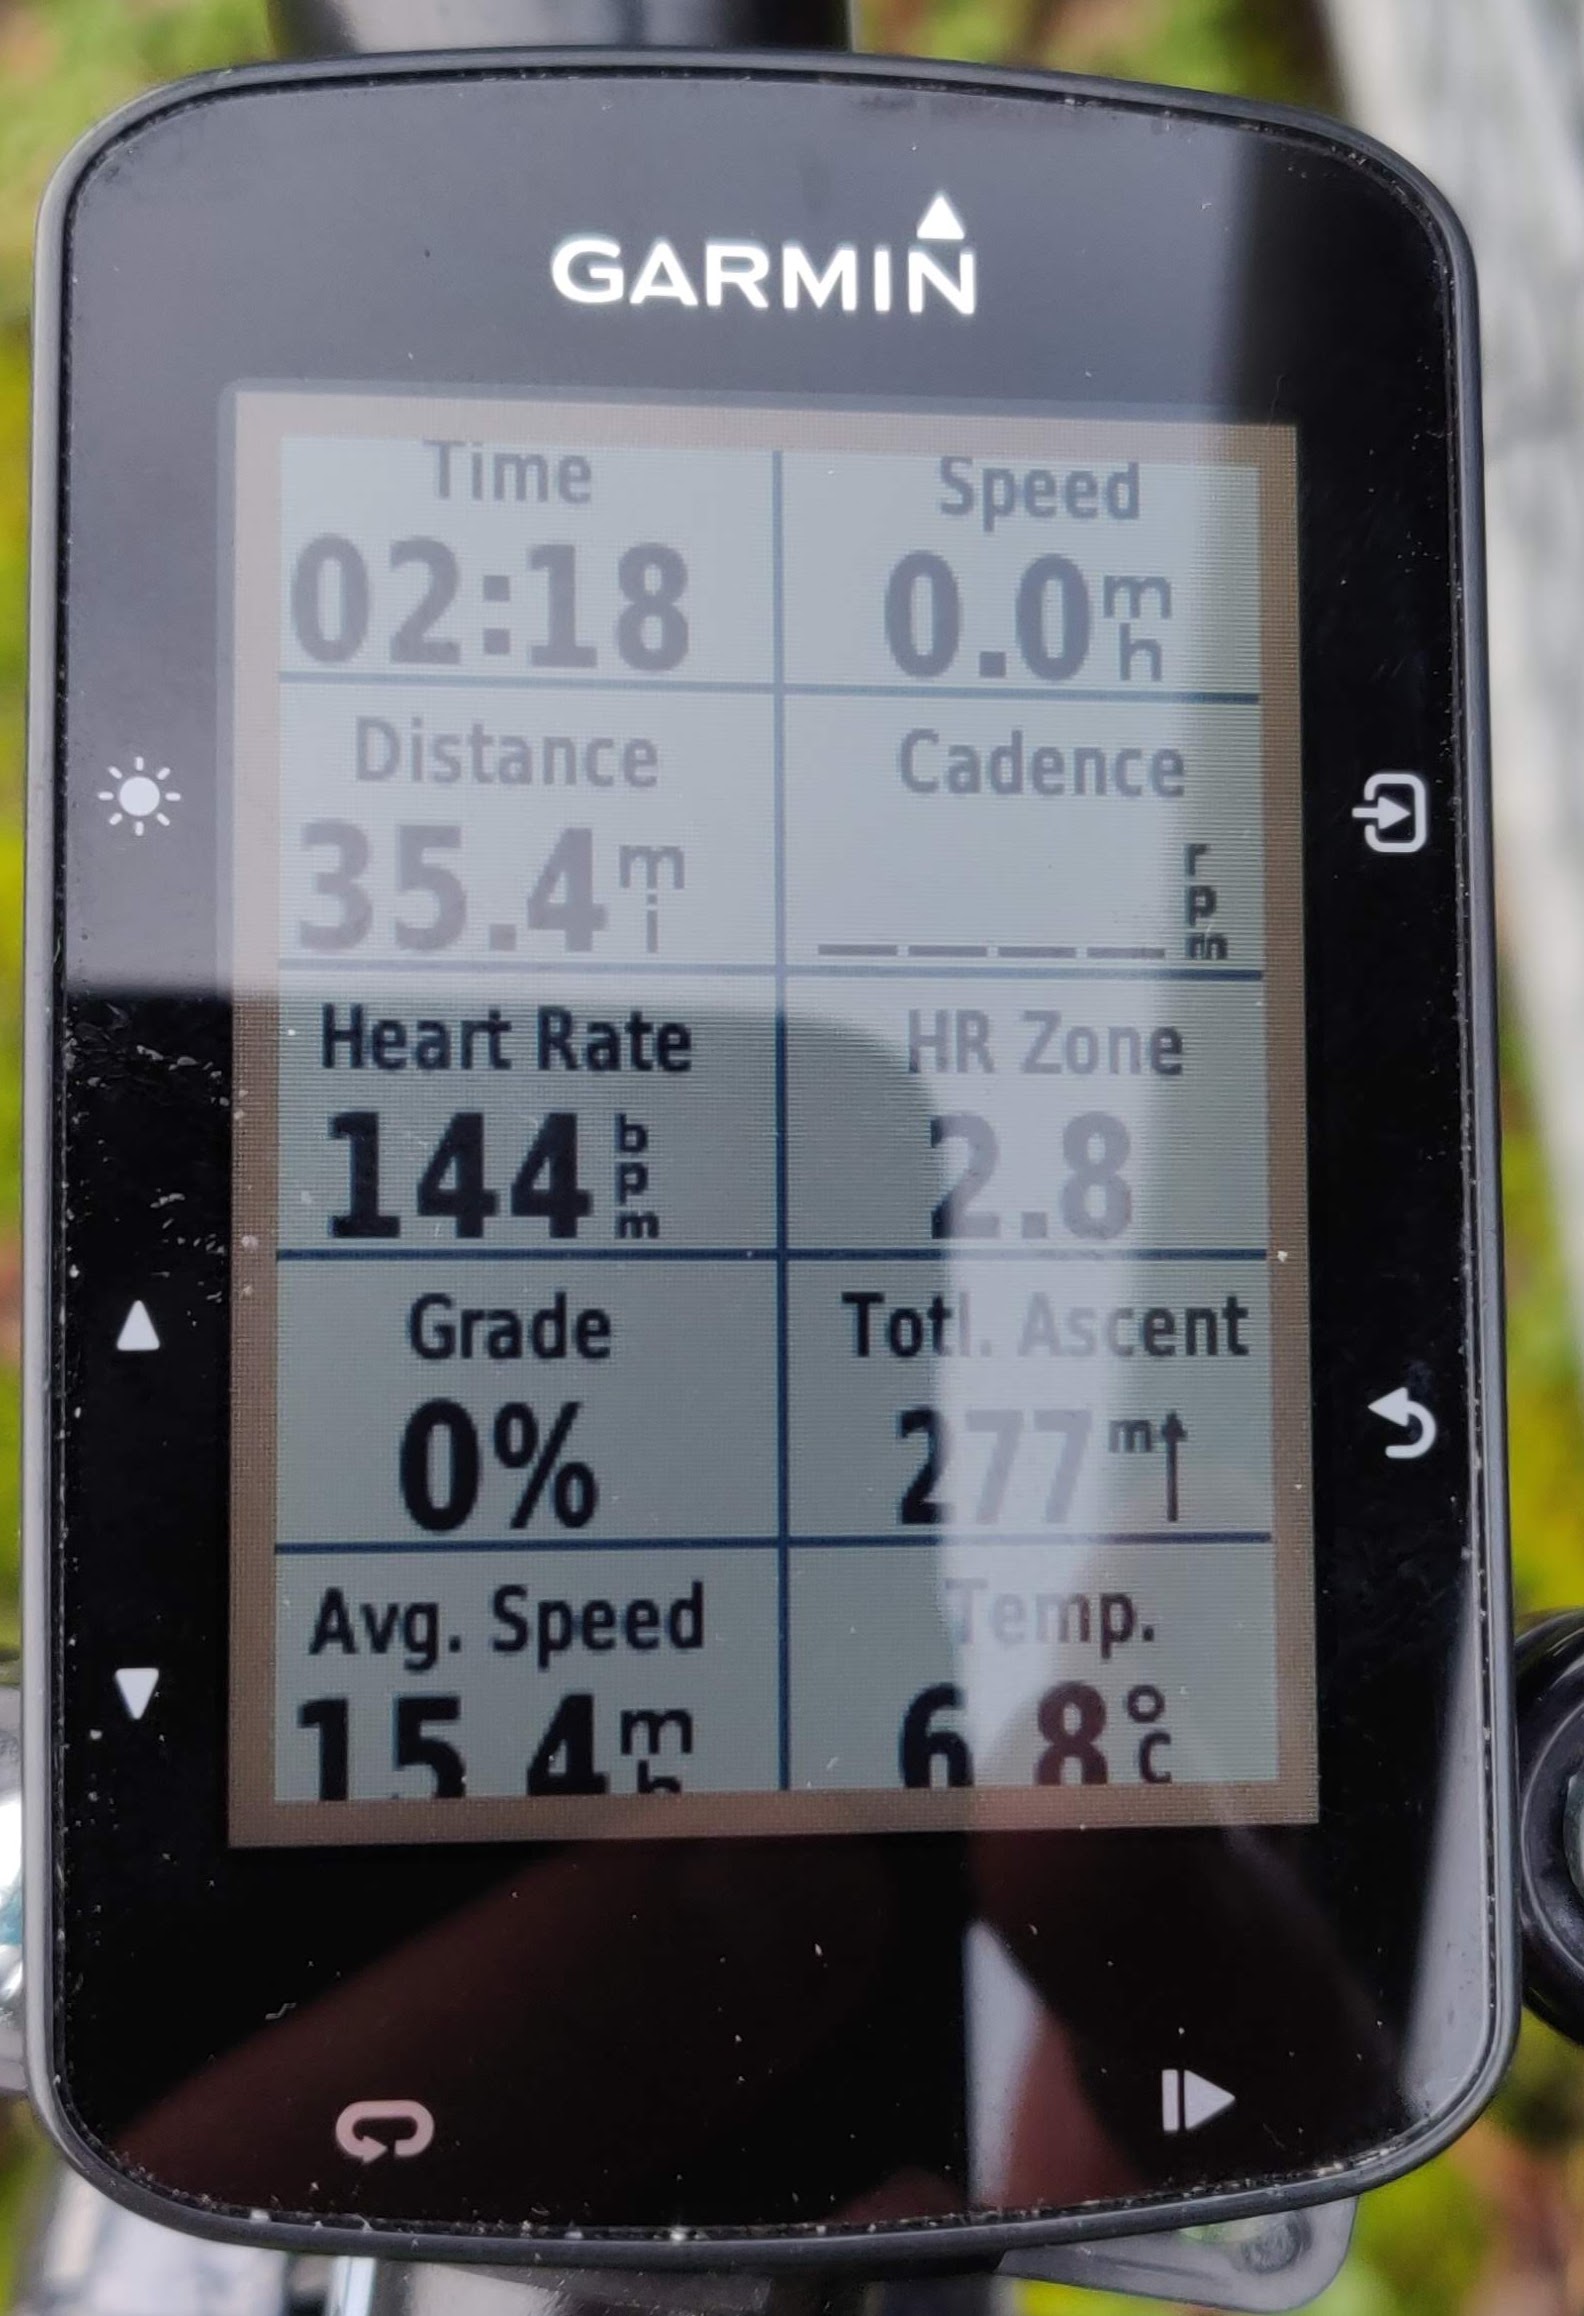
This leg of the ride is usually a bit easier as it’s slightly downhill, but the wind evened things out a bit today. Still lovely riding conditions though and very few cars about at 0930. The going was good all the way to my next stop at Fencott 35.4 miles, still averaging 15.4mph
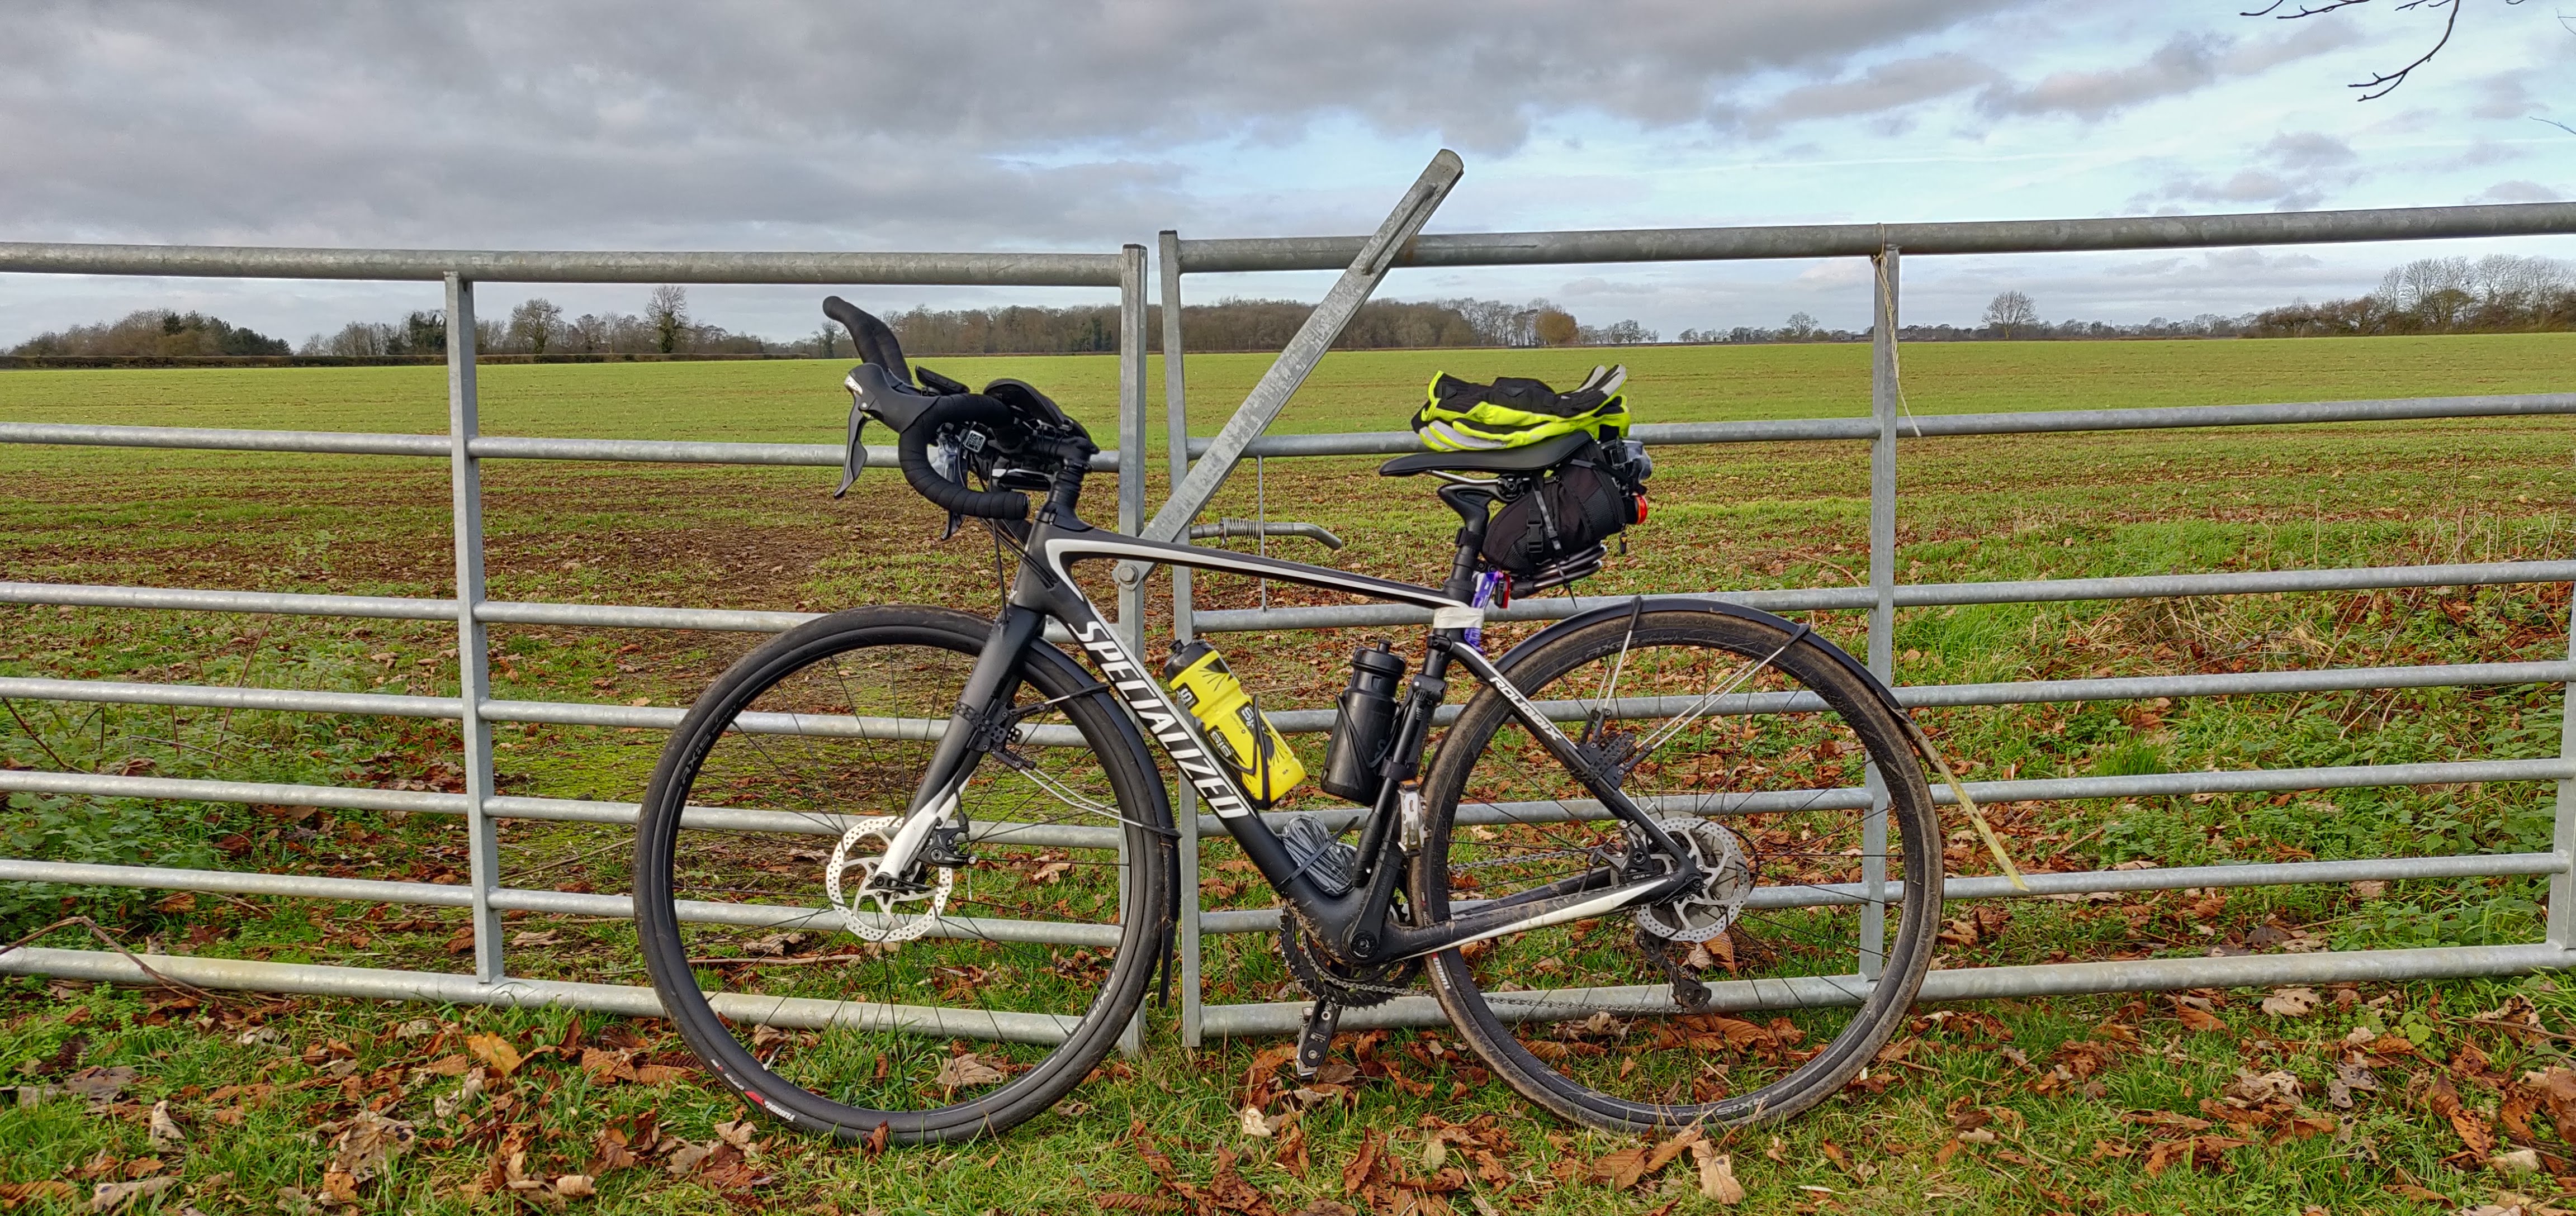
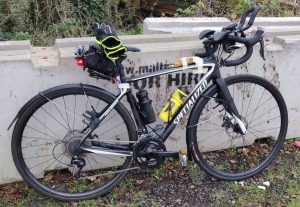
Stop 2: Fencott
I was keen to stay ‘the right side’ of 15mph to be sure of getting home in daylight. Also conscious of the fact that I might find lap two a bit slower with stronger wind and possibly fatigue to contend with.
At Fencott I unleashed my banana (stop sniggering at the back) from the top tube, having eaten the one in my back pocket, it was time to move aeronana from frame to pocket. Looks better already…

Aeronana unleashed
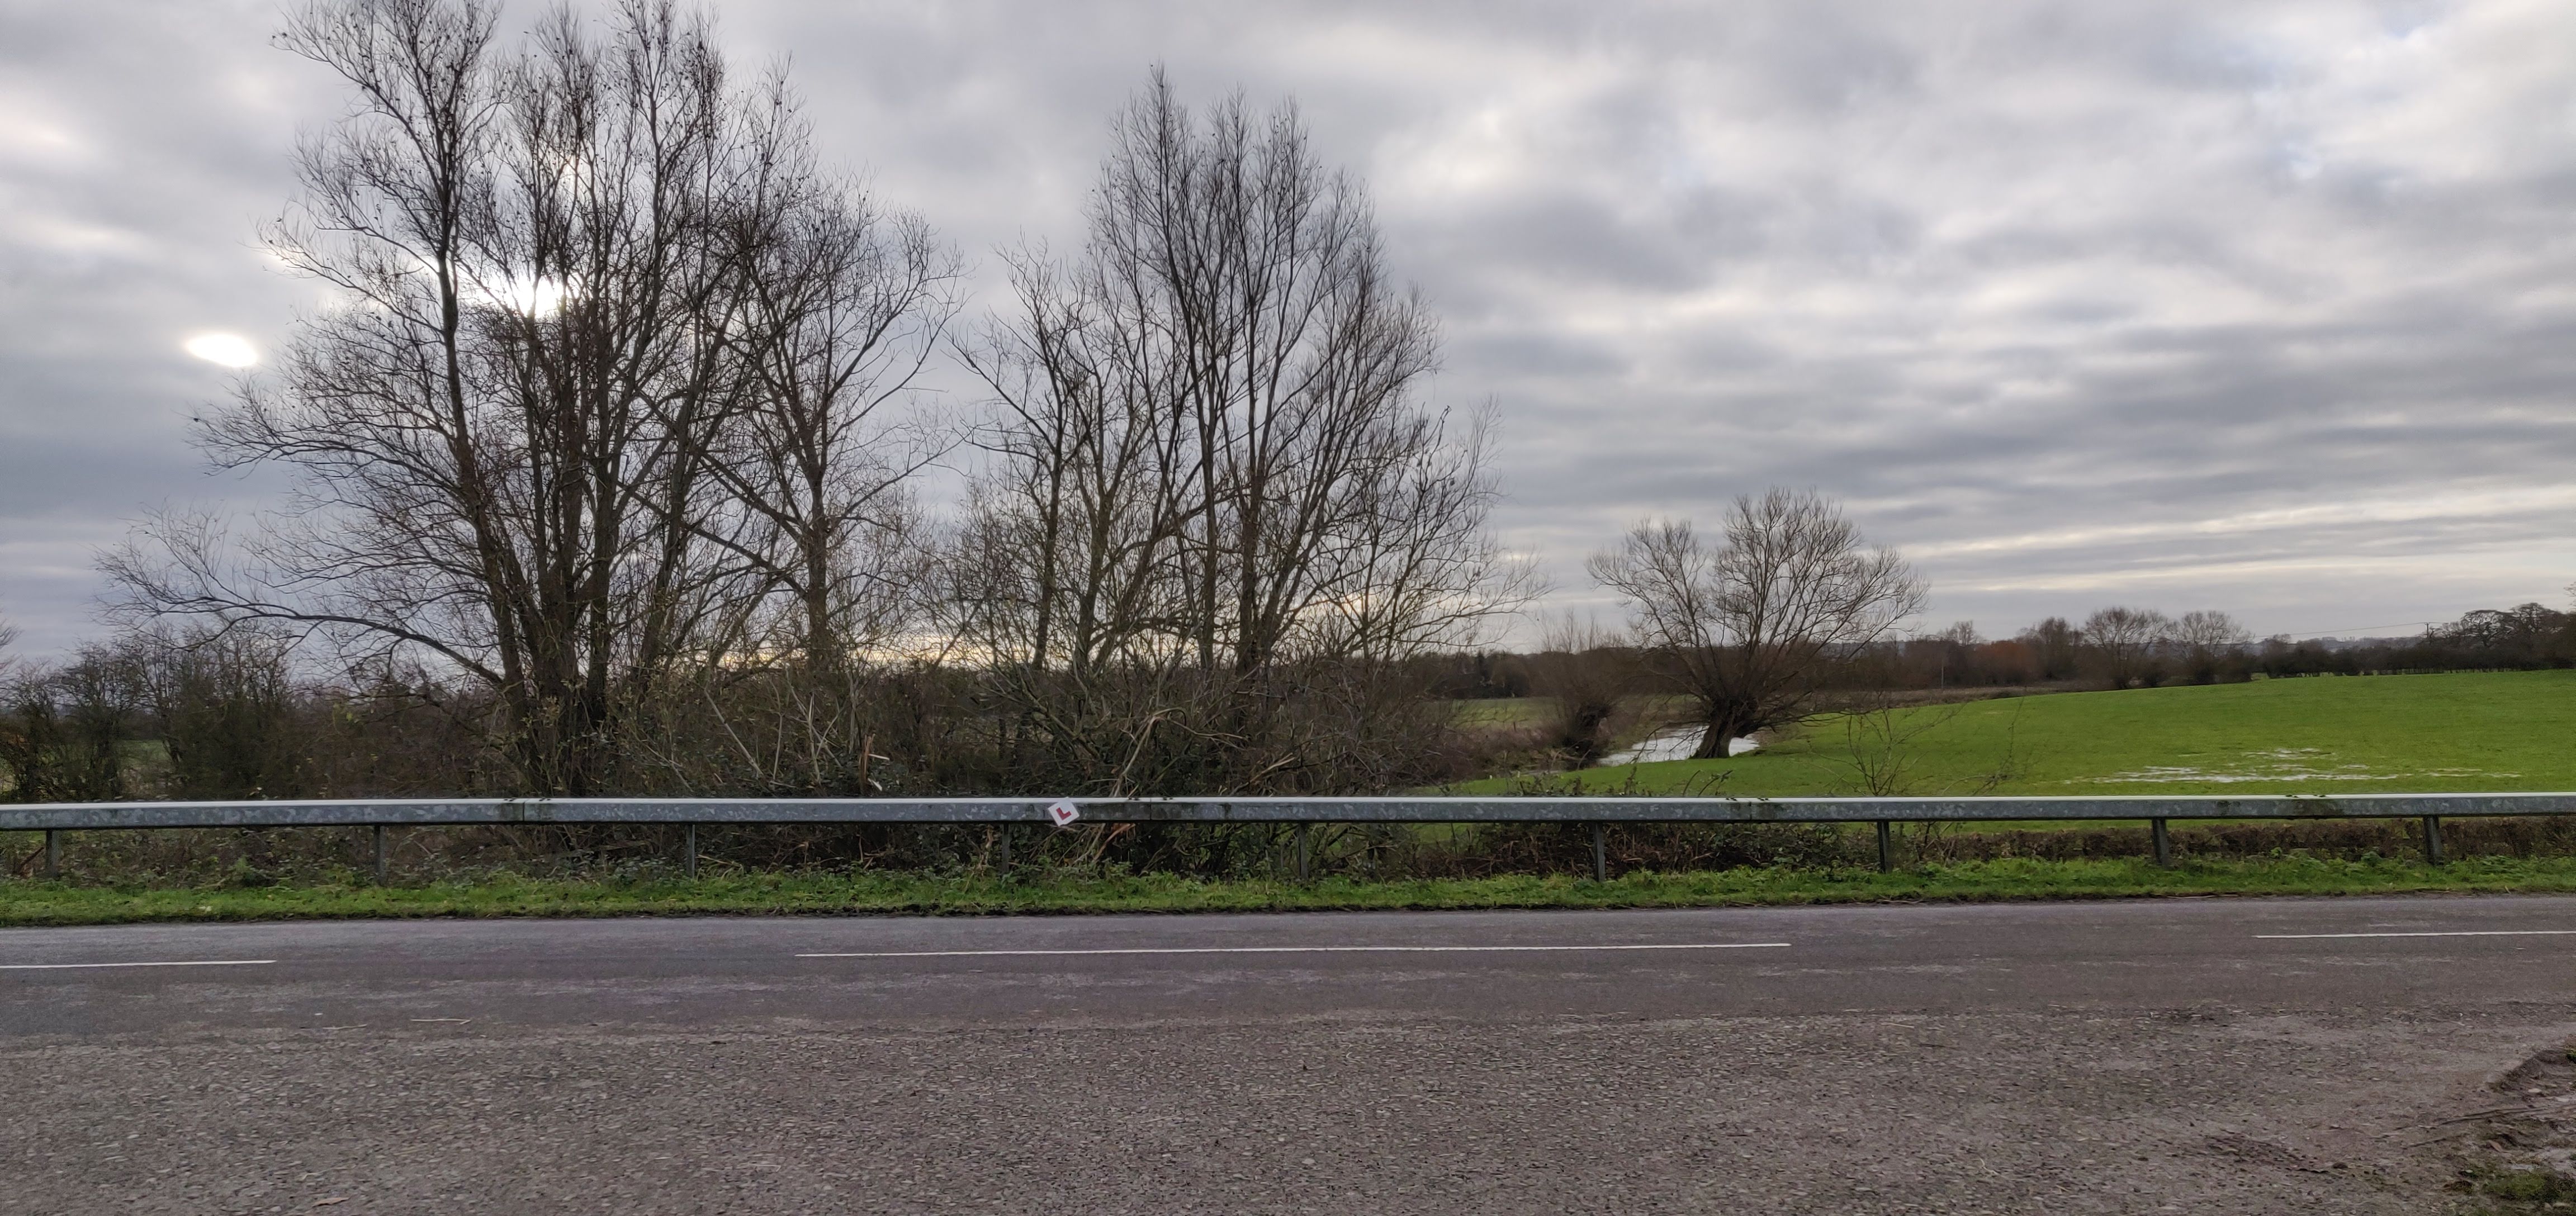
It was a gloomy old December day, but it wasn’t raining, snowing or worse and my three layers were keeping me warm enough, but not too hot – perfect. Just over a third of the way there.
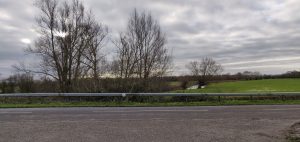
Gloomy December day
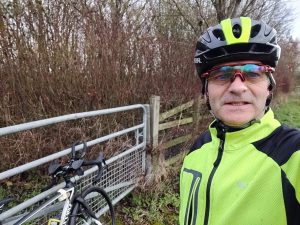
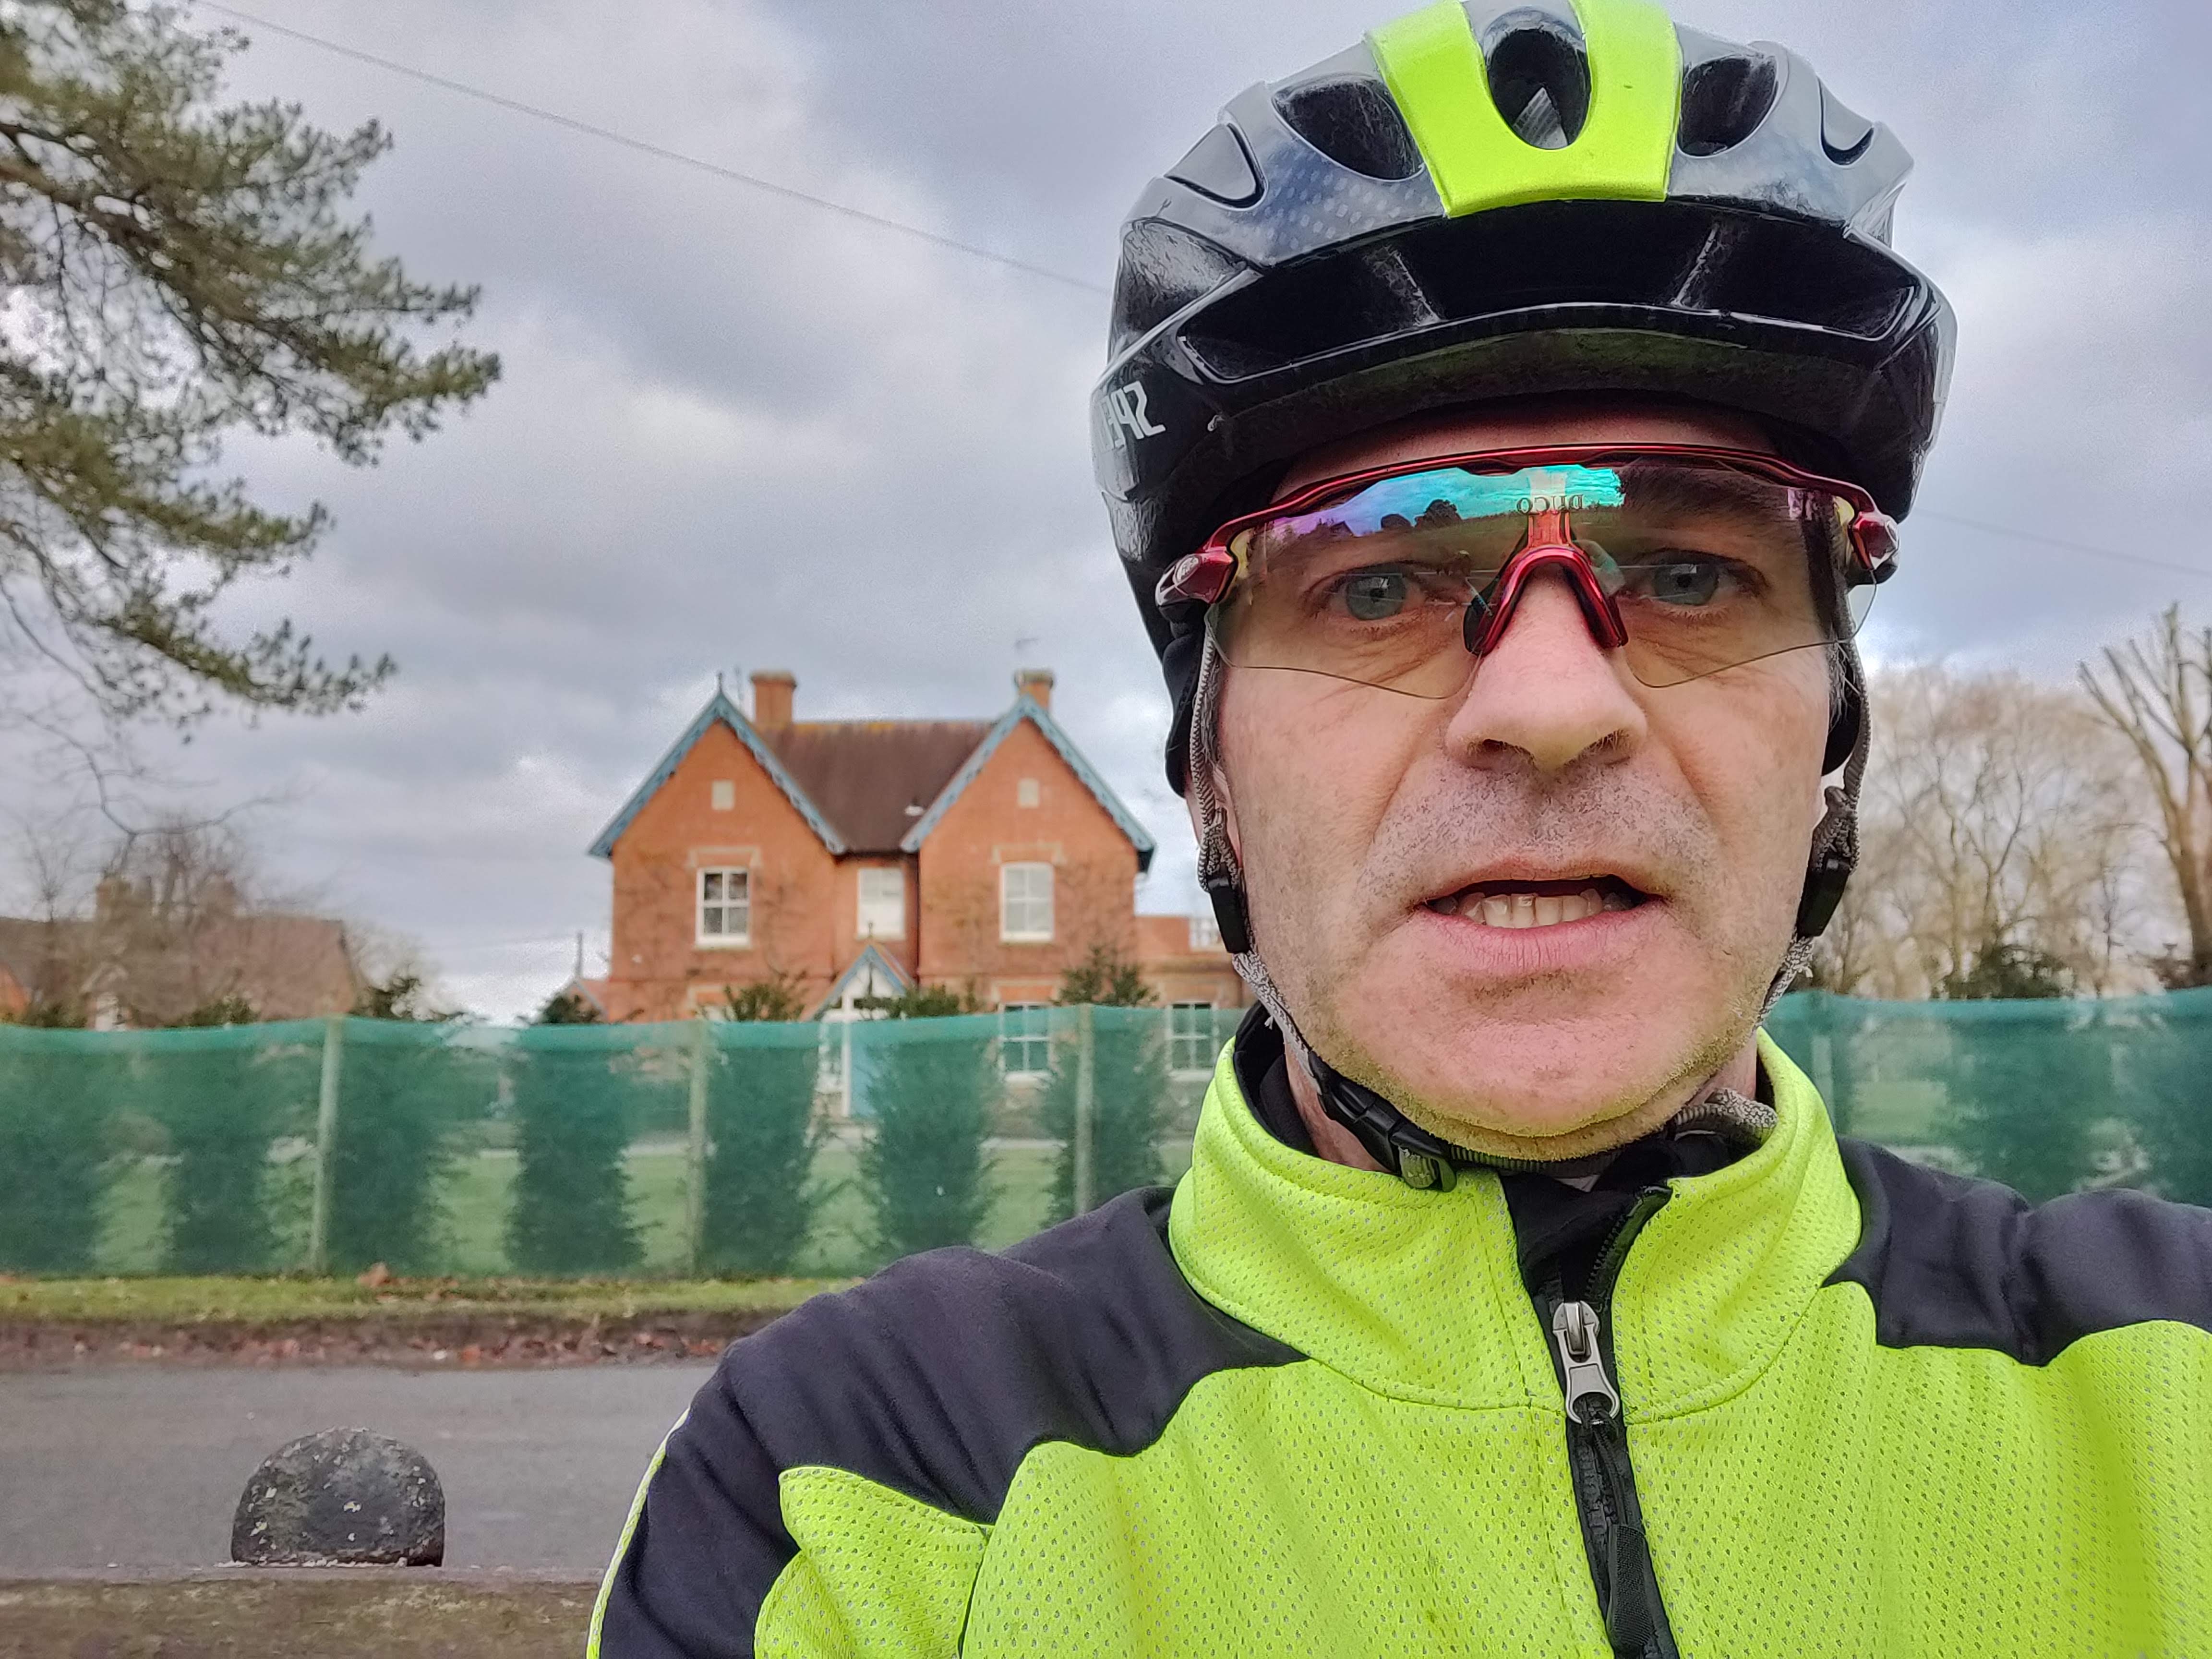
35 miles in and still smiling
Fencott is a regular stopping place for me as there’s a decent gate and solid ground, so you don’t have to tread in mud and get wet feet. A quick snack, a couple of photos and onward again, towards Islip, at which point the route turns and the wind will become more helpful on the way to Weston-on-the-Green.
I don’t remember much about the next 20 miles, but I must have settled into a comfortable rhythm and upped the pace a bit. The wind will have helped slightly. By the time I hit the half-way point (about 500 yards from home, but not tempted) I was on a roll.
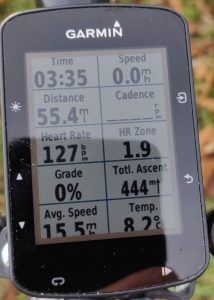
Stop 3: 55.4 miles
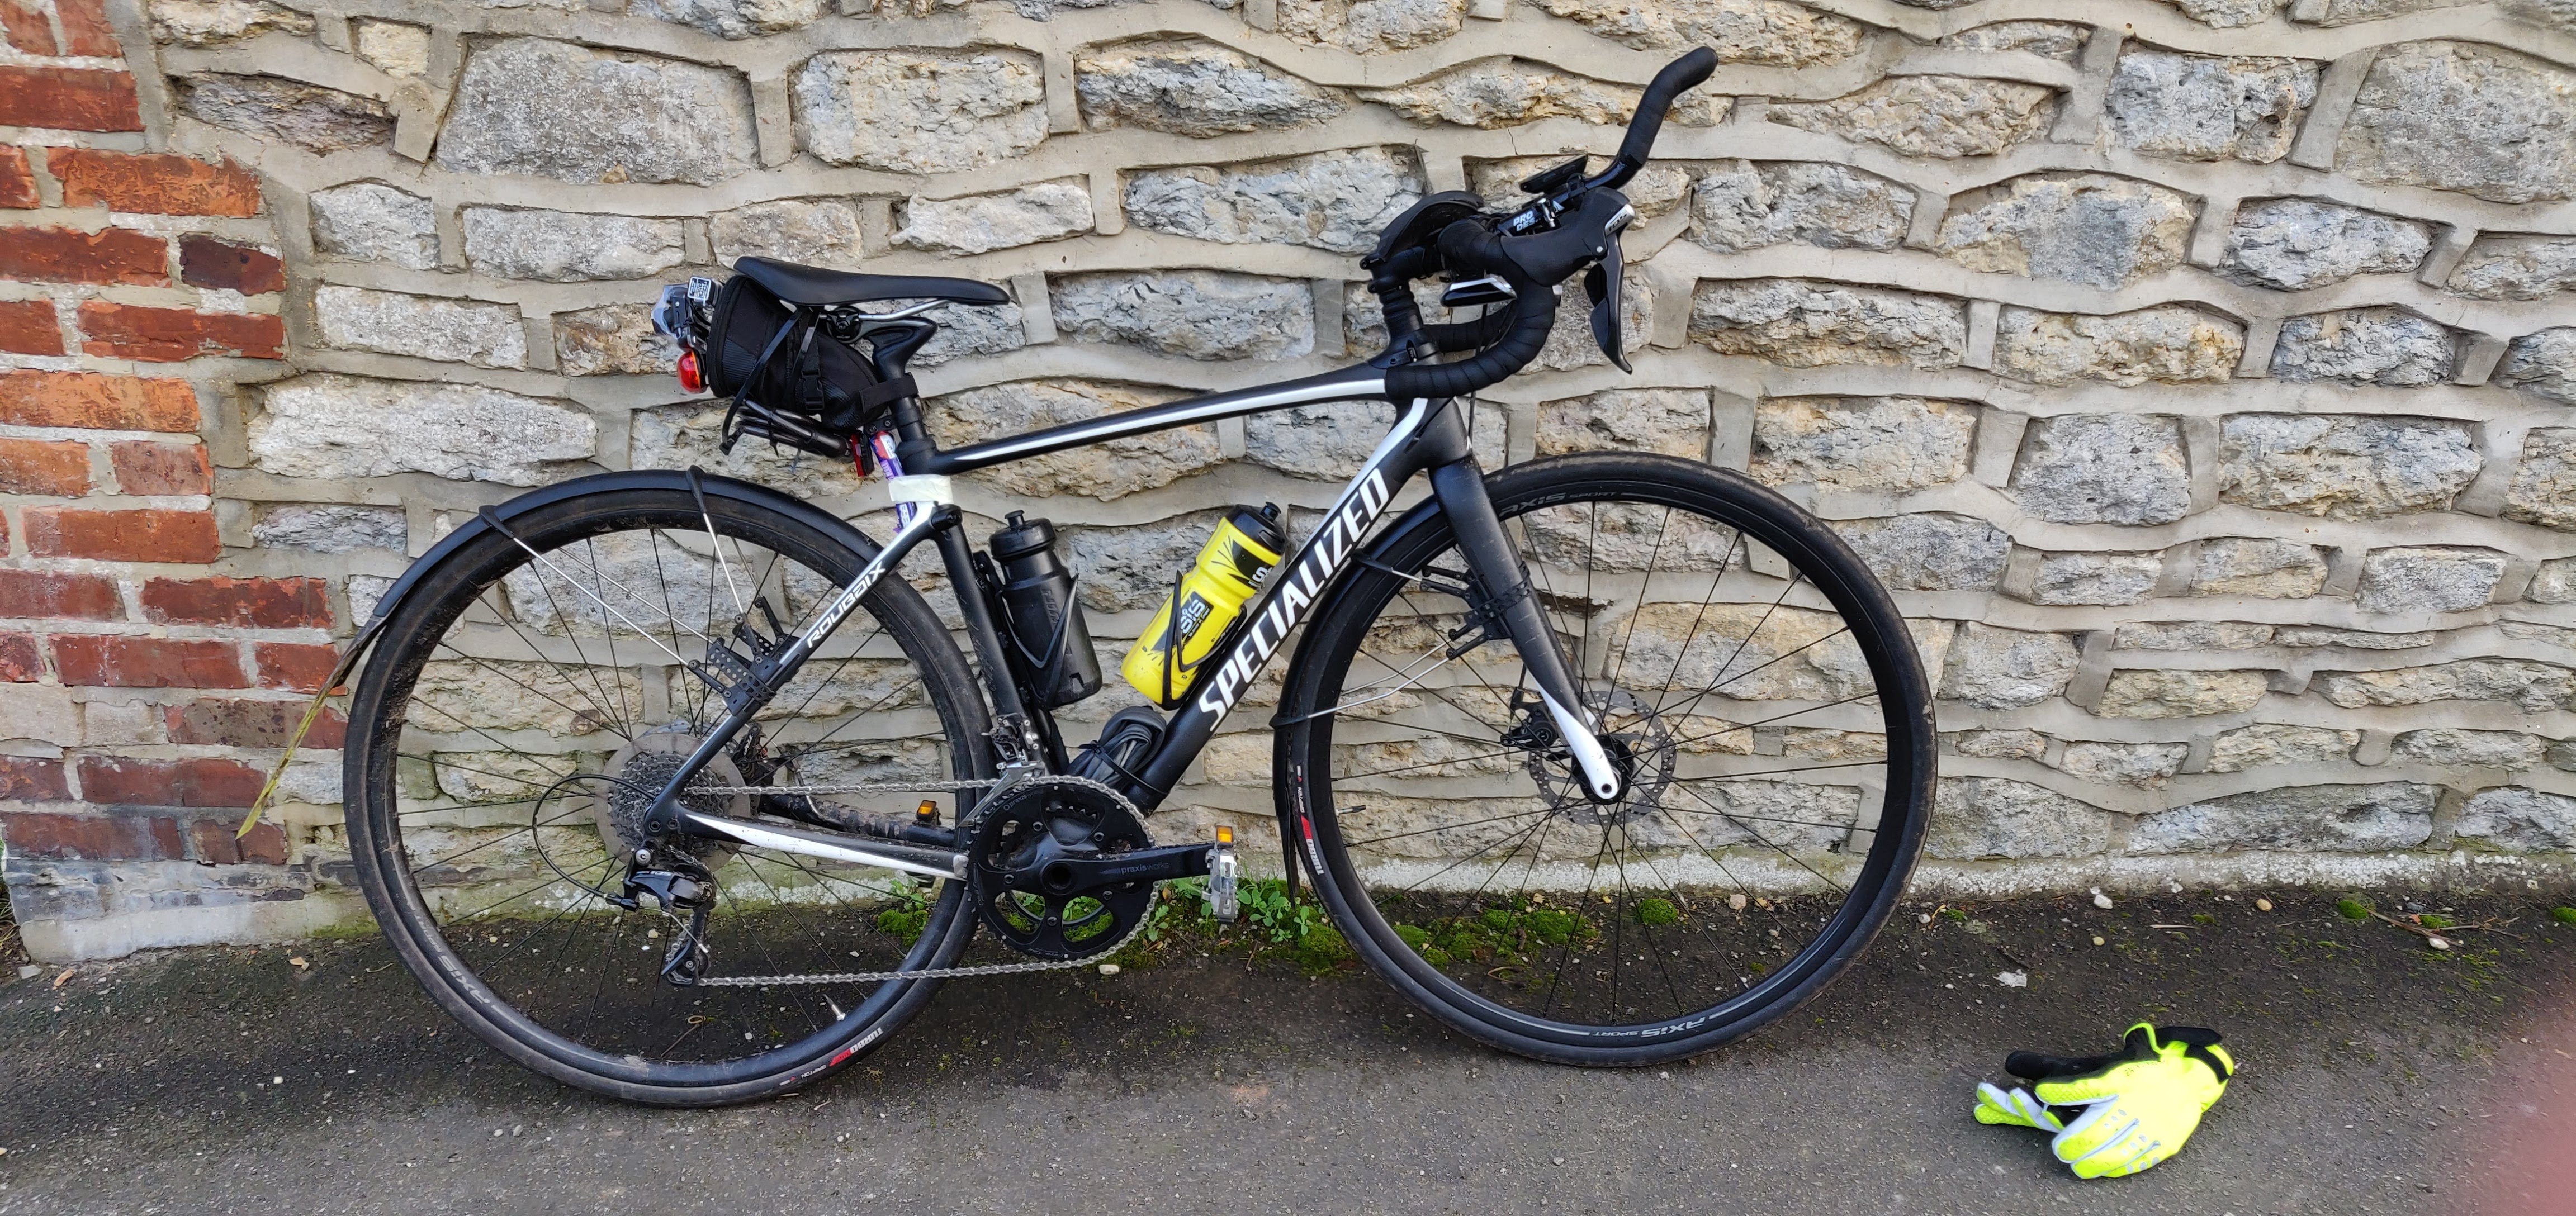
Stopped for a break at 55 miles at a convenient gate just north of Shellswell. By this time, the overall average speed had crept up to 15.5mph. It was time to further streamline the bike by removing the biscuits from under the top tube.
Gloomy all day – biscuits removed from frame. Still got a dodgy-looking cereal bar at the back
Still heading North with a bit of wind-assist. Still happy and smiling and over half-way done. I waited with a couple of horseriders to cross the A421. I let them go first, then they singled out to let me pass. All very civilised. Then on towards Fullwell and a nice fast but short downhill. Screaming along on the aerobars and an ENORMOUS tractor going quite fast came the other way. We both slowed and there was enough room for us to pass each other. Not comfortable, but not too bad. We made it work. Then on to Tingewick before heading towards Gawcott and back into the wind. This next 20 mile Southbound section would prove to be quite hard.
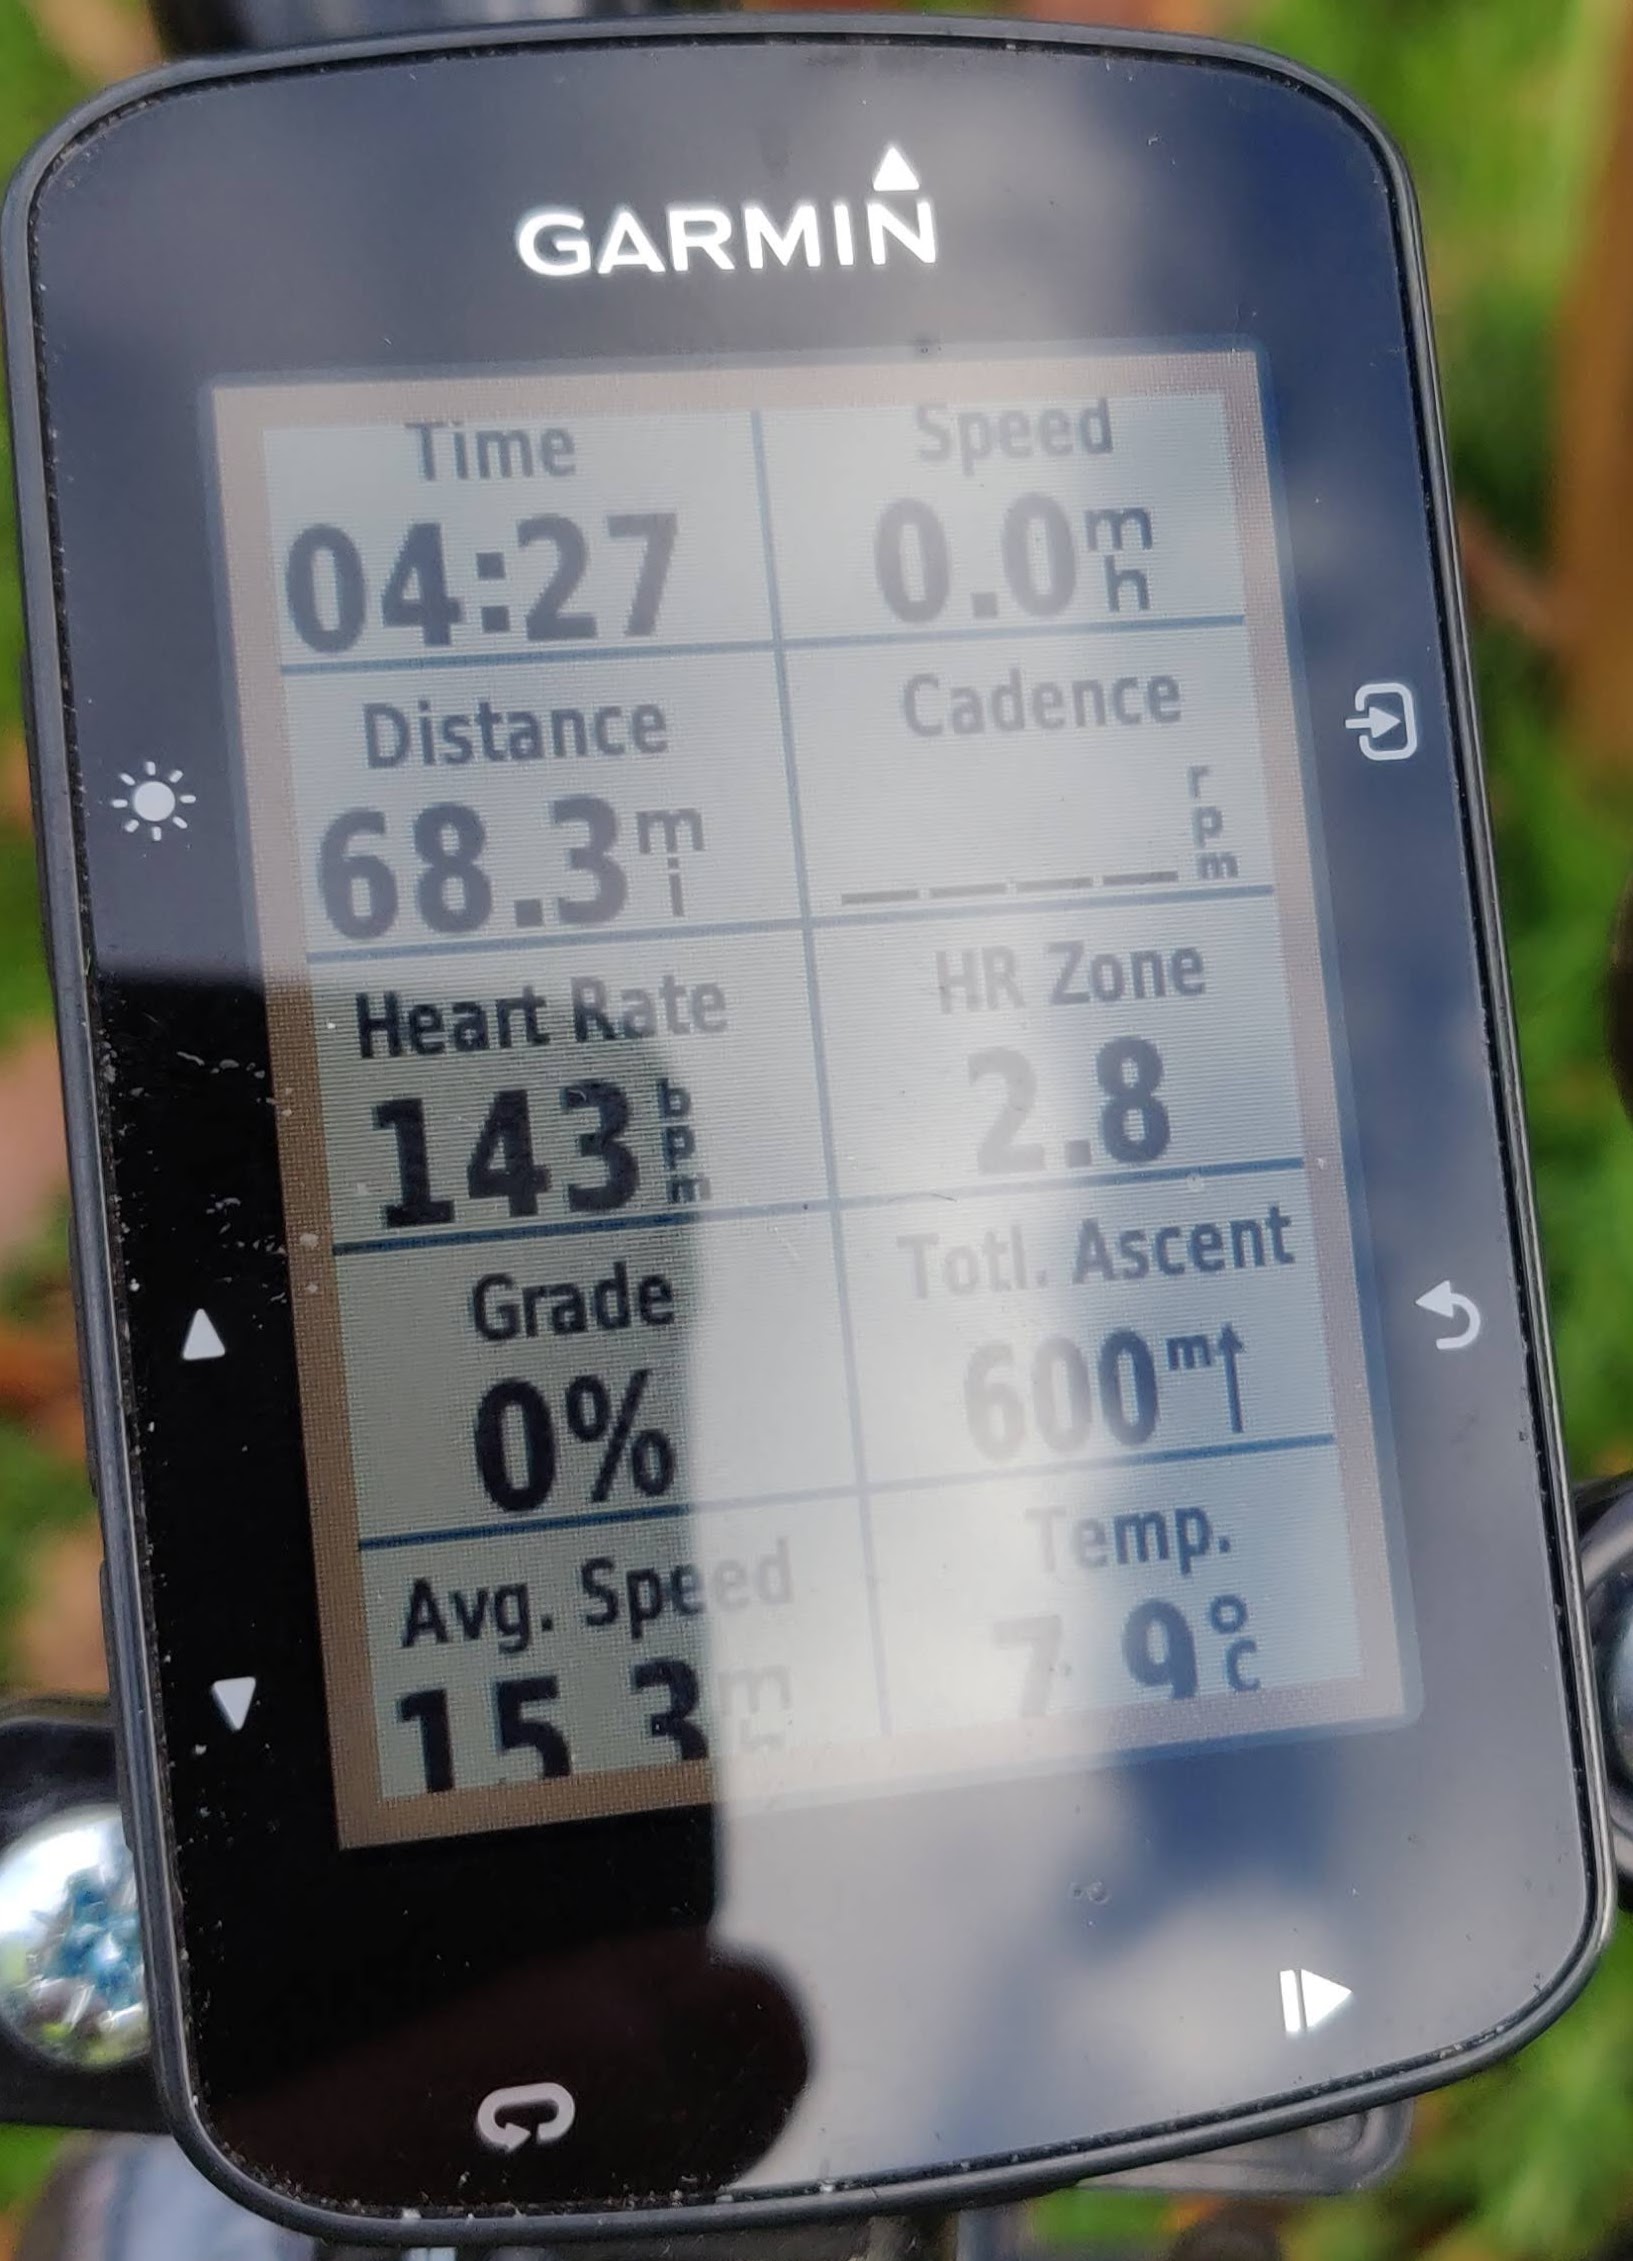
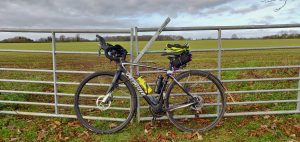
The wind had sped up quite a bit by the time I reached my next stop at Middle Claydon 68.3 miles I was tired and the average speed had crept down to 15.3mph.
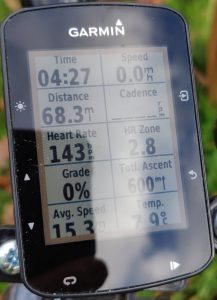
Stop 4: Middle Claydon
I was delighted to find a bench, propped the bike against the fence and took out my towel, which acted as a very nice cushion. By this time I really needed a sit down break.
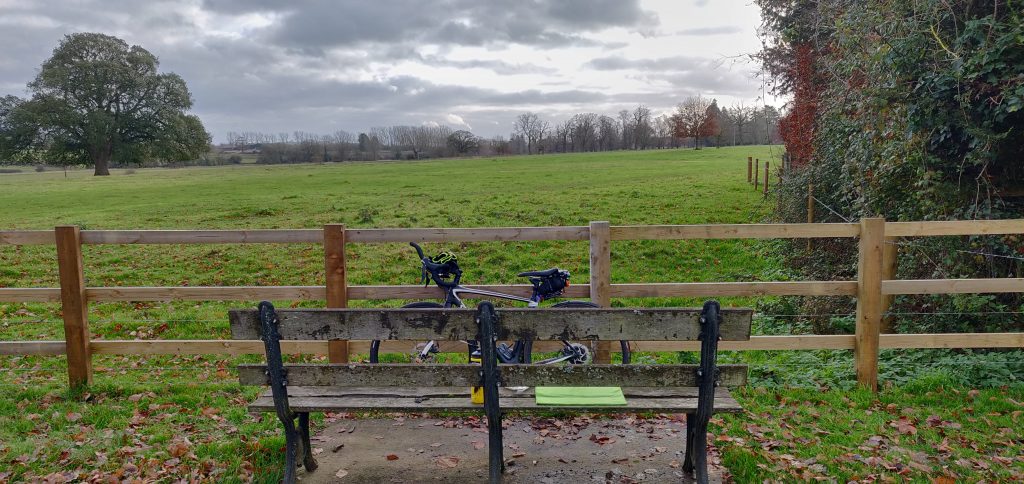
Still gloomy, but YAY – a bench!
I opened up the saddle bag and devoured a large quantity of the fig rolls and just enjoyed being sat down and not pedalling. A coffee would have gone down very well at this point.

Nice house
After 10 or 15 minutes it was time to get going again “tick-tock, tick-tock” and brave the wind. This was to be the least enjoyable section of the ride. 14mph headwind and it was a cold wind too. The next 10 miles was hard going and I got pretty annoyed with the wind. Shouting and swearing at the wind doesn’t seem to have any effect on it though. (Who knew the wind was deaf?) By the time I reached Blackthorn I was really not having fun any more. I was getting the job done. “****ing wind!” Then came an unscheduled stop. A puncture at 77.9 miles. I’d just exceeded my maximum distance record and a bloody puncture! Rear wheel of course!
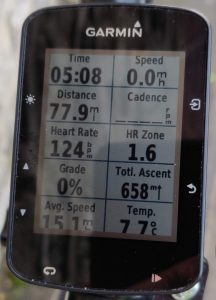
Stop 5: PUNCTURE!
You’ll notice that the average speed had crept down to a measley 15.1mph from 15.3mph over the last section over just 10 miles! That’ll be that bastard wind won’t it?
I found a house with a nice wall and leaned the bike up against it. Got the wipes and tyre levers out of the saddlebag and set about changing the tube. My hands were cold by the time I’d finished. It took me about 15-20 minutes, which is too long, but the break actually did me a lot of good. The wall shielded me from the wind and having to focus on solving a problem made me forget that I’d been in the process of ‘losing it’.

Lovely wall sheltered me from the wind
Changing the tube went perfectly, if slowly, and it all went back together well. I took the tyre off completely and had a good look and feel to be sure I wouldn’t instantly get another puncture.
Strangely enough, that gave me a bit of a boost. I like fixing things and I LOVE self-sufficiency. A VERY nice man who used to do triathlon offered me a lift. I took great pleasure in thanking him but no thanks. (I can handle this. Raa Raa RAAAAAA! ***beats chest***).
It was also time to remove the final cereal bar from the bike frame and stick that in a back pocket for later. Just 22 miles to go. Nearly there.
So after that little unscheduled stop I had a bit more Southbound into the headwind to go. Hands were cold, but jiggling them vigorously inside the gloves and that soon went away. Turning right towards Arncott and out of the wind was a glorious relief, but only for about a mile. Then a few more miles of toughing it out.
A final brief stop at my favourite gate in Fencott (84.8 miles) to mark my territory (no pics now – just wanted to get the job done). Then it was a bit more struggling to glory getting to Islip. The average speed indicator slipped down to 15.0 but “after Islip it will be easier”. Are we nearly there yet? YES WE ARE. YAY!
Once I’d rounded the corner and crossed the A34, the world became a better place again. Better still, once heading North again towards Weston, I could feel the wind on my back – and boy did it help, not just my speed, but my spirit.
Now it was just a question of chugging through the last 12 or so miles, allowing the wind to help, trying to pick up some speed without overdoing it. The right knee was telling me it didn’t want me standing up on ascents any more, but it was fine when not trying to put too much force through it. The Weston to Middleton Stoney drag seemed to go quite well. The climb to Bucknell was fine – although I had to remain seated. Then I was determined to enjoy the Bucknell to Bicester descent – knowing that the wind would spoil it a bit. But downhill is easier than uphill and the home straight is the home straight.
And add some Extra – Just for You
To be sure of actually clocking up 100 miles, instead of going straight home, I needed to add a bit extra – “to the airfield roundabout and back”. Garmin Connect reckoned that would make it 100.4 miles overall. Experience has shown that it’s often out by a fraction, and I needed to be sure. I was expecting to hit 100 miles at the roundabout. Keeping one eye on the computer, but also wanting to stay alive, I went round the roundabout feeling quite emotional. 99.8 miles. Hmm. OK, we’ll probably hit it quite close to home then.
Nearer, nearer, more emotional – almost crying. About 30 yards from home it ticked over 100 miles. Glad I added the extra bit. Can’t hold it in now. Glad there’s nobody watching. Stop the Garmin. Make sure to save the ride. Choke back the tears. Fish in saddlebag for garage keys.
YES! YES! ****ing YES! I DID IT! Looks at time. 10 minutes to sunset. Average speed 15.1mph.
100 mile ride badge Garmin Connect
Open garage door and it’s time to do a post-ride weigh-in. Nothing like a bit of measurement and statistics to settle the emotions.
Before the ride all-up weight was 88.8kg. Without fully laden bike, I was 73.7kg.
After the ride all-up weight was 85.4kg. Without fully laden bike, I was 72.4kg.
So that’s a 3.4 kg loss over 100 miles. Only 1kg of that was body weight (from separate before and after measurements), the rest of it would be food and drink. Nothing was thrown away apart from the lost kabanosy, helmet cover and banana skins (and a few micturations).
Lessons Learned
- Do your ‘maiden ton’ on a warm low-wind day if possible
- Zip your jacket side pockets
- Carry a gilet to put on in case the wind gets up more than you expect (or is colder) OR you have to stop for a mechanical
- 20 miles into a 13mph headwind isn’t much fun
- Green sports towel makes a great bench cushion
- An extra layer on a longer ride paid off
- Take some real food. By the end I was actually thinking “I don’t want another bloody cereal bar – I want a kabanos” – so maybe they will be a good thing to bring as long as I don’t lose them
- A longer (~20 minutes) sit-down break at a cafe would be a nice touch somewhere around half to two-thirds distance
Here’s the Ride on Strava
Heart Zones

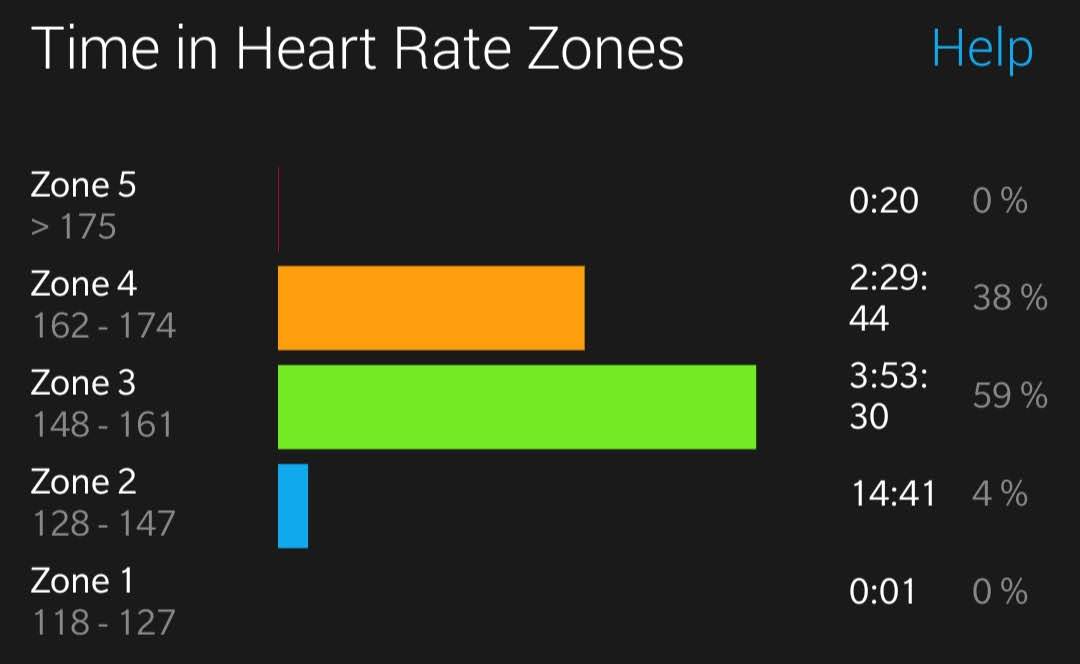
Heart Zone chart
I was aiming to spend most time in Zone 3, which I did, but 38% in zone 4 is a bit more than would be ideal. I was aiming for about 25%. Although the chart doesn’t show it clearly, I did briefly ‘redline’ a couple of times into zone 5. Ideally you just wouldn’t go there at all. I should probably set alerts on one of my bike computers to prevent that, going forward.
Final Word!
There was a tough bit back there between about 65 and 85 miles. Having a time-out really helped. Who would have thought that having a puncture could actually be helpful?
I really enjoyed the rest of it (80% of the ride) and think I will enjoy long rides even more when the weather is better.
I haven’t set any new goals just yet, but I expect I will. For now, I’m just going to enjoy achieving this one. If none of it had been difficult, then it wouldn’t have been much of an achievement.